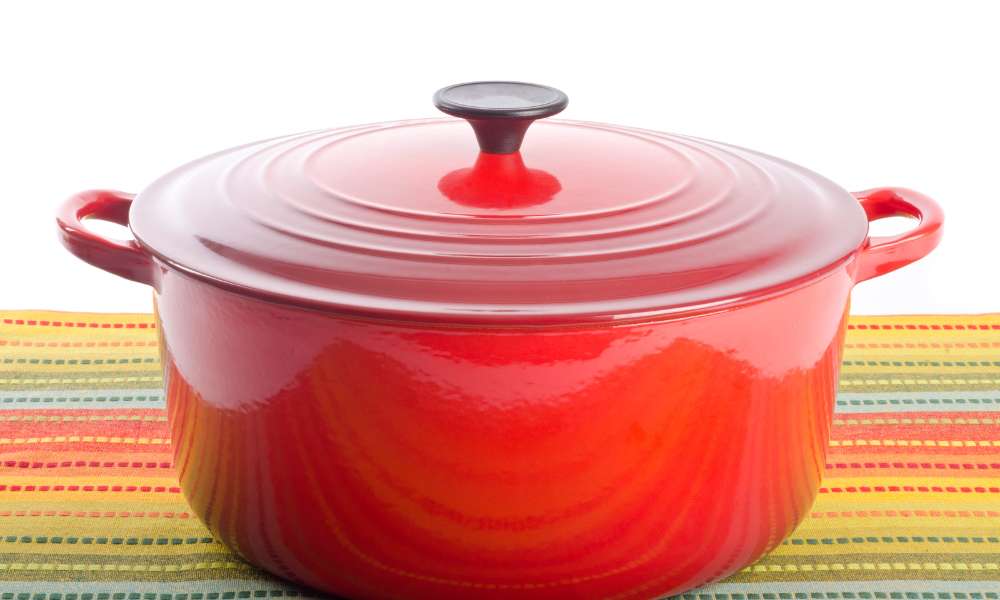
Mastering how to season a Dutch oven is a game-changer for any home cook or chef. A well-seasoned Dutch oven not only enhances flavors but also ensures durability, making it an essential tool in your kitchen. Seasoning creates a natural, non-stick coating that prevents rust, reduces the need for added fats, and simplifies cleanup. Whether you’re a beginner or a pro, this guide will walk you through the process of seasoning step-by-step, ensuring your Dutch oven stays in peak condition. Say goodbye to sticky messes and uneven cooking! Learn the secrets to unlocking your This oven’s full potential and elevate your cooking experience with this indispensable technique.
Why Seasoning Your Dutch Oven Is Essential
Seasoning your Dutch oven is a crucial step in preserving its quality and performance. By applying a thin layer of oil and heating it, you create a natural, non-stick coating that prevents food from sticking and rust from forming. This protective layer enhances heat retention, improves cooking efficiency, and reduces the need for additional oils, promoting healthier meals. A well-seasoned This oven also adds depth to flavors over time, making your dishes even more delicious. Regular seasoning extends the lifespan of your cookware, ensuring it remains a reliable tool in your kitchen. Proper maintenance through seasoning keeps your This oven in excellent condition, ready for any culinary adventure.
Choosing the Best Oils for Seasoning
Selecting the right oil is crucial for creating a durable, non-stick coating on your This oven. High-smoke-point oils like flaxseed, grapeseed, or canola are ideal for seasoning because they polymerize effectively when heated, forming a protective layer that resists rust and enhances performance. Flaxseed oil is particularly popular due to its ability to create a hard, long-lasting finish. Avoid using low-smoke-point oils, as they can burn and leave a sticky residue. Applying a thin, even layer of oil ensures optimal results, preventing buildup and ensuring a smooth surface. The right oil choice not only prolongs the life of your cookware but also makes cooking and cleaning effortless.
Preparing Your Dutch Oven for the Seasoning Process
Proper preparation is essential before seasoning your Dutch oven to ensure long-lasting results. Begin by washing it thoroughly with warm, soapy water to remove any factory residues or impurities. Rinse well and dry completely using a soft towel or by heating it gently on the stove to eliminate moisture, as even small amounts can hinder the seasoning process. If rust spots are visible, gently scrub them away with steel wool before proceeding. This step ensures a smooth surface for the oil to adhere to during seasoning. Careful preparation lays the foundation for a durable, non-stick finish, protecting your Dutch oven and enhancing its performance in every use.
Step-by-Step Guide to Seasoning Your Dutch Oven
Seasoning your Dutch oven is a simple yet vital process that enhances its durability and cooking performance. Begin by cleaning the cookware thoroughly with warm, soapy water to remove residues. Dry it completely with a towel or on a low stove heat to prevent rust. Apply a thin, even layer of high-smoke-point oil, such as flaxseed or canola, to the entire surface, including the lid. Preheat your oven to 375°F, place the This oven upside down on the middle rack, and bake for one hour. Allow it to cool inside the oven. This process creates a natural, non-stick surface, ensuring better cooking results and prolonging your Dutch oven’s lifespan.
Common Mistakes to Avoid During Seasoning
Seasoning a Dutch oven requires precision to achieve a durable, non-stick coating, but several common mistakes can hinder your results. Applying too much oil is a frequent error that leaves a sticky residue instead of a smooth finish. Using oils with low smoke points, such as olive oil, can also compromise the seasoning layer. Rushing the process by skipping thorough cleaning or drying can trap moisture, leading to rust. Additionally, uneven heating in the oven can create an inconsistent coating. To avoid these issues, apply a thin layer of high-smoke-point oil, preheat your oven, and ensure gradual cooling. These steps ensure a perfectly seasoned This oven that lasts for years.
How to Maintain Your Dutch Oven’s Seasoning Over Time
Maintaining your Dutch oven’s seasoning over time is crucial for ensuring its longevity and optimal performance. After each use, clean it with warm water and a soft brush, avoiding soaps that can strip the seasoning. Always dry the oven thoroughly, either with a towel or on low heat, to prevent rust. Reinforce the seasoning by applying a thin layer of high-smoke-point oil, such as flaxseed or canola, before storing. Regularly cooking with oils and fats naturally strengthens the coating. Avoid harsh cleaning tools or metal utensils to protect the surface. With these simple practices, your This oven will remain non-stick, rust-free, and ready for your next culinary masterpiece.
When and How to Re-Season Your Dutch Oven
Re-seasoning your Dutch oven is crucial when food starts sticking, rust appears, or the surface loses its non-stick quality. Over time, even the best-seasoned This ovens can wear down due to frequent use or improper cleaning. To re-season, begin by thoroughly cleaning the cookware with warm water and a stiff brush, avoiding soap to preserve existing layers. Once clean and dry, apply a thin layer of high-smoke-point oil, such as flaxseed or grapeseed, across all surfaces. Bake it upside down in a 450°F oven for an hour, allowing the oil to bond with the iron. Regular re-seasoning restores your Dutch oven’s functionality, ensuring it remains a dependable kitchen tool.
Troubleshooting Common Seasoning Problems
Encountering issues with your This oven’s seasoning can be frustrating, but most problems are easy to fix with the right approach. Rust formation often results from inadequate drying or storage in a humid environment. To resolve this, scrub the rust gently with baking soda or steel wool, rinse thoroughly, and re-season the oven. A sticky surface usually indicates too much oil during the seasoning process. Wipe off the excess and bake it again to smooth the finish. If food sticks during cooking, it may be time to reapply a fresh layer of seasoning. Regular maintenance and proper care ensure your Dutch oven remains functional and rust-free for years.
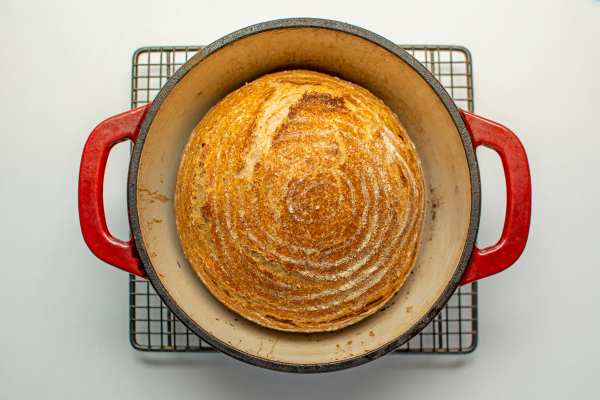
The Best Recipes for a Seasoned Dutch Oven

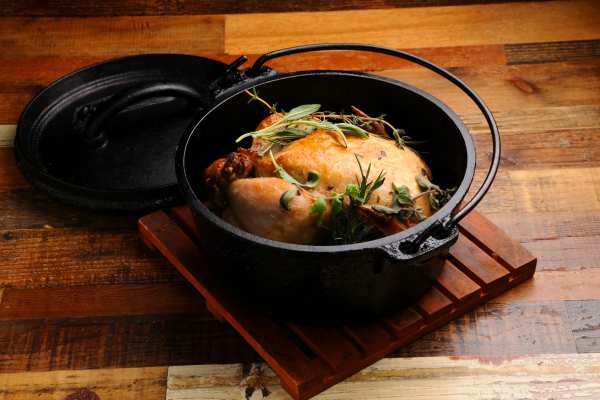
A seasoned Dutch oven opens the door to countless flavorful and versatile recipes, making it a must-have for every kitchen. Perfectly seasoned cookware ensures even heat distribution and a non-stick surface, ideal for creating tender braised meats, hearty stews, and artisan bread with a perfectly crisp crust. From slow-cooked soups to delectable desserts like cobblers and puddings, the possibilities are endless. Its ability to retain heat makes it perfect for frying, roasting, or simmering dishes to perfection. Whether you’re trying classic recipes or experimenting with new flavors, a seasoned This oven delivers consistent results, enhancing your cooking experience and ensuring every meal is unforgettable.
Benefits of Properly Seasoned Dutch Ovens for Home Cooks
A properly seasoned Dutch oven offers numerous benefits for home cooks, elevating both the cooking experience and meal quality. The seasoning creates a natural, non-stick surface that reduces the need for excessive oils, promoting healthier meals. Additionally, it prevents rusting, ensuring your This oven lasts for years. A well-seasoned pot also enhances the flavor of dishes, as the layer of seasoning helps to lock in moisture, making stews, soups, and roasts more tender and flavorful. With even heat distribution, a seasoned This oven ensures consistent cooking results every time. Investing in proper seasoning improves the performance of your cookware, making it an indispensable tool in any kitchen.
Conclusion
Understanding how to season a Dutch oven is essential for home cooks who want to maximize the potential of this versatile cookware. Proper seasoning not only creates a non-stick surface but also enhances flavors, prevents rust, and ensures long-term durability. By following the right steps and maintaining the seasoning over time, your This oven will remain a reliable, high-performance tool in your kitchen. Whether you’re slow-cooking stews, baking bread, or roasting meats, a well-seasoned This oven provides consistent heat distribution and excellent cooking results. Embrace the art of seasoning, and elevate your culinary creations with a This oven that works as hard as you do.