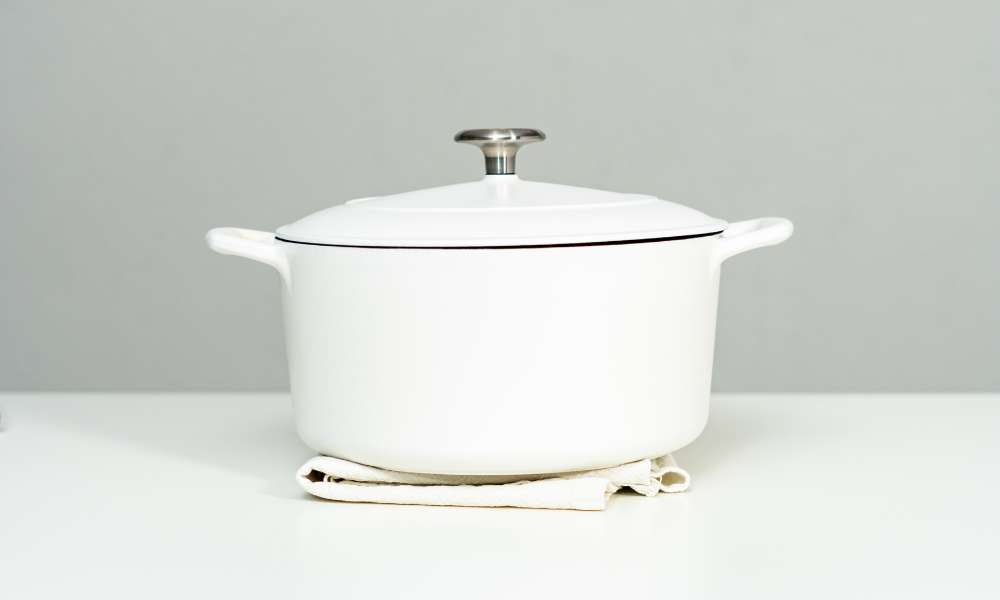
Maintaining Your Dutch Oven: A Comprehensive Guide Keeping your This oven in top condition not only improves its functionality but also prolongs its life, making it a valuable asset in any kitchen. In this guide titled “How to Clean a Dutch Oven,” we will cover a range of methods to preserve its state, from daily cleaning routines to dealing with tough stains and re-seasoning strategies. Whether you’re a professional chef or a home cooking enthusiast, these straightforward and effective techniques will ensure your This oven remains in excellent shape, continuing to deliver delicious meals for many years. Prepare to enhance your cookware maintenance skills with these expert recommendations.
Essential Tools and Materials for Dutch Oven Cleaning
To clean a This oven effectively, you will need some basic tools and materials. Begin with a soft sponge or brush to avoid scratching the surface. Mild dish soap will help remove grease while preserving the seasoning. For more challenging tasks, coarse salt can act as a gentle abrasive. Keep white vinegar handy for its natural disinfecting properties and to eliminate any persistent odors. Having soft cloths or paper towels for drying and polishing the oven after washing will make the process easier and help maintain your cookware’s quality over time.
Daily Cleaning Practices for Your Dutch Oven
Keeping your Dutch oven clean doesn’t need to be cumbersome. After each use, once the cookware has cooled, wash it with warm water and a soft sponge. Refrain from using harsh detergents or metal scouring pads, as they can damage the seasoning. To avoid rust, promptly dry it with a soft cloth or paper towel. This routine maintenance ensures that your This oven is always prepared for your next cooking task, guaranteeing that each meal is as tasty as the previous one. Adhere to these simple steps to keep your cookware in pristine condition, ready for any recipe you wish to tackle.
Removing Stuck-On Food from Your Dutch Oven

Dealing with stuck-on food in your Dutch oven can appear daunting, but it can be easily managed with the correct method. Fill the pot with water, add a few drops of dish soap, and heat it to a simmer on the stove. This helps loosen the food residue. After about 10 minutes, turn off the heat and let the pot cool slightly. Use a wooden spoon or a plastic scraper (avoid metal to prevent scratches) to gently lift the softened food. Rinse thoroughly with warm water, and your This oven is set for another culinary use, free from any stubborn leftovers.
Deep Cleaning for Tough Stains
If your This oven has tough stains that regular cleaning can’t remove, a deep cleaning might be necessary. Fill it with water and a few tablespoons of baking soda, then bring to a boil and let it simmer for around 15 minutes. This helps lift stubborn stains and food buildup. After cooling, gently scrub the interior with a non-abrasive sponge. If stains persist, a baking soda and water paste directly applied to the areas can be effective. Rinse well with warm water and dry completely to prevent rust, ensuring your Dutch oven is impeccably clean and ready for use.
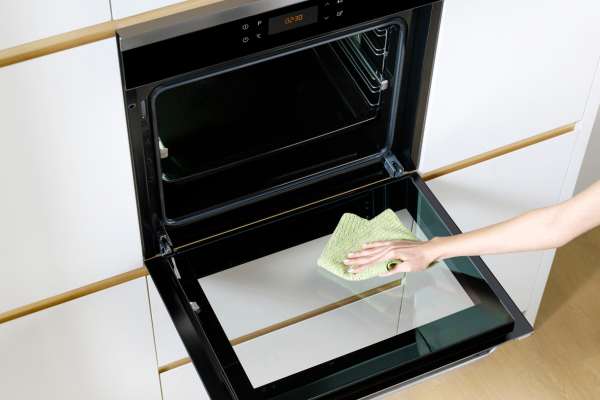
Step-by-Step Guide to Seasoning Your Dutch Oven

Seasoning your This oven is vital for preventing rust and ensuring a non-stick surface. First, wash it with warm, soapy water and dry thoroughly. Apply a thin layer of cooking oil to all surfaces, including the lid. Place the oven upside down in a preheated oven at 375°F for one hour to allow the oil to polymerize. After heating, let it cool in the oven. This seasoning enhances the durability and cooking performance of your This oven. Regularly repeat this process to maintain its best condition and guarantee perfect meals every time.
Dos and Don’ts of Dutch Oven Care
Proper maintenance of your Dutch oven involves correct cleaning and handling. Avoid using metal utensils that can scratch and damage the surface; opt for wooden or silicone tools instead. Be mindful of temperature changes; allow the This oven to cool naturally before washing to avoid thermal shock. While mild detergents are safe for occasional deep cleans, frequent use can remove the seasoning from cast iron models. To preserve its functionality, thoroughly dry your This oven after each wash and apply a light oil coating to protect the surface. Following these guidelines will ensure that your This oven remains a dependable part of your kitchen arsenal.
Natural Cleaning Solutions for Dutch Ovens
For those preferring an eco-friendly approach, natural cleaning solutions can effectively maintain your This oven without harsh chemicals. Baking soda and vinegar are particularly good for removing tough stains and odors. Make a paste with baking soda and water, apply it to problem areas, and let it sit before scrubbing. For deeper cleans, adding vinegar creates a reaction that lifts grime effortlessly. This method not only maintains the integrity of your cookware but also keeps your kitchen environment safe and toxin-free.
Storing Your Dutch Oven to Avoid Damage
Proper storage is crucial to prevent damage and maintain the quality of your This oven. Ensure it is completely dry before storing to prevent rust. If stacking cookware, place a layer of paper towel or soft cloth between items to avoid scratches. For infrequent use, store your This oven in a cool, dry place with the lid slightly open to promote air circulation, preventing odor build-up and moisture accumulation. These simple storage tips will help keep your This oven in excellent condition, ready for your next culinary project.
Troubleshooting Common Cleaning Issues with Dutch Ovens
Encountering cleaning problems with your Dutch oven can be frustrating. For persistent stains or rust, soak the pot in warm water with baking soda to loosen debris. For rust spots, apply a paste of equal parts salt and vinegar directly to the affected areas. Always dry the oven thoroughly after cleaning to prevent further rust. Addressing these common issues with specific solutions helps maintain the integrity of your This oven, ensuring it is always ready for your culinary needs.
Professional Advice for Keeping Your Dutch Oven Like New

To keep your Dutch oven in like-new condition, regular maintenance is essential. After use, let it cool completely before cleaning with warm water and a soft sponge to avoid thermal shock. Avoid harsh detergents and metal scouring pads that can damage the enamel or seasoning. For stubborn stains, simmer water with baking soda. Always dry your This oven thoroughly after washing to prevent rust and apply a light coat of oil to the interior to protect the seasoning. These expert tips will help your This oven continue to be a reliable tool in your culinary adventures.
Conclusion
Maintaining the pristine condition of your Dutch oven is crucial not just for cleanliness but for preserving its quality and enhancing your cooking experience. By adhering to the cleaning guidelines discussed, you can ensure your cookware performs optimally for years. Regular care, proper cleaning techniques, and suitable storage are key to keeping your This oven in excellent shape. Adopt these practices to enjoy the enduring benefits of this versatile kitchen essential and achieve delicious results, whether you’re simmering stews or baking bread.