Explore Culinary Versatility with “How to Use a Dutch Oven” Discover the unmatched versatility and durability of the Dutch oven, a must-have for both amateur cooks and culinary experts. This guide will walk you through essential techniques for braising, baking, stewing, and more, all with this single, multifaceted cookware. Learn how to choose the right Dutch oven, prepare it for first use, and master various cooking methods that make the most of its exceptional heat and flavor retention qualities. Expand your cooking skills and uncover why the This oven is an indispensable tool for crafting delectable dishes in any kitchen.
Choosing the Right Dutch Oven for Your Kitchen
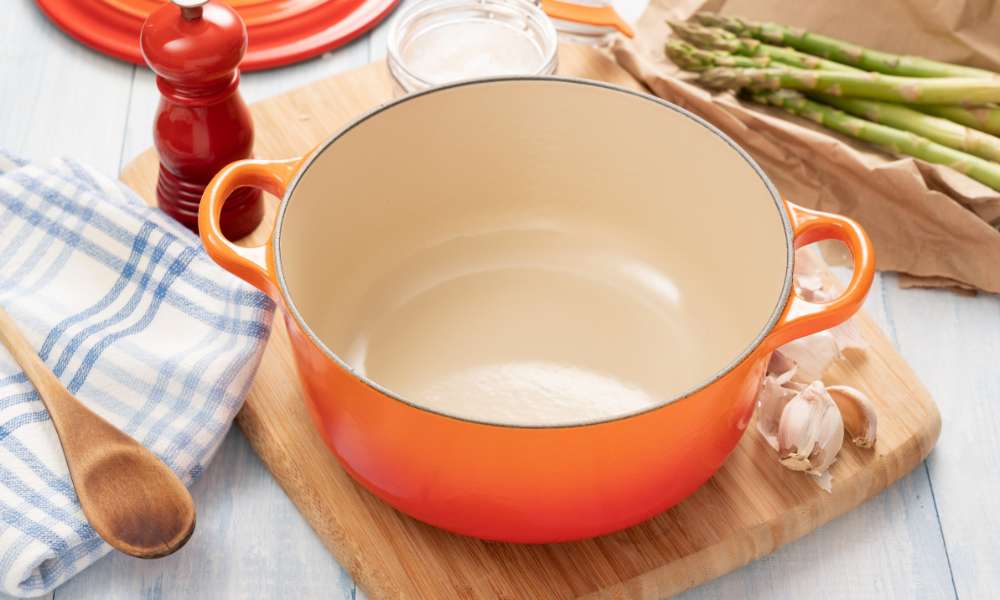
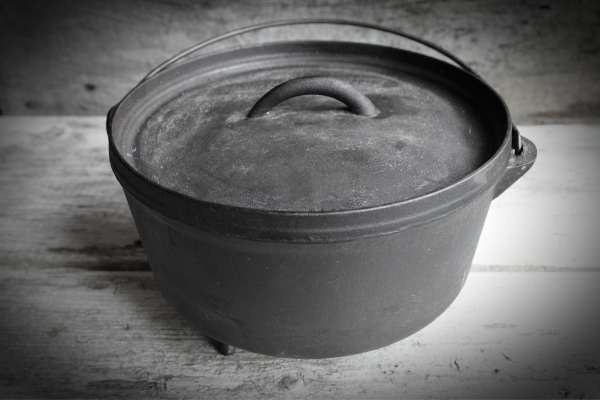
Selecting the perfect Dutch oven involves considering size, material, and compatibility with your cooking surface. For frequent hosts or large families, a larger model might be best. Cast iron Dutch ovens are ideal for slow-cooking and baking, while enameled versions offer convenience with less upkeep and a variety of colors to complement your kitchen décor. Ensure the This oven you pick is suitable for your stove or oven, particularly if you use an induction cooktop. The right choice will boost both your cooking efficiency and enjoyment.
Preparing Your Dutch Oven for First Use
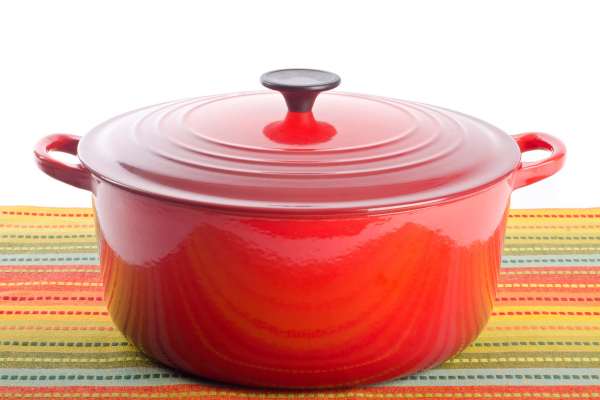
Properly preparing your new Dutch oven is crucial for ensuring its performance and longevity. Start by cleaning it with warm, soapy water to remove any manufacturing residues, then dry it thoroughly to prevent rust. Seasoning is essential for cast iron models: coat the inside with a thin layer of cooking oil and bake it at 350°F for about an hour to create a non-stick surface and prevent rust. Once cooled, your This oven is ready to enhance your culinary creations with improved flavors and textures.
Essential Tips for Heating and Temperature Control
Successful This oven cooking depends heavily on effective temperature control. Begin with a low heat to avoid burning, especially with sticky foods, and gradually increase the heat for even cooking. Cast iron heats slowly, so patience is essential. Preheating your This oven for tasks like baking bread or braising meat can simulate a professional oven environment, enhancing your food’s flavor and texture. The thick walls of the This oven retain heat superbly, making it perfect for long-cooking recipes. Monitoring and adjusting the temperature during cooking will allow you to fully harness your This oven’s capabilities for consistently excellent results.
Techniques for Braising Meats in a Dutch Oven
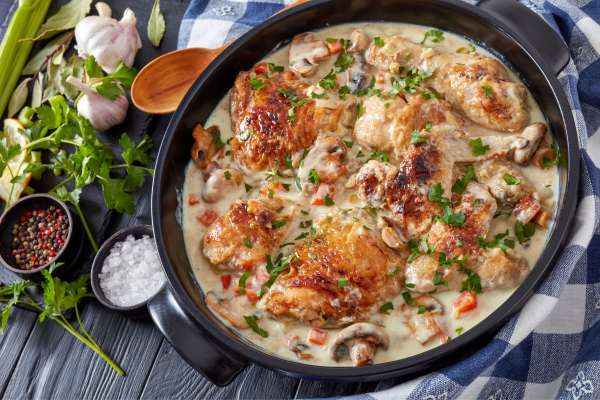
Braising meats in a Dutch oven can soften even the toughest cuts into succulent, flavorful meals. Begin by searing the meat on all sides to develop a flavorful crust. Then, sauté aromatic vegetables in the same pot to pick up the leftover meat juices. Add enough broth or wine to partially cover the meat, cover, and let it cook slowly. The heavy lid of the This oven locks in moisture and heat, maintaining a steady cooking temperature. This method not only enhances the texture and flavor of the meat but also produces a delicious sauce to accompany the dish.
Mastering the Art of Baking Bread in a Dutch Oven
The art of baking bread in a Dutch oven can elevate your home baking to a professional level. Its thick walls and tight lid replicate a steam oven, ideal for producing moist, well-risen loaves with a crispy crust. Start by preheating your This oven to the temperature your bread recipe recommends. Carefully place the dough inside, cover with the lid, and bake. The enclosed space keeps the steam released by the dough inside, which is crucial for achieving a perfect crust and texture. With practice, you can consistently produce bakery-quality bread.
Crafting Perfect Stews and Soups
Making the perfect stew or soup in a This oven combines slow cooking with the cookware’s excellent heat retention. Start by gently sautéing your foundational ingredients like onions, garlic, and carrots to create a rich flavor base. Add meats or legumes and then broth and seasonings. The thick walls and tight lid allow for even, slow simmering, beautifully melding flavors and tenderizing tougher meat cuts. A slow simmer in your Dutch oven results in a rich, deeply flavorful dish that epitomizes home-cooked comfort.
The Basics of Frying and Sautéing in a Dutch Oven
Mastering the basics of frying and sautéing in a Dutch oven can take your cooking to new heights. Thanks to its excellent heat retention, the Dutch oven distributes heat evenly, ensuring your ingredients are perfectly cooked. Start with a moderate amount of oil, heating it gradually; this method is ideal for achieving a golden, crispy texture in foods. Whether you’re sautéing vegetables or frying chicken, the thick walls of the Dutch oven minimize hot spots, reducing the risk of burning. Embrace these techniques to make the most of your Dutch oven’s capabilities, enhancing flavors and textures in every dish you create.
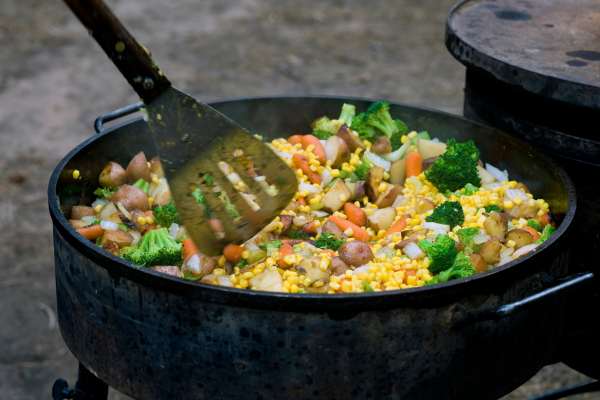
Using a Dutch Oven for Outdoor Cooking
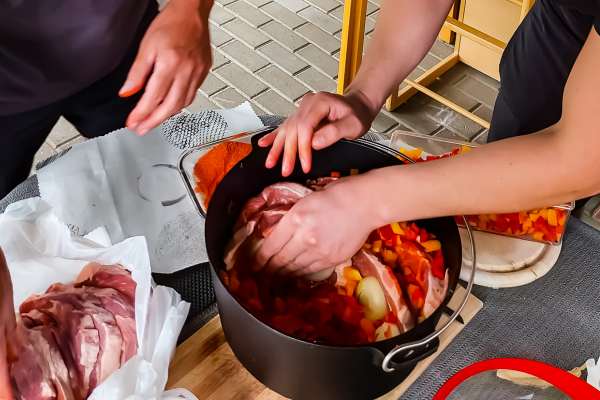
Outdoor cooking with a Dutch oven offers a unique and flavorful experience, making it an excellent choice for camping trips or backyard gatherings. Start by selecting a flat, stable surface and using charcoal briquettes or a campfire to achieve even heating. Preheat your Dutch oven before adding your ingredients to ensure consistent cooking. For stews, roasts, or baking, arrange coals both underneath and on top of the lid to create an oven-like environment. Rotate the Dutch oven and lid periodically for even heat distribution. With proper technique and a little practice, outdoor cooking with a Dutch oven can transform simple meals into delicious, memorable feasts under the open sky.
Cleaning and Maintenance Tips Post-Use
Proper cleaning and maintenance after each use are essential to preserve the quality and longevity of your Dutch oven. Start by letting it cool completely before washing to prevent cracking. Use warm water and a soft sponge to clean the interior, avoiding harsh detergents or abrasive scrubbing tools that can damage the surface. For burnt-on food, soak with warm water and baking soda before gently scrubbing. Thoroughly dry the This oven to prevent rust, especially for cast iron models, and apply a light coat of oil to maintain seasoning. By following these simple care steps, your This oven will remain a reliable and durable tool in your kitchen for years to come.
Safety Precautions When Handling a Dutch Oven
When using a Dutch oven, safety should always come first due to its heavy weight and ability to retain high heat. Always use oven mitts or heat-resistant gloves when handling the pot or lid, as they can become extremely hot during cooking. Place the This oven on a stable, heat-resistant surface to prevent accidental spills or burns. Be cautious when lifting the lid, as hot steam can escape and cause injury. Avoid overloading the pot to maintain balance and prevent tipping. Finally, allow the This oven to cool completely before washing to avoid sudden temperature changes that could cause cracking or damage. Following these precautions ensures a safe and enjoyable cooking experience.
Conclusion
Mastering “How to Use a Dutch Oven” opens up a world of culinary possibilities, making this versatile cookware an essential part of your kitchen arsenal. From simmering hearty stews to baking artisan bread, the Dutch oven’s ability to retain heat and distribute it evenly ensures delicious results every time. By following proper techniques and incorporating safety measures, you can make the most of this durable and reliable kitchen tool. Whether you’re an experienced chef or a cooking enthusiast, the This oven enhances your skills and elevates your dishes. Embrace its versatility to create flavorful, home-cooked meals that delight your family and guests while adding a timeless piece to your culinary journey.