Having a faucet that is loose in your kitchen can lead to annoying dripping and water wastage. Fortunately, it is easy to fix this problem without the help of a professional. In this article, we will discuss how to tighten a kitchen faucet quickly and without any additional tools or materials. We will also explain why it may be necessary to replace a faucet if tightening does not work.
Importance Of Fixing A Loose Kitchen Faucet

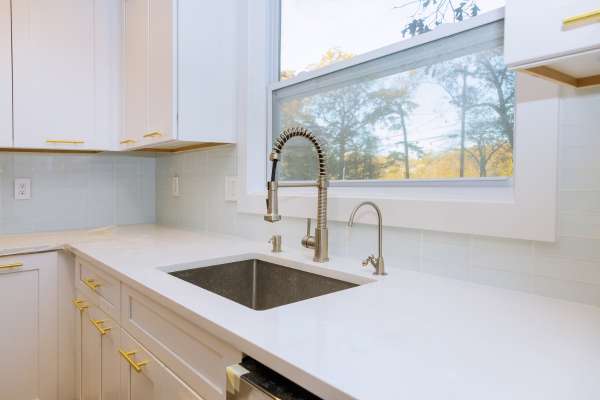
A loose kitchen faucet may seem like A minor inconvenience, But it can quickly become A major problem if left unchecked. Not only can it be annoying to deal with, But it can also cause aqua damage And lead to costly repairs. That’s why it’s important to tighten your kitchen faucet as soon as you notice any looseness.
Firstly, A loose cookhouse mill can result in leaks that cause water damage to your cabinets And countertops. This water damage weakens the wood over time, Which could lead to the need for expensive repairs Or even replacement of your cabinetry. Additionally, Leaks from A loose kitchen mill will waste aqua unnecessarily, Causing your utility bills to increase significantly.
Secondly, Fixing A loose cookhouse faucet is relatively easy and inexpensive compared to the cost of repairing water damage caused by neglecting this issue.
Reasons For A Loose Kitchen Faucet
Wear And Tear
Kitchen faucets are no exception to this rule, As they can become loose Or develop leaks over time due to regular use. The good news is that tightening A kitchen mill is A relatively simple task that most homeowners can do themselves.
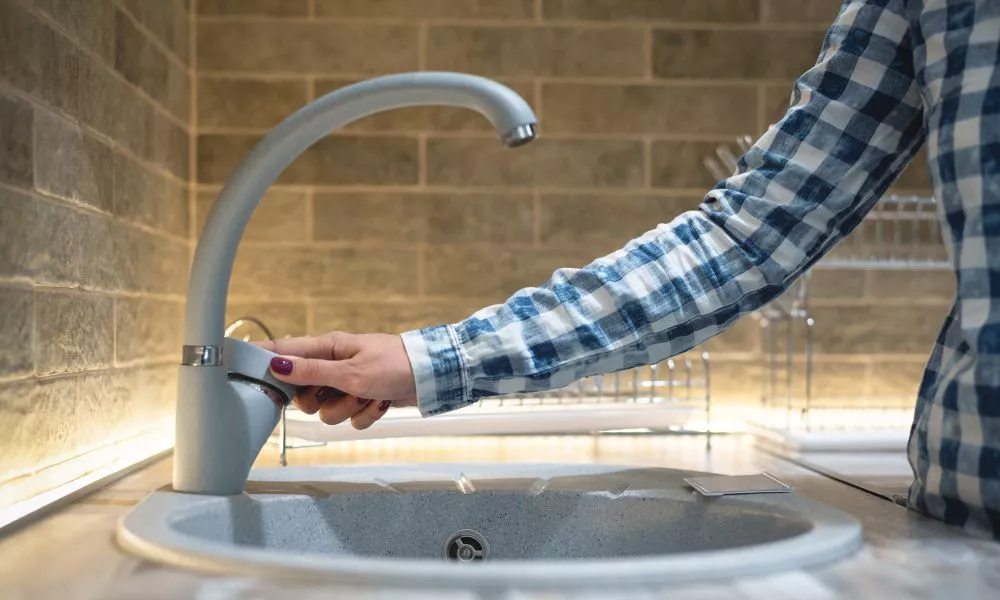
If you notice your cookhouse mill becoming loose Or wobbly, It may be time to tighten it up. Start by turning off the water supply to the sink before you begin any work on the faucet. This will prevent any accidental flooding Or water damage while you are working on the fixture. Next, Remove any decorative caps covering the mounting screws on your mill handles with A flathead screwdriver.
Once you have access to these screws, Use an adjustable wrench Or pliers to tighten them up until they are snug against the countertop.
Loose Mounting Hardware
Not only does it make the faucet wobbly and unstable, But it can also lead to leaks and damage to your sink. Fortunately, Tightening up loose mounting hardware is A quick and easy fix that anyone can do with just A few basic tools.
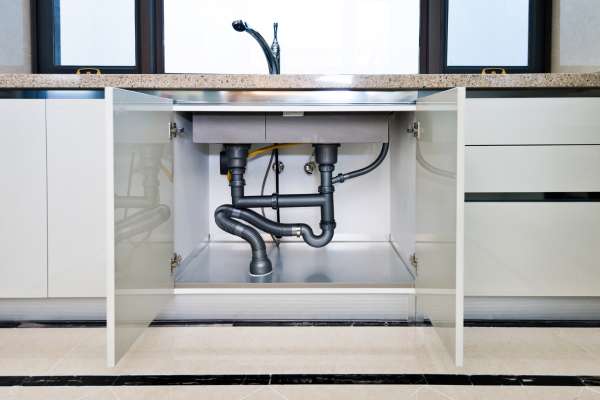
To start, Turn off the water supply to your kitchen mill using the shut-off valves located under your sink. Next, Locate the mounting nuts that hold the faucet in place underneath the sink basin. Use an adjustable wrench to tighten each nut by turning it clockwise until they are snug against the underside of the sink. Be careful not to overtighten, As this could cause damage.
Once you’ve tightened all of the mounting nuts, Turn on your aqua supply and check for any leaks Or wobbling from your cookhouse mill. If everything looks good, Congratulations!
Corrosion
It can cause rust and damage the mill, Leading to leaks and reduced water flow. However, There are simple steps you can take to prevent corrosion from damaging your kitchen mill.
One of the ways to prevent corrosion in your cookhouse faucet is by tightening it regularly. Over time, Faucets become loose due to regular use and vibration caused by aqua pressure. If left unchecked, This can lead to corrosion as aqua seeps into the gaps between the fixture and countertop Or sink. By tightening your cookhouse mill regularly with A wrench, You can keep it firmly in place and reduce the chances of corrosion occurring.
Another way to prevent corrosion is by cleaning your kitchen faucet regularly with warm soapy water.
Water Pressure
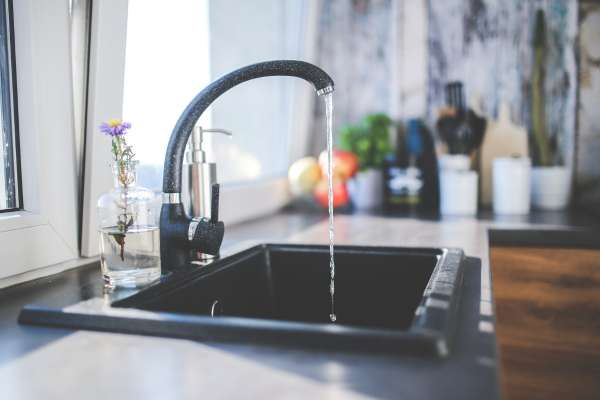
Low water pressure can cause A multitude of problems, Including slow water flow, Reduced performance from appliances such as washing machines and dishwashers, And low shower pressure. As A homeowner, It is crucial to ensure that your aqua pressure remains consistent throughout your house. However, If you find yourself experiencing issues with low water pressure in your kitchen faucet, There are several things you can do to fix it.
One simple solution for fixing low water pressure in your cookhouse mill is by tightening the faucet itself. Sometimes loose mill can cause low aqua pressure due to air leaks Or other issues. To tighten the faucet on your sink, Start by turning off the hot and cold-water valves under the sink. Next, Remove any decorative caps covering the mounting screws on top of the handle and use A screwdriver to remove them entirely.
Here’s How To Tighten Kitchen Faucet
Gathering Necessary Tools
You need to have the right tools for the job. Gathering the necessary tools is the first step toward fixing your cookhouse mill. Here are some of the tools that you will need to tighten your kitchen faucet.
The first tool that you will need is an adjustable wrench Or pliers. This tool will help you loosen and tighten the nut on the base of your kitchen mill. You may also need A basin wrench if there’s not enough space to use an adjustable wrench Or pliers. You’ll also need Teflon tape which helps in sealing any leaks once the nut has been tightened.
Next, You’ll want to gather a few towels Or rags as well as A bucket to catch any drips Or water spillage while working on your sink.
Turning Off The Water Supply
When your faucet is leaking or dripping, It’s usually because there’s A problem with the seal around the base, Which can be caused by wear and tear over time. Tightening your cookhouse faucet is an easy way to fix this issue And prevent further damage.
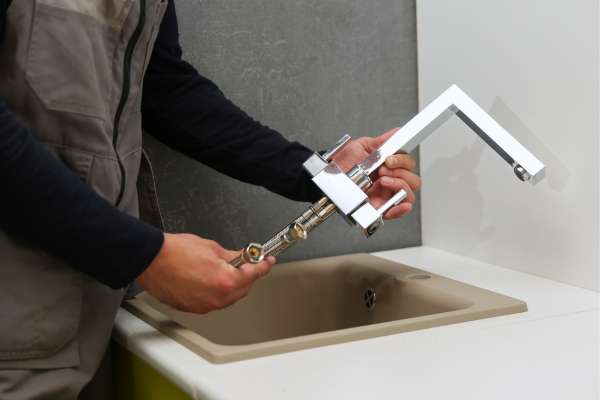
To tighten your kitchen mill, Start by turning off the water supply under the sink. Next, Use A wrench to loosen any screws Or bolts that are holding the mill in place. Once you’ve loosened these fasteners, Gently lift up on the mill handle to remove it from its base. Check for any signs of wear Or damage on both the handle and base before reassembling everything back together.
Clear The Workspace
Clearing your workspace is an easy and effective way to reduce stress levels and increase productivity. When you have a tidy workspace, You can concentrate better and work more efficiently.
One area that often gets overlooked in our quest for cleanliness is the kitchen sink. A tight cookhouse mill can be frustrating and make washing dishes an unpleasant chore. Fortunately, Tightening A loose kitchen faucet is simple and quick to do. All you need are some basic tools such as pliers Or wrenches and a few minutes of your time. Tightening the faucet will not only make washing up easier but also prevent water leaks that could cause aqua damage Or mold growth in your home.
Removing The Decorative Cap Or Handle

One of the most common causes of A wobbly mill is Aloose decorative cap Or handle, Which often hides the screw that holds the faucet in place. This issue can be easily resolved by removing the decorative cap Or handle and tightening the screw below.
To remove the decorative cap Or handle, Use an adjustable wrench Or pliers to unscrew it from its base counterclockwise. If you’re dealing with A lever-style handle, there may also be A set screw underneath that needs to be loosened first. Once you’ve removed the cap Or handle, Take note of any corrosion or damage that may need to be addressed before reinstallation.
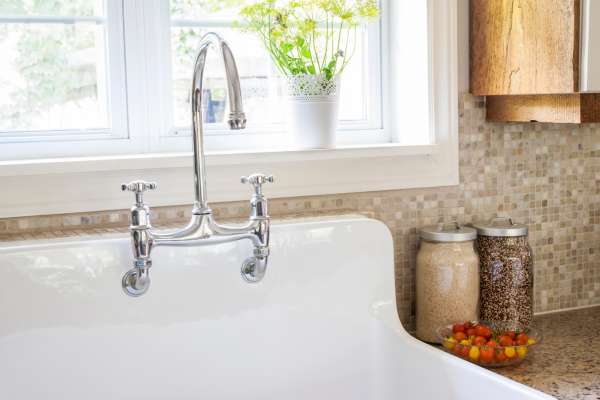
Tightening The Mounting Nut Or Adjusting Ring
It’s an easy and straightforward process, Even for someone who has never done it before. If you’re experiencing leaks from your kitchen mill or if it feels loose, Then tightening the mounting nut Or adjusting ring could be the solution.
The first step in tightening A kitchen mill is to turn off the aqua supply valve under the sink. This will prevent any water from flowing while you work on the faucet. Once you’ve turned off the valve, Use A wrench to loosen and remove the mounting nut beneath the faucet handle. The mounting nut holds everything in place, So don’t lose it!
Next, Locate the adjusting ring around the base of the spout and tighten it with pliers.
Reattaching The Handle And Decorative Cap
It can be frustrating trying to tighten a kitchen faucet that just won’t stay in place, But fear not! This process is relatively simple and requires only A few tools.
First, Turn off the aqua supply to your cookhouse sink. This will prevent any water from flowing out while you work on the mill. Next, Find the set screw located on the underside of your faucet handle. Use an Allen wrench to loosen and remove it. Once removed, Gently lift off the handle from its base.
Now that you have access to the mounting nut, use an adjustable wrench Or pliers to tighten it down securely onto its base. Be careful not to over-tighten as this can cause damage Or cracking in your kitchen sink basin.
Turning On The Water Supply

A loose kitchen faucet can be a frustrating problem that leads to leaks and drips. Fortunately, Tightening your cookhouse mill is A simple fix that can save you money on your water bill and prevent damage to your sink or countertops. Here are some tips for turning on the aqua supply and tightening your kitchen mill.
First, Turn off the water supply valves under the sink by turning them clockwise until they are tight. Next, Use an adjustable wrench Or pliers to tighten the mounting nuts located under the sink that hold the faucet in place. Be careful not to overtighten these nuts as it could crack Or damage your sink basin. Check the handle of your faucet for any looseness and tighten it accordingly using A screwdriver if necessary.
Checking For Leaks
Not only does A leaky faucet waste water and increase your utility bill, But it can also cause damage to your sink and surrounding areas.
One simple solution for fixing A leaky cookhouse mill is to tighten it. To do this, Start by turning off the aqua supply to the sink. Next, locate the handles under the sink that control hot and cold water flow. Use an adjustable wrench Or pliers to tighten them clockwise until they are snug. Be careful not to over-tighten as this can cause damage Or create more leaks.
If tightening doesn’t solve the problem, There may be other issues at play such as worn out washers or O-rings that need replacing.
Testing The Faucet For The Proper Function
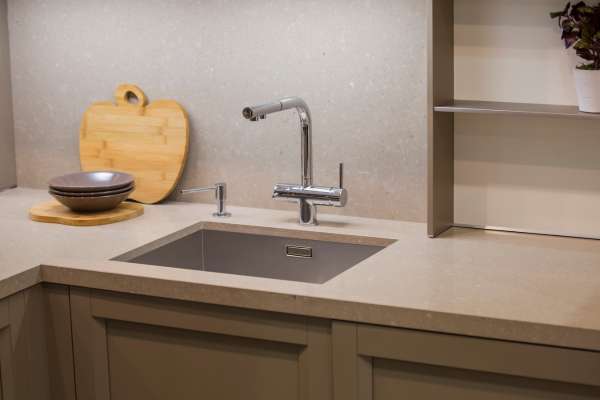
Fortunately, You can tighten A kitchen faucet with few tools in just A matter of minutes. But before you tighten your faucet, It’s important to test it for proper function.
To begin with, Turn on your mill and see if there are any leaks Or drips. If there are no leaks, Turn off the aqua supply valves under the sink and remove the handle by unscrewing it counterclockwise. Once you have removed the handle, Use pliers to loosen the mounting nut located under the handle base. Then slide out the cartridge from its housing to expose the O-rings.
Next, inspect each O-ring for damages such as cracks Or tears. Replace any O-rings that show signs of damage and reassemble everything back together again.
The Final Thought
Tightening A kitchen faucet is A fairly simple do-it-yourself project that anyone can tackle. With the right tools and supplies, You can easily make your faucet as good as new in no time. Be sure to turn off the water before working on the mill , So you don’t risk flooding your kitchen Or other rooms of your home.