Peat pots are A great alternative to traditional plastic or ceramic plant containers. Made from compressed peat moss, These biodegradable can be planted directly into the ground. Reducing transplant shock and promoting healthy root growth. However, not all gardeners know how to use peat pots effectively.
In this article, We will guide you through the process of using peat pots in your gardening projects. From selecting the right size pot to caring for your seedlings after planting, We’ll cover everything you need to know about how to use peat jars successfully. Whether you’re an experienced gardener or just starting out, This guide will help you get the most out of your peat pot investment And create beautiful and healthy plants in your outdoor space.
How Do You Use Peat Seed Pots?
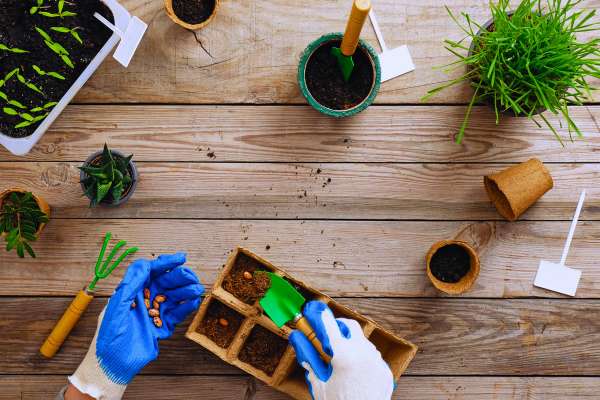
Peat seeds are used in gardening as biodegradable alternatives to plastic jars. To use peat seeds, fill them with A seed-starting mix, plant seeds at the recommended depth, and water them thoroughly. Place the pots in a suitable environment with adequate sunlight and follow the seed packet instructions for temperature and light requirements. Once the seedlings have grown and the risk of frost has passed, you can transplant the entire peat pot into a larger container or directly into the ground. It will naturally decompose, Allowing the roots to penetrate the soil and promoting healthier plant development.
Can Peat Pots Be Put Directly In The Soil?
Yes, It can be put directly into the soil. This is one of the advantages of using peat pots for seed starting. When it’s time to transplant the seedlings, dig A hole in the soil large enough to accommodate the entire peat pot. Place the pot in the hole, Make sure the top rim is level with or slightly above the soil surface, And backfill with soil. These pots are biodegradable, So they will naturally break down over time, allowing the roots to penetrate the surrounding soil. This minimizes transplant shock and promotes healthy plant growth.
How Long Do You Soak Peat Pots?
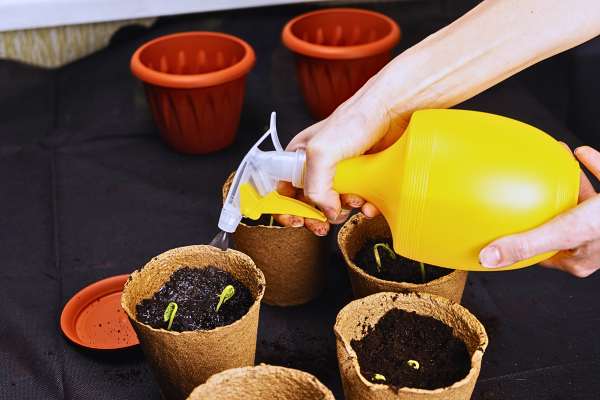
Soaking peat pots before planting is generally not necessary. They are designed to absorb moisture from the surrounding soil or seed-starting mix. Providing the necessary hydration for seed germination. If the peat pots are extremely dry, You can lightly mist them with water or briefly place them in A tray of water to moisten them before planting. However, It’s crucial to avoid over-soaking the pots, As excessive moisture can lead to fungal issues. Watering the peat pots from the top, Allowing the water to percolate through the pots And into the soil. The recommended method is to ensure proper moisture distribution for healthy plant growth.
Importance Of Proper Utilization Of Peat Pots In Gardening
If you’re an avid gardener or someone who enjoys growing plants. You may have come across peat pots as A popular option for starting seedlings. Also known as peat pellets or peat cups Are small biodegradable containers made from compressed peat moss. They offer several benefits over traditional plastic or ceramic pots, and learning how to use them properly can significantly enhance your gardening experience. In this blog post, We’ll discuss the importance of proper utilization of pots And provide A step-by-step guide on how to use them effectively.
Prepare Peat Pots for Planting

Before you begin using it, it’s essential to prepare them properly. Gently separate the individual pots, as they usually come connected in a tray. This process ensures that each seedling has enough space to grow and expand its roots. Additionally, make sure to have a tray or container ready to hold the peat jars once they are filled and planted.
Soak Peat Pots in Water

One of the significant advantages of using it, Is its ability to absorb And retain water. Before planting, It’s A good idea to soak the peat pots in water to ensure they are thoroughly hydrated. Fill A tray or container with water And place the peat pots inside. Allowing them to absorb the moisture for around 10-15 minutes. This step ensures that the pots are moistened throughout, promoting better germination and seedling growth.
Place Peat Pots in Trays or Containers

Once the peat pots have absorbed the water and are adequately hydrated, transfer them to a tray or container. This step is important as it provides stability and support to the peat jars, preventing them from toppling over and disrupting the growth of the seedlings. The tray or container should be large enough to accommodate all the pots and have drainage holes to prevent waterlogging.
Select a Suitable Potting Mix for Peat Pots

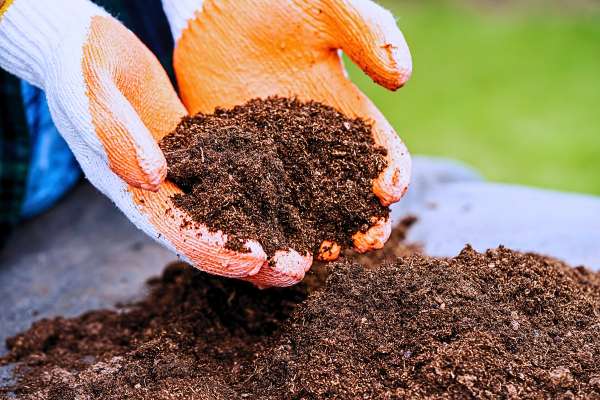
Choosing the right potting mix is crucial when using peat pots. Since peat pots are made from peat moss, It’s recommended to use A potting mix that complements their properties. Look for a mix that provides excellent drainage while retaining moisture, as this combination allows for proper root development and prevents waterlogged conditions. You can also enrich the potting mix with compost or other organic matter to enhance the Nutrient content And promote healthy growth.
When filling the peat jars with the potting mix, ensure that you leave a small gap at the top to allow for watering and prevent soil from spilling over. Gently firm the potting mix to create a stable environment for the seeds or seedlings.
Ensuring Proper Drainage In Peat Pots

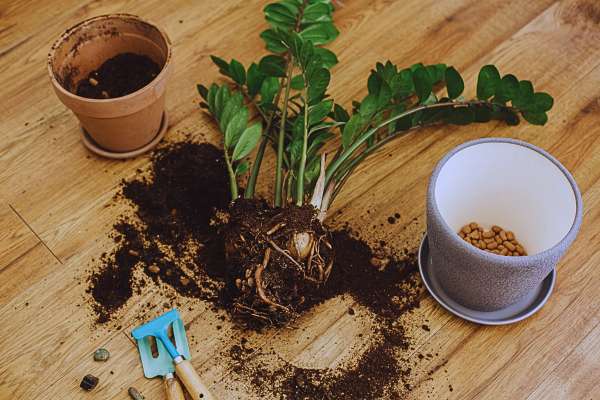
Using peat pots for gardening, And ensuring proper drainage is essential for the health and growth of your plants. To ensure proper drainage in peat jars, Start by adding A high-quality potting mix, And gently pressing it down to create A stable environment. Next, Create suitable planting holes that are deep enough for the roots but avoid compacting the soil too tightly. Carefully transfer your seedlings or seeds to peat jars, covering the roots with soil. During watering, ensure excess water drains away freely by tilting the tray or container and avoid overwatering. By following these steps, you can provide your plants with the optimal drainage they need to thrive.
Adding Soil To Peat Pots

Before planting your seeds or seedlings, It’s crucial to add soil to the peat jars. Start by filling the peat pots with A high-quality potting mix. Leaving A small gap at the top to allow for watering. When adding soil, Make sure to lightly press it down to create a stable environment for the seeds or seedlings. Properly filled peat jars provide A suitable medium for root growth and development.
Creating A Suitable Planting Hole

Once you have filled the peat jars with soil, it’s time to create a suitable planting hole for your seeds or seedlings. Gently press your finger or A small tool into the soil. Creating A hole that is deep enough to accommodate the plant’s roots. Be careful not to compress the soil too tightly, as this can impede drainage. It’s important to note that different plants have varying depth requirements, so refer to the seed packet or plant care instructions for guidance.
Transferring Seedlings Or Seeds To Peat Pots

When it comes to transferring your seedlings or seeds to peat pots, handle them with care. If you’re using seedlings, carefully lift them from their original container. Making sure to hold them by the leaves or root ball to avoid damaging the delicate stem. Gently place the seedling into the planting hole, ensuring that the roots are covered with soil.
If you’re starting from seeds, follow the instructions on the seed packet for the appropriate planting depth and spacing. Place the seeds into the planting hole, cover them with soil, and lightly pat down to secure them.
The Final Thought
Peat pots are an excellent option for starting your plants indoors and transplanting them outdoors. They provide A biodegradable alternative to plastic pots and allow for easy root growth And transplanting. Remember to keep your peat pots moist And avoid overwatering or drying them out. Also, Consider using A tray or saucer to catch excess water and prevent the pots from becoming waterlogged. By following these simple steps, you can successfully use It in your gardening endeavors and contribute to a more sustainable environment. Give it A try today and see the difference it makes!
