Painting kitchen furniture is a transformative and cost-effective way to breathe new life into your kitchen. Whether you’re looking to refresh outdated cabinets, give your dining table a modern look, or add a splash of color to your kitchen chairs, knowing how to paint kitchen furniture can make a significant difference. This process not only revitalizes your space but also allows you to express your personal style. With the right tools, techniques, and a bit of patience, you can achieve professional-looking results that will enhance the overall aesthetics of your kitchen. This guide will walk you through the essential steps to successfully paint your kitchen furniture, ensuring a durable and beautiful finish.
Why Paint Kitchen Furniture?
Painting kitchen furniture offers a unique opportunity to refresh and personalize one of the most frequented areas in your home without the high cost of a full renovation. Over time, kitchen furniture can become worn or outdated, but a fresh coat of paint can instantly modernize the space. It allows you to experiment with colors and finishes that reflect your current style preferences. Additionally, painting is a relatively simple DIY project that can be accomplished over a weekend, making it an accessible option for homeowners looking to make impactful changes quickly. The process is not only budget-friendly but also sustainable, as it involves revamping existing pieces rather than purchasing new ones.
Benefits Of Painting Kitchen Furniture
There are numerous benefits to painting kitchen furniture. First, it provides a cost-effective way to achieve a high-end look. Instead of investing in new cabinets or tables, painting can dramatically alter the appearance of your kitchen at a fraction of the cost. Second, it allows for customization, giving you the freedom to choose colors and finishes that complement your overall home decor. Third, painting furniture can increase the longevity of your kitchen pieces by adding a protective layer that guards against wear and tear. Finally, this project can be a fun and creative outlet, offering a sense of accomplishment as you transform your kitchen with your own hands. Whether you’re aiming for a rustic charm or a sleek, modern feel, painting your kitchen furniture can help you achieve the desired aesthetic while enhancing the functionality and appeal of your space.
Gathering Materials
You’ll Need The Following:
- Paint (Latex Or Oil-Based)
- Primer
- Sandpaper (Medium And Fine-Grit)
- Brushes And Rollers
- Drop Cloths
- Painter’s Tape
- Screwdriver
- Tack Cloth
- Safety Gear (Gloves, Mask, Goggles)
Painting Process
1. Preparation
The first step in the painting process is proper preparation. Begin by removing all hardware, such as handles and hinges, from your kitchen furniture. This will ensure that you have a smooth and even surface to work on. Next, lightly sand the furniture to remove any old paint or varnish and to create a surface that the new paint can adhere to. Use a medium-grit sandpaper for this task, and make sure to sand in the direction of the wood grain to avoid scratches. After sanding, wipe down the furniture with a damp cloth to remove any dust and debris. If there are any holes or imperfections, fill them with wood filler and sand smooth once dried. Finally, cover any areas you do not want to paint with painter’s tape to protect them during the painting process.
2. Cleaning
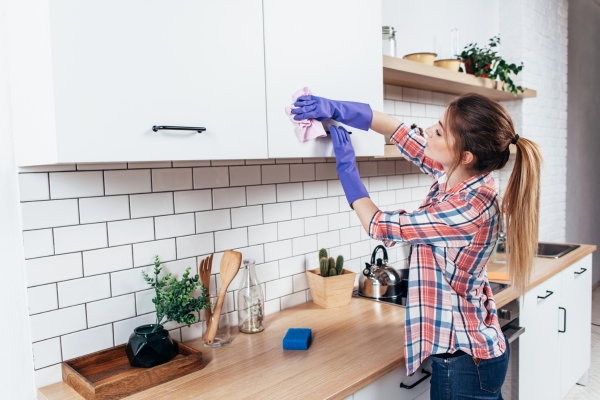
Thoroughly cleaning your kitchen furniture is an essential step that ensures a flawless finish. Start by using a gentle detergent mixed with warm water to scrub the surfaces of your furniture. This will remove grease, grime, and any other residues that could prevent the paint from adhering properly. Pay special attention to areas around handles and edges where dirt tends to accumulate. After washing, rinse the furniture with clean water and allow it to dry completely. For a deeper clean, especially if your kitchen furniture is very greasy, you might consider using a degreaser. Once the furniture is clean and dry, wipe it down with a tack cloth to pick up any remaining dust and particles. This meticulous cleaning process will help achieve a smooth and professional-looking paint job.
3. Sanding

Sanding is a crucial step in ensuring a smooth and durable finish for your kitchen furniture. After the initial preparation and cleaning, you should sand the surfaces again using a finer-grit sandpaper, such as 220-grit. This will help to smooth out any remaining imperfections and create an ideal surface for the primer to adhere to. Be sure to sand in the direction of the wood grain to avoid creating scratches or gouges. Once sanding is complete, thoroughly wipe down the furniture with a tack cloth to remove all dust and debris. Proper sanding not only enhances the adhesion of the primer and paint but also contributes to a more professional and polished final appearance.
4. Priming
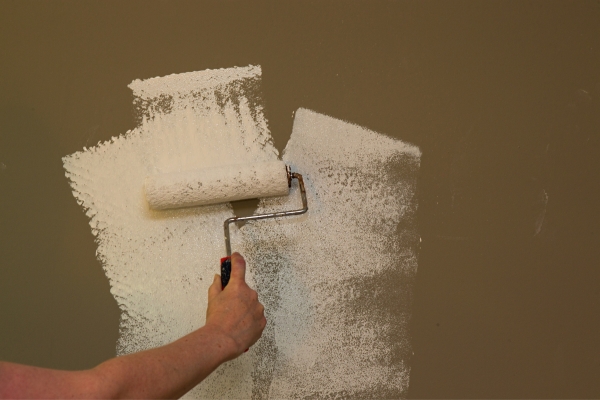
Priming is an essential step that should not be overlooked, as it ensures better paint adhesion and long-lasting results. Choose a high-quality primer suitable for the type of furniture you are painting. Apply the primer evenly using a brush or roller, ensuring you cover all surfaces. For furniture with intricate details, use a brush to get into crevices and corners. Allow the primer to dry completely as per the manufacturer’s instructions, usually for at least a few hours. Once dry, lightly sand the primed surfaces with fine-grit sandpaper to smooth out any brush strokes or drips. Wipe away any dust with a tack cloth before proceeding to the next step. Priming not only improves the adhesion of the paint but also helps in covering stains and preventing the old color from bleeding through the new paint.
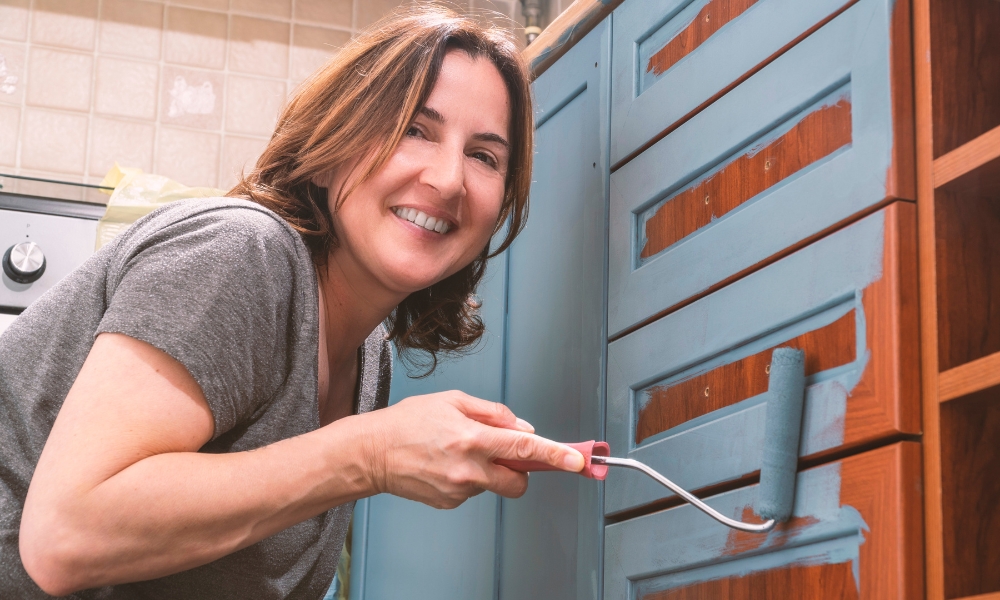
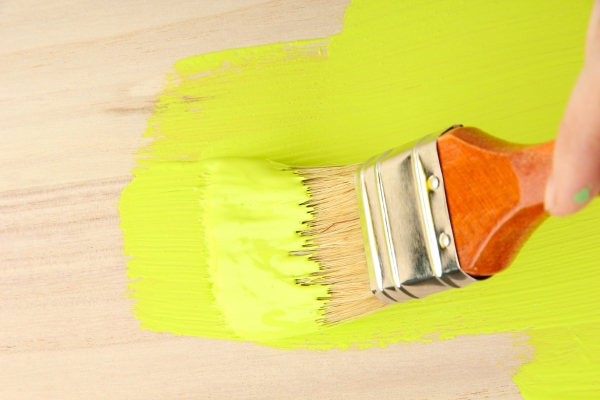
5. Painting
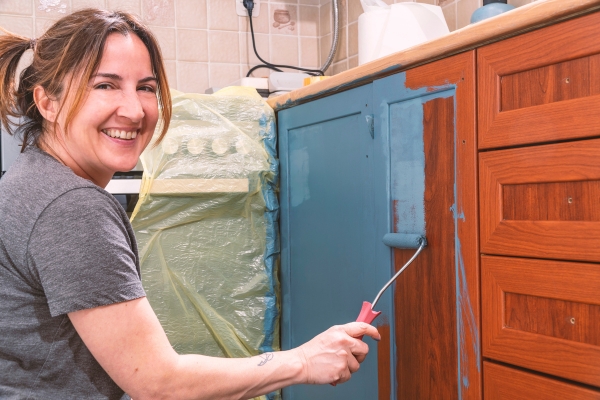
Now that your It is well-prepared and primed, it’s time to apply the paint. Choose a high-quality paint that is suitable for it, such as a durable latex or oil-based paint. Using a high-quality brush or foam roller, apply the paint in thin, even coats. Start with a light first coat to establish a base, then allow it to dry completely according to the paint manufacturer’s instructions. Once the first coat is dry, lightly sand the surface with fine-grit sandpaper to remove any imperfections and ensure a smooth finish. Wipe away any dust with a tack cloth, then apply a second coat of paint. Depending on the coverage and the desired finish, you may need to apply a third coat. After the final coat, let the paint cure fully, to ensure a hard, durable finish. Once the paint has cured, reattach the hardware and enjoy your newly transformed It.
6. Finishing Touches

The final step in the painting process is adding the finishing touches to your kitchen furniture. Once the paint has fully cured, reattach any hardware you removed, such as handles, knobs, and hinges. Consider replacing old hardware with new pieces for an updated look. If you want an extra layer of protection, especially for heavily used pieces, apply a clear topcoat or sealant. This will help protect the paint from scratches and wear. Use a high-quality brush to apply the sealant evenly, and allow it to dry completely according to the manufacturer’s instructions. Finally, inspect your work for any touch-ups that may be needed and make sure all surfaces are smooth and even. These finishing touches will ensure that your painted kitchen furniture looks professional and lasts for years to come.
How Long Does It Take To Paint Kitchen Furniture?
The time it takes to paint kitchen furniture can vary depending on the size and number of pieces, the type of paint used, and the drying times between each step. Generally, the entire process can take anywhere from a few days to a week. Preparation, including cleaning and sanding, usually takes a few hours. Priming and painting each require multiple coats with drying time in between, often 24 hours per coat. Adding finishing touches and allowing the paint to cure completely can add several more days. It’s important to be patient and allow sufficient drying and curing time at each stage to ensure a durable and high-quality finish.
Conclusion
Painting kitchen furniture is a rewarding DIY project that can significantly enhance the look and feel of your kitchen. By following a systematic process that includes thorough preparation, cleaning, sanding, priming, painting, and finishing touches, you can achieve professional results. This approach not only refreshes your space but also offers a cost-effective alternative to purchasing new furniture. With careful attention to detail and patience, you can transform your kitchen furniture to reflect your personal style and enjoy a rejuvenated kitchen environment.