Embark on a culinary adventure with our guide on “How to Make Biscuits in a Dutch Oven.” This method, steeped in tradition, infuses a distinctive flavor into your biscuits, making them a delightful treat for any occasion. Ideal for both outdoor enthusiasts and home cooks, mastering the Dutch oven technique is simpler than you might think. Our step-by-step instructions will ensure you achieve light, fluffy, and irresistibly golden biscuits every time. Whether you’re gathered around a campfire or warming up your home kitchen, learn the secrets to perfect Dutch oven biscuits and impress your family and friends with your baking prowess.
Essential Tools and Ingredients for Dutch Oven Biscuits

To craft perfect biscuits in a Dutch oven, you’ll need a few key tools and ingredients. A well-seasoned cast iron Dutch oven is crucial for even heat distribution and achieving that golden crust. For the dough, all-purpose flour, baking powder, cold butter, and milk are essentials. Optionally, sugar or honey can be added for a hint of sweetness. Don’t forget a sturdy mixing bowl, a pastry cutter for blending the butter into the flour, and a reliable measuring cup for accuracy. Preparing these tools and ingredients beforehand simplifies the process, ensuring delicious results every time you bake.
Preparing Your Dutch Oven for Baking
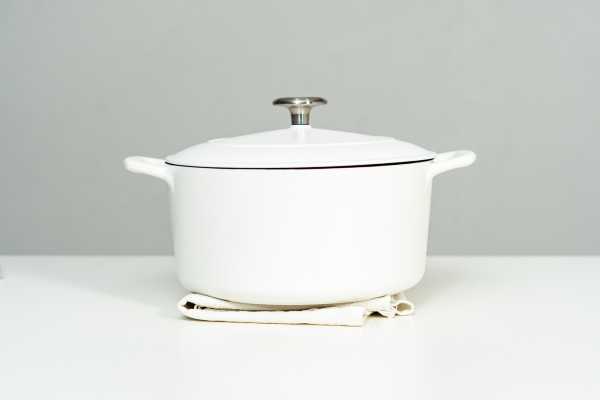
Before baking biscuits, preparing your Dutch oven is crucial to ensure even cooking and prevent sticking. Start by selecting the right size oven; a 10-inch model usually suffices for a standard batch of biscuit. Thoroughly clean the oven if it’s not already seasoned, then lightly grease the surface with a high-smoke-point oil, such as vegetable or canola oil. Preheat the oven with the lid on over your heat source to create an evenly heated cooking environment. This preparation helps mimic a conventional oven’s conditions, providing the perfect setting for baking fluffy, golden biscuit. Proper preparation sets the stage for successful baking, enhancing flavor and texture.
Step-by-Step Guide to Mixing Biscuit Dough

Begin by sifting together the dry ingredients—flour, baking powder, and salt—to ensure a uniform mixture without any clumps. Next, cut in cold butter or shortening until the mixture resembles coarse crumbs. This step is crucial for creating flaky layers. Gradually add cold milk, stirring gently, to form a soft dough. Be careful not to overmix, as minimal handling is key to maintaining the dough’s tenderness. Once combined, turn the dough out onto a lightly floured surface and pat it into shape. This method provides the foundation for deliciously light and airy biscuits, ready to be baked to perfection in your Dutch oven.
Techniques for Shaping Perfect Biscuits
Achieving the perfect shape for your biscuits begins with the consistency of the dough. Aim for a soft, slightly sticky texture that rolls out smoothly without tearing. Use a floured surface and rolling pin to gently flatten the dough to an even thickness before cutting out your biscuits with a sharp, round cutter. Press straight down without twisting to ensure the biscuits rise evenly while baking. If the dough sticks, dip your cutter in flour between uses. This method not only shapes your biscuits beautifully but also enhances their texture and ensures a uniform rise in the Dutch oven, leading to delicious, perfectly shaped treats every time.
How to Arrange Biscuits in a Dutch Oven
Arranging biscuits in a Dutch oven is key to achieving an even bake and delicious results. Start by lightly greasing the bottom of your Dutch oven to prevent sticking. Place the biscuit dough rounds slightly apart to allow room for expansion as they bake. For a golden top, consider brushing the tops with melted butter or a light egg wash before closing the lid. Ensure the lid is tight to retain heat and create an oven-like environment. This method not only enhances the flavor but also gives your biscuits a delightful, crispy exterior with a soft, fluffy interior, perfect for any gathering or cozy meal at home.
Tips for Controlling Heat While Baking in a Dutch Oven
Achieving the right temperature is crucial when baking biscuits in a Dutch oven. Start by preheating your coals or adjusting your heat source to a moderate level, aiming for a consistent temperature throughout the cooking process. Placing coals evenly under and on the lid of the Dutch oven helps mimic an oven-like environment, crucial for even baking. Regularly rotate the oven and lid in opposite directions every 10-15 minutes to prevent hot spots and ensure uniform browning. Remember, mastering heat control can take a few tries, but the result—perfectly baked, golden biscuits—will prove worth the effort. These techniques will make your next outdoor baking experience a delightful success.
Monitoring Baking Progress: What to Look For
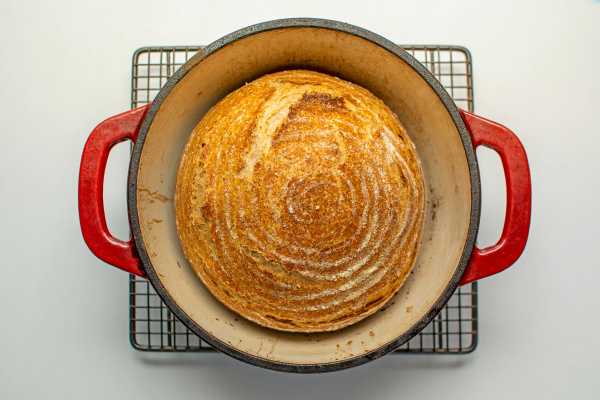
When baking biscuits in a Dutch oven, keeping an eye on the baking progress is crucial. Monitor the color and size of the biscuits, which should turn a golden brown and expand slightly as they cook. Lift the lid briefly to check for doneness; however, do this sparingly to maintain the temperature inside the Stove. A biscuit is typically done when it has a firm top and the sides are set. Additionally, you can insert a toothpick into the center of a biscuit; if it comes out clean, they are ready to be taken out of the Stove. Observing these signs ensures perfectly baked biscuits every time.
Variations on the Classic Biscuit Recipe
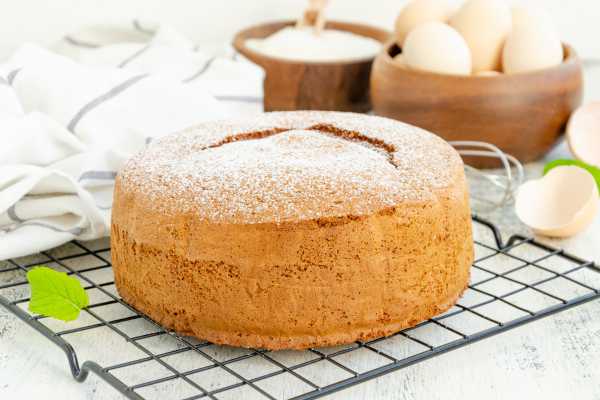
Elevate your biscuit-making skills by exploring various creative adaptations to the classic recipe. Introduce a sweet twist with additions like cinnamon and sugar, or go savory with cheese and herbs for a flavorful kick. For those seeking a healthier option, substitute white flour with whole wheat or almond flour to add a nutritious boost. Don’t shy away from experimenting with buttermilk or yogurt to achieve a richer texture. Each variation not only enhances the taste but also personalizes your Dutch Stove biscuits, making them perfect for any meal or occasion.
Serving Suggestions for Dutch Oven Biscuits
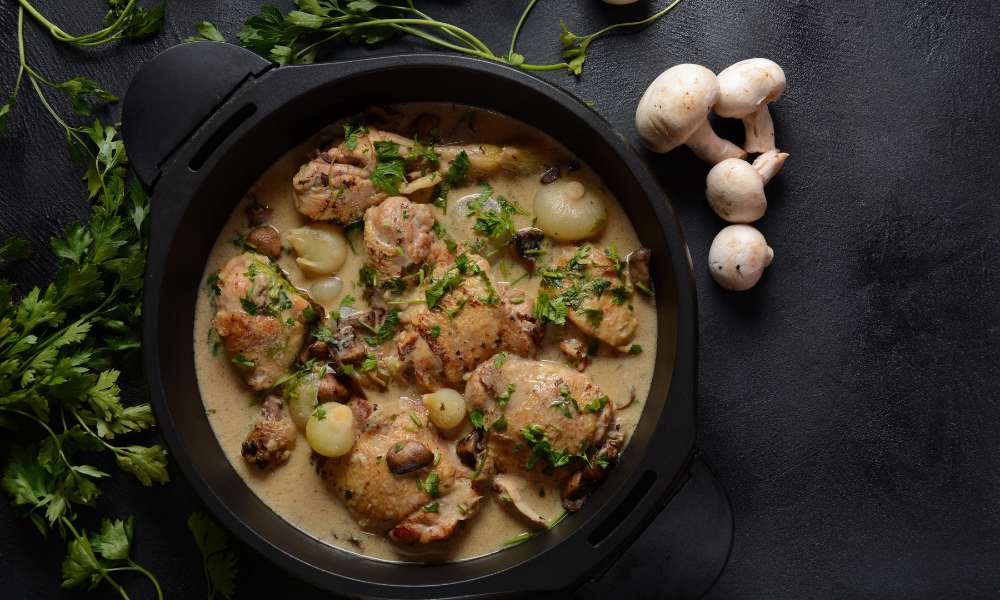
Enjoy your freshly baked Dutch Oven biscuits with a variety of accompaniments to enhance their flavor. Spread them with rich butter or your favorite jams for a sweet touch. Alternatively, serve them alongside a hearty stew or creamy soup to soak up the delicious flavors. For a breakfast treat, pair them with eggs and bacon or drizzle with honey for added sweetness. Whether you’re looking for a comforting breakfast option or a satisfying addition to your meal, these biscuits are versatile and delicious, making them perfect for any dining occasion.
Cleaning and Caring for Your Dutch Oven
Maintaining your Dutch oven is crucial to ensure it lasts for generations and continues to produce perfectly baked biscuits. After each use, allow the Stove to cool completely before cleaning. Avoid using soap or harsh detergents as they can strip the seasoning from cast iron. Instead, wipe the interior with a paper towel to remove food particles and rinse with hot water. For stubborn residue, a paste of coarse salt and water can act as a gentle abrasive. Always dry your Dutch Stove thoroughly and coat it lightly with cooking oil to protect the surface. Proper care will keep your Dutch Stove in prime condition, ready for your next baking adventure.
Conclusion
As you’ve discovered in our guide on how to make biscuits in a Dutch oven, this traditional baking method is not only simple but also incredibly rewarding. Perfecting the art of Dutch oven biscuits can add a rustic and flavorful twist to your culinary repertoire. Whether enjoyed with a dollop of jam on a cozy morning or as a side to a hearty meal, these biscuits are sure to delight. Remember, the key to success lies in proper preparation and care of your Dutch Stove. Embrace these tips, experiment with flavors, and enjoy the delicious results of your baking efforts. Happy baking, and may your biscuits always be golden and flaky!