Welcome to the ultimate guide on how to cook brisket in a Dutch oven. This technique is beloved by both chefs and home cooks for its ability to produce succulent, flavorful meat. The slow cooking method envelops the brisket in a steamy, aromatic environment that tenderizes the meat and infuses it with deep, robust flavors. Whether you’re a seasoned cook or trying this method for the first time, our step-by-step approach will guide you. From choosing the best cut to preparing your brisket with the perfect marinade, we’ll help you master the cooking process for a deliciously tender result.
. Get ready to impress your guests with a beautifully cooked brisket that’s both deliciously rich and delightfully tender.
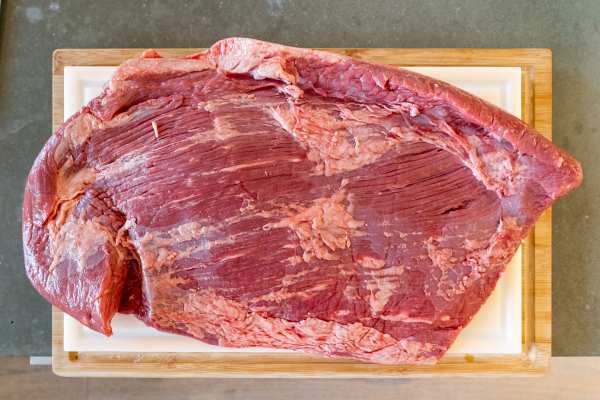
Choosing the Right Cut of Brisket
Selecting the right cut of brisket is crucial for achieving the best results in a Dutch oven. The flat cut, also known as the first cut, is leaner and slices beautifully, making it ideal for those who prefer a less fatty meat. Conversely, the point cut, which is thicker and more marbled, offers richer flavors and a more tender texture when slow-cooked. When purchasing brisket, look for a piece with a consistent fat cap that will melt and baste the meat during cooking, enhancing its moisture and flavor. Opt for high-quality, well-marbled brisket to ensure your dish is deliciously succulent and full of taste.
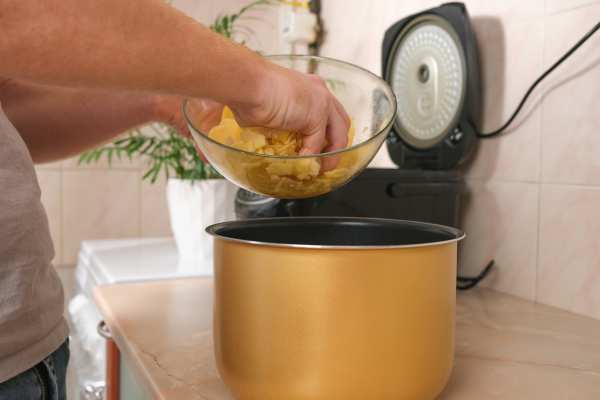
Essential Tools and Ingredients for Dutch Oven Brisket
To ensure your Dutch oven brisket is a culinary success, having the right tools and ingredients is crucial. Start with a high-quality Dutch oven that distributes heat evenly. Essential ingredients include a fresh beef brisket, coarse salt, black pepper, garlic powder, and your choice of herbs and spices to enhance flavor. For the cooking liquid, beef broth, red wine, or a combination of both can add moisture and richness. Vegetables like onions, carrots, and celery not only enrich the broth’s taste but also make a great side dish that complements the brisket.. With these essentials, you’re set to create a mouth-watering brisket in your Dutch oven.
Prepping the Brisket for Cooking
Proper preparation is key to achieving the perfect brisket in a Dutch oven. Start by trimming the fat cap to about a quarter-inch thickness, which helps enhance flavor without causing the meat to be overly greasy. Next, pat the brisket dry with paper towels to ensure the rub adheres well. Apply a generous amount of your chosen spice rub evenly across all sides of the meat, massaging it into the surface to infuse the flavors deeply. If time allows, let the seasoned brisket rest in the refrigerator for several hours or overnight to maximize the taste. This initial preparation sets the stage for a deliciously tender and flavorful result.
Creating a Flavorful Rub and Marinade
Creating a flavorful rub and marinade is a key step in preparing brisket for the Dutch oven. Begin by combining spices such as paprika, garlic powder, and black pepper with kosher salt to enhance the meat’s natural flavors. For the marinade, mix ingredients like Worcestershire sauce, brown sugar, and Dijon mustard to create a balance of sweet and tangy notes. Apply the rub evenly, then let the beef sit in the marinade overnight in the refrigerator. This process not only infuses the beef with rich flavors but also helps tenderize the meat, ensuring a succulent result after slow cooking.
Layering Flavors: Vegetables and Liquids to Add
Enhancing the flavor of your brisket involves a thoughtful selection of vegetables and liquids that complement the meat’s rich profile. Carrots, onions, and celery not only add depth to the flavor but also contribute essential moisture that helps break down the brisket’s tough fibers during the long cooking process. For liquids, a combination of beef broth and a robust red wine offers a complex base that deepens as it simmers. Adding a touch of Worcestershire sauce or balsamic vinegar can introduce a subtle tang, balancing the hearty flavors. This blend of ingredients not only enriches the beef but also creates an aromatic and savory sauce perfect for serving.
The Slow-Cooking Process Explained
Mastering the slow-cooking process in a cook brisket in a Dutch oven is key to achieving perfectly tender beef. Begin by searing the meat on all sides to develop a rich crust, which adds flavor and seals in juices. Once seared, remove the beef and sauté your chosen vegetables in the same pot, layering the foundation of flavor. Return the beef to the pot, add your liquids—such as broth, wine, or a mix of both—and bring to a simmer. Cover tightly and transfer to a preheated oven. Slowly cook at a low temperature for several hours, allowing the heat to gently break down the tough fibers, resulting in exquisitely soft and flavorful meat.
Tips for Maintaining the Perfect Cooking Temperature
Maintaining the perfect cooking temperature is key to achieving tender and flavorful cook brisket in a Dutch oven. Start by preheating your oven to the ideal low heat setting, typically around 300°F (150°C), which allows the beef to cook slowly and evenly. Use an oven thermometer to monitor the temperature accurately, adjusting as necessary to avoid overheating. It’s important to keep the lid on tightly throughout the cooking process to maintain consistent moisture and heat levels inside the Dutch oven. By controlling the temperature carefully, you ensure that the beef remains juicy and full of flavor, cooking to perfection without drying out.
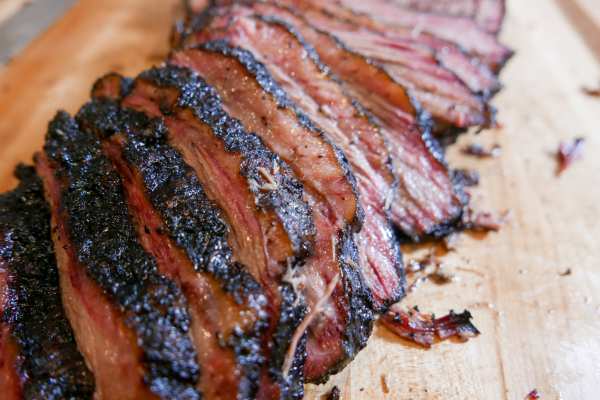
Testing Brisket for Doneness
Testing brisket for doneness is a critical step to ensure your meat is perfectly tender and juicy. The ideal internal temperature for a fully cooked beef should reach about 195°F to 205°F. Use a reliable meat thermometer to check the thickest part of the beefwithout touching the bone. For those who prefer the poke test, the meat should yield easily to a fork and almost fall apart. Additionally, observe the brisket’s surface; it should have a rich, dark crust and the fibers should pull apart with minimal effort. Mastering this testing technique will help you achieve a flawlessly cooked beef every time.
Resting the Brisket: Why It’s Crucial
Resting the brisket is a vital step that ensures the meat stays juicy and flavorful. After slow cooking, the brisket’s internal juices redistribute evenly during the resting period, preventing them from escaping when sliced. Skipping this step can result in dry and less appetizing meat. To rest a beef, place it on a cutting board and loosely cover it with aluminum foil for 20-30 minutes. This allows the temperature to stabilize and the fibers to relax, enhancing tenderness. Resting also locks in the flavors, ensuring each bite is as delicious as intended. Patience during this step transforms a good beef into a truly exceptional dish.
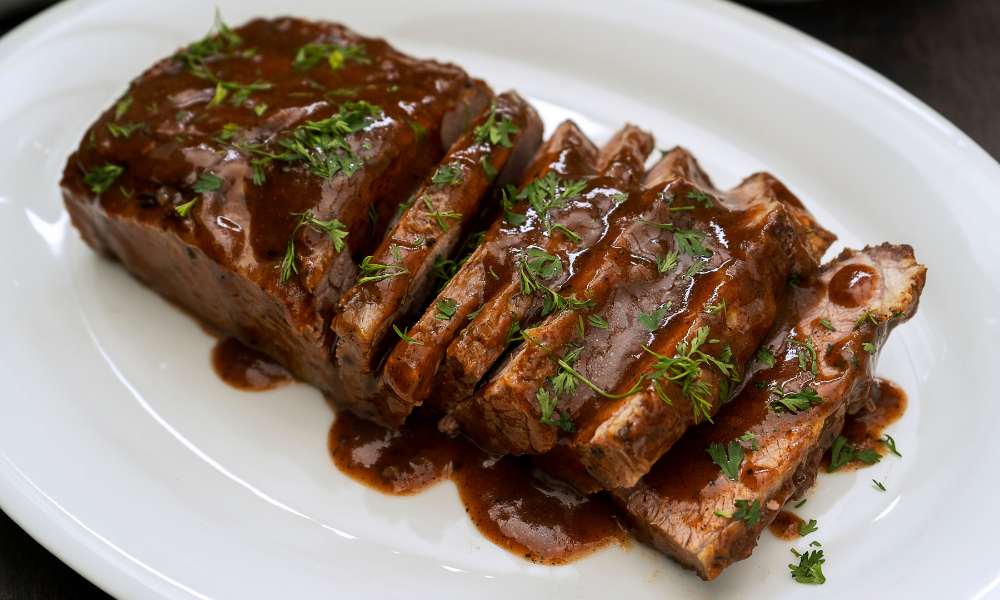
Serving Suggestions: Accompaniments and Presentation
Pairing your brisket with the right accompaniments elevates the meal and enhances its flavors. Classic sides like creamy mashed potatoes, roasted vegetables, or buttery cornbread are perfect complements to the rich and tender beef. For a fresh contrast, consider serving a crisp green salad or tangy coleslaw. Drizzle the beef with its savory juices or a homemade barbecue sauce for added flavor. Presentation matters too—slice the beef against the grain for tender, juicy pieces, and arrange them on a platter with garnishes like fresh herbs or lemon wedges. Thoughtful plating and complementary sides transform your dish into a memorable dining experience that everyone will savor.
Conclusion
Mastering how to cook brisket in a Dutch oven allows you to create a tender, flavorful dish that impresses every time. This cooking method combines simplicity with sophistication, delivering mouthwatering results with minimal effort. By carefully selecting your beef, seasoning it perfectly, and embracing the slow-cooking process, you can achieve rich, juicy meat that melts in your mouth. Pair it with complementary sides and thoughtful presentation to elevate the dining experience further. Whether for a family gathering or a special occasion, this timeless technique ensures your beef will be the star of the meal, leaving everyone craving seconds.