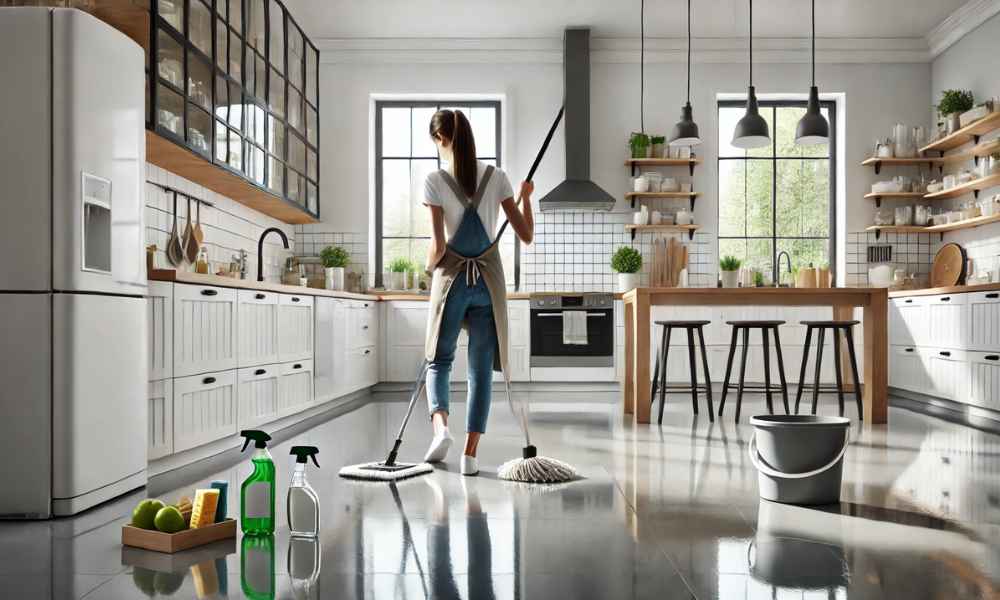
Keeping your kitchen floor clean isn’t just about maintaining appearances—it’s also essential for a healthy, hygienic home. The kitchen is where spills, crumbs, grease, and foot traffic collide, creating the perfect recipe for messes. Whether it’s a quick wipe-down after dinner or a deep clean to tackle stubborn stains, knowing how to clean your kitchen properly can make all the difference. This guide will walk you through simple, effective steps to keep your kitchen floor spotless and safe, no matter what type of surface you have.
Understanding Your Kitchen Floor Type
Before grabbing a mop and bucket, it’s important to identify what kind of floor you’re working with. Different materials require different care techniques to avoid damage. Tile floors, for instance, are durable and can handle a range of cleaning products, but grout lines might need special attention. Wooden floors, on the other hand, are more sensitive to moisture and harsh chemicals, which can cause warping or discoloration. Laminate and vinyl floors each have their quirks too—laminate hates standing water, while vinyl can handle a bit more moisture but may get scuffed easily. Knowing your floor type helps you choose the right cleaning methods, keeping your kitchen looking fresh and damage-free.
Essential Supplies for Cleaning Your Kitchen Floor
Having the right tools makes cleaning your kitchen quicker and more effective. A good broom or vacuum helps remove loose dirt and crumbs before mopping. Microfiber mops are versatile and gentle on most surfaces, while sponge mops work great on textured tiles. You’ll also need a bucket, preferably with a wringer to control moisture levels. For cleaning solutions, mild dish soap mixed with warm water works wonders for most floor types. If you prefer natural options, vinegar and baking soda can tackle stains and odors without harsh chemicals. Don’t forget soft cloths or scrub brushes for spot cleaning tough grime.
Preparing Your Kitchen Floor for Cleaning
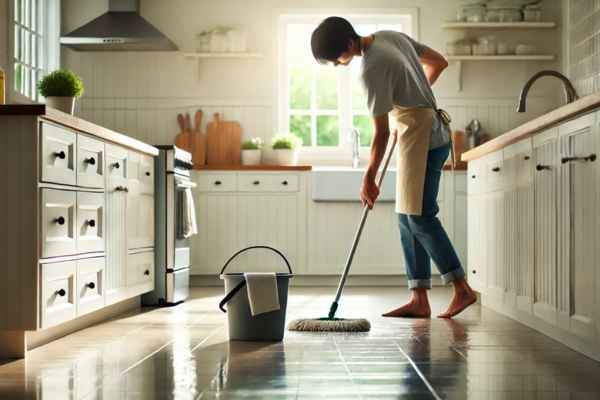
Preparation is key to an efficient cleaning process. Start by clearing the floor of any movable furniture, rugs, or obstacles to ensure you can reach every corner. Sweep or vacuum thoroughly to pick up loose debris—this prevents dirt from turning into muddy streaks when mopped. Pay attention to corners, under appliances, and along baseboards where crumbs tend to hide. If you spot sticky spills or dried-on messes, pre-treat them with a damp cloth or gentle cleaner to loosen the grime. This simple prep work makes the actual mopping quicker and more effective, leaving your kitchen spotless and gleaming.
How to Clean Kitchen Floor: Step-by-Step Guide
Cleaning your kitchen doesn’t have to be a daunting task. With the right approach, you can achieve sparkling results without spending hours scrubbing. Here’s a step-by-step guide to help you clean your kitchen floor effectively, regardless of the floor type.
Step 1: Gather Your Cleaning Supplies

Before you start, make sure you have all the necessary supplies. You’ll need a broom or vacuum, a mop (microfiber or sponge), a bucket, warm water, and a suitable floor cleaner based on your floor type. If you prefer natural cleaners, vinegar and baking soda work wonders on many surfaces.
Step 2: Clear the Area

Remove any chairs, rugs, or obstacles from the kitchen floor. This allows you to clean every nook and cranny without missing hidden spots where dirt tends to accumulate.
Step 3: Sweep or Vacuum the Floor
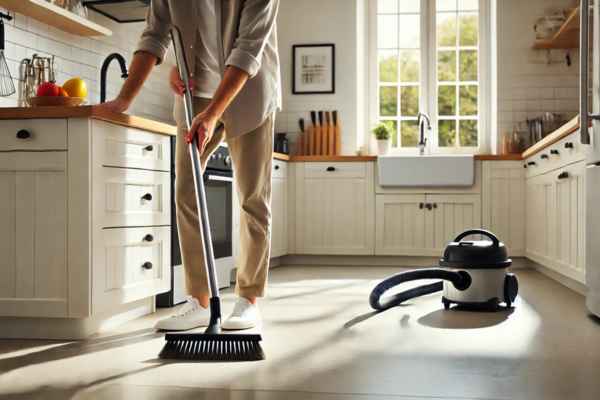
Begin by sweeping the floor thoroughly to get rid of loose dirt, crumbs, and debris. Use a vacuum for a quicker, more thorough job, especially if you have corners or tight spaces. This step prevents dirt from turning into muddy streaks when mopping.
Step 4: Spot Clean Stubborn Stains
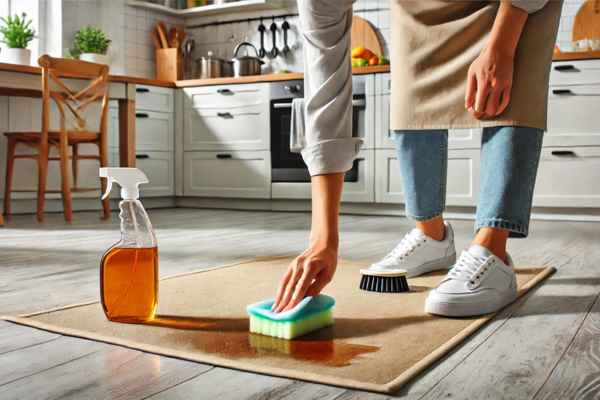
Check for sticky spills, dried food, or stubborn stains. Apply a small amount of cleaner directly to these spots and let it sit for a few minutes. Use a soft brush or cloth to gently scrub the area until the stain lifts.
Step 5: Prepare the Mop and Cleaning Solution
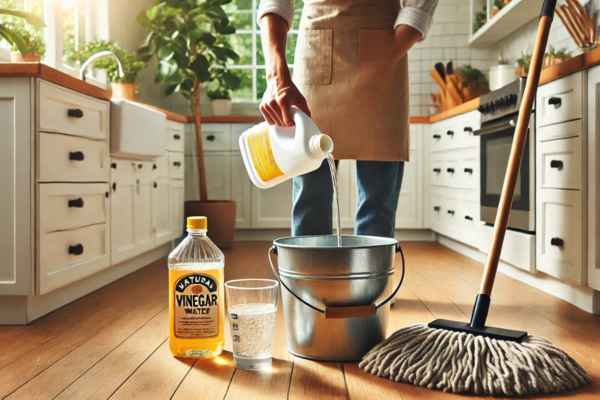
Fill a bucket with warm water and add the appropriate amount of floor cleaner. If you’re using a natural solution, mix equal parts of vinegar and water for tile or vinyl floors (avoid vinegar on hardwood as it can damage the finish).
Step 6: Mop the Floor
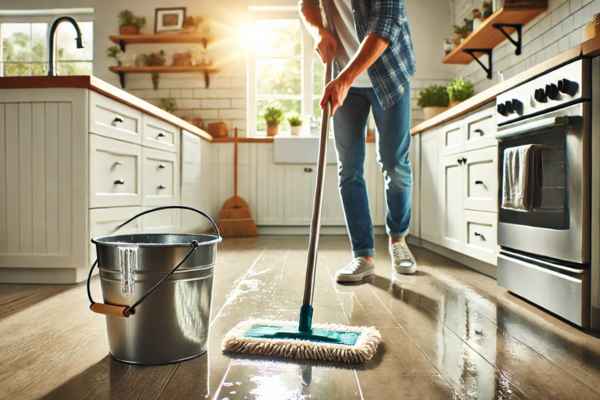
Dip your mop into the cleaning solution, wring out excess water to avoid soaking the floor, and start mopping. Work in sections, starting from the farthest corner of the room and moving toward the exit to avoid stepping on freshly cleaned areas. For wood or laminate floors, ensure the mop is damp, not wet, to prevent water damage.
Step 7: Rinse (If Needed)
Your floor cleaner requires rinsing, go over the floor with a clean mop and fresh water to remove any residue. This helps prevent sticky buildup, especially on tile and vinyl floors.
Step 8: Dry the Floor
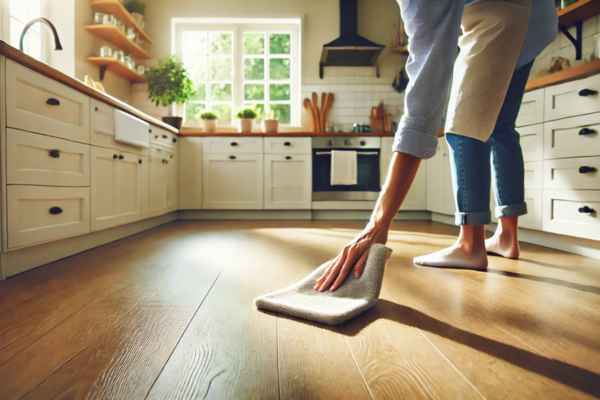
After mopping, allow the floor to air dry. For quicker results, use a dry microfiber cloth or towel to absorb any remaining moisture. This step is crucial for wooden or laminate floors to prevent water spots or warping.
Step 9: Replace Furniture and Rugs

Once the floor is completely dry, put furniture and rugs back in place. Make sure the bottom of chairs and tables are clean to avoid transferring dirt onto your freshly cleaned floor.
Bonus Tip: Maintain a Regular Cleaning Routine
Keeping your kitchen floor clean is easier when done regularly. Sweep daily, mop weekly, and tackle spills immediately to prevent stains from setting in. This simple routine keeps your kitchen looking fresh and reduces the need for deep cleaning sessions.
Eco-Friendly Tips for Cleaning Kitchen Floors
If you’re looking to keep your kitchen sparkling while being kind to the environment, eco-friendly cleaning methods are the way to go. Instead of harsh chemicals, opt for natural ingredients like white vinegar, baking soda, and lemon. A simple mixture of equal parts vinegar and warm water works wonders for cutting through grease on tile and vinyl floors. For wooden floors, use a few drops of mild dish soap diluted in water to avoid damage. Baking soda is perfect for tackling stubborn stains—just sprinkle it over the affected area, let it sit for a few minutes, then scrub gently with a damp cloth. Not only are these solutions safe for the planet, but they’re also budget-friendly and effective.
Dealing with Common Kitchen Floor Challenges
Kitchen floors face a variety of challenges, from greasy spills to stubborn stains and sticky messes. Grease can be especially tricky, but a mixture of warm water and dish soap can cut through it easily. For dried-on food stains, soak the spot with a damp cloth to soften it before scrubbing gently. If you’re dealing with sticky residue, try using a little vinegar or rubbing alcohol to break it down without damaging the surface. Scuff marks on vinyl floors? A tennis ball can work wonders—just rub it over the mark, and it’ll disappear. Understanding how to tackle these common problems quickly can save you time and keep your kitchen looking its best.
How Often Should You Clean Your Kitchen Floor?
The frequency of cleaning your kitchen depends on how much traffic it gets. For busy households, sweeping or vacuuming daily helps prevent dirt and crumbs from accumulating. A thorough mopping once a week keeps grime and sticky spots at bay. If you cook frequently or have pets, you might need to mop more often to deal with spills and pet hair. High-traffic areas, like in front of the sink or stove, may require spot cleaning every few days. Deep cleaning with scrubbing and stain removal can be done once a month to maintain a truly spotless floor. Staying consistent with your cleaning routine makes the task less overwhelming in the long run.
Quick Hacks for Busy People
Don’t have hours to spend scrubbing your kitchen? No problem! Quick cleaning hacks can save the day. Use disposable floor cleaning pads or a spray mop for fast touch-ups—they’re perfect for picking up crumbs and small spills in minutes. Keep a small handheld vacuum nearby for quick sweeps after meals. To deal with sticky spots without mopping the whole floor, spray the area with a mix of water and vinegar, then wipe it clean with a microfiber cloth. Another time-saver is placing rugs or mats in high-traffic areas to catch dirt before it reaches the floor, reducing the need for frequent mopping. With these simple tricks, you can maintain a clean kitchen floor even on your busiest days.
Maintaining a Clean Kitchen Floor Long-Term
Keeping your kitchen clean isn’t just about the occasional deep scrub; it’s about consistent habits that prevent dirt and grime from building up. Start by sweeping or vacuuming daily to remove crumbs and dust. Promptly wiping up spills helps prevent stains and sticky residue from setting in. Using rugs or mats in high-traffic areas, especially near the sink and stove, can catch debris before it reaches the floor. Also, consider a “shoes-off” rule inside the house to minimize dirt tracked from outside. Regular mopping with a gentle cleaner, depending on your floor type, will keep your floors looking fresh and extend their lifespan.
When to Call in the Professionals
Sometimes, despite your best efforts, your kitchen floor may need a professional touch. If you’re dealing with deep-set stains, water damage, or stubborn grime that won’t budge, professional cleaners have the tools and expertise to restore your floor’s original shine. Additionally, if your floor is made of delicate materials like natural stone or specialty hardwood, hiring professionals ensures the right techniques are used without causing damage. Professional cleaning services can also handle grout restoration, tile sealing, and refinishing tasks that go beyond everyday cleaning routines.
Can I Use the Same Cleaner for All Floor Types?
While it might seem convenient to use a universal cleaner, not all cleaning solutions are suitable for every kitchen floor type. For example, harsh chemical cleaners can strip the finish off hardwood floors, while abrasive scrubs can scratch laminate or vinyl surfaces. Tile floors are more forgiving and can handle stronger solutions, especially for grout cleaning. Always check the label on your cleaning product to ensure it’s compatible with your floor type. When in doubt, a mild solution of warm water and gentle dish soap is a safe option for most surfaces.
What’s the Best Way to Remove Dried Spills?
Dried spills can be a hassle, but with the right approach, they’re easy to tackle. Start by softening the spill with a damp cloth soaked in warm water. Let it sit for a few minutes to loosen the residue. For stubborn spots, add a bit of vinegar or a mild cleaning solution and gently scrub with a soft-bristle brush or sponge. Be cautious with abrasive tools, as they can scratch delicate surfaces. For sticky messes like syrup or grease, a mixture of warm water and dish soap works wonders. Always rinse the area with clean water to remove any leftover cleaner.
Are Steam Mops Safe for Kitchen Floors?
Steam mops can be a great tool for cleaning a kitchen, but their safety depends on the type of flooring you have. They work well on sealed tile, vinyl, and linoleum, effectively loosening grime and killing bacteria without harsh chemicals. However, steam mops are not recommended for unsealed wood, laminate, or engineered hardwood floors, as the moisture and heat can cause warping, swelling, or damage to the finish. Always check the manufacturer’s guidelines for your flooring before using a steam mop, and avoid leaving the steam in one spot for too long to prevent damage.
Conclusion
Keeping your kitchen floor clean doesn’t have to be a chore. By understanding your floor type, using the right cleaning methods, and staying consistent with maintenance, you can enjoy a spotless, fresh-smelling kitchen every day. Whether it’s dealing with stubborn spills, adopting eco-friendly practices, or knowing when to call in professionals, the key is to create a routine that fits your lifestyle. A clean kitchen not only looks great but also contributes to a healthier, more inviting home. So grab your mop, follow these tips, and let your kitchen shine!