Imagine waking up to the enticing aroma of freshly brewed coffee, only to find your beloved coffee maker encrusted with stubborn stains and lingering residue. In this blog, we unveil a secret weapon that will restore clean your coffee maker pristine condition: baking soda. In a world filled with specialty coffees and intricate brewing techniques. We often overlook the importance of maintaining our trusty cafe makers. Over time, mineral deposits, cafe oils, and accumulated grime can impair the flavor and functionality of our machines. Fortunately, the solution lies within our kitchen pantry. Baking soda, a versatile household ingredient, possesses remarkable cleaning properties. When harnessed correctly, it can effectively dissolve stains, neutralize odors, and leave your cafe maker looking and performing like new. In this blog, we’ll guide you through the step-by-step process of cleaning your cafe maker with bicarb soda, empowering you to savor the perfect cup of java every time.
How Do You Deep Clean A Coffee Maker?
To deep clean a cafe maker, start by removing any leftover coffee grounds or filters. Fill the water reservoir with equal parts of water and white vinegar. Run a brew cycle halfway, then pause and let the mixture sit for about 30 minutes. Afterward, resume the cycle and allow it to complete. Discard the vinegar-water solution and run a few cycles with plain water to rinse thoroughly. To clean the carafe and filter basket, wash them with warm, soapy water or place them in the dishwasher if they are dishwasher-safe. Wipe the exterior of the cafe maker with A damp cloth. Regular deep cleaning helps remove mineral deposits And ensures A fresh-tasting brew.
Run A Few Cycles With Plain Water To Eliminate Any Baking Soda Residue:
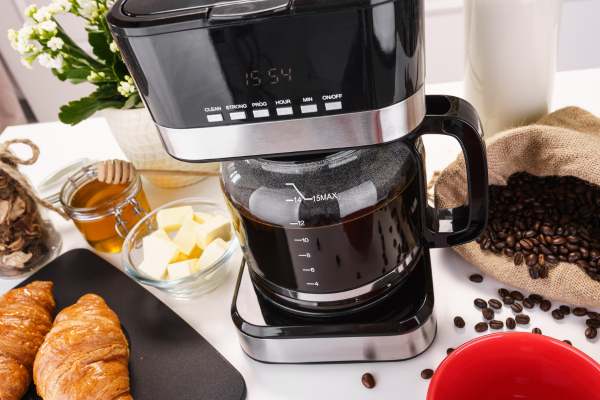
Empty And Disassemble The Coffee Maker

The journey to a cleaner cafe maker begins by emptying and disassembling the appliance. This crucial step involves safely unplugging the cafe maker, then systematically detaching each part, including the carafe, filter basket, and reservoir lid. Be sure to discard any leftover cafe and used filters. This thorough disassembly not only preps the cafe maker for cleaning but also offers an opportunity to inspect the various parts for damage or wear and tear. You’ll gain a deeper understanding of the machine’s components and how they function, ultimately extending the lifespan of your beloved brewer.
Make A Baking Soda Solution

Next on the agenda is creating an effective, Non-toxic cleaning solution with baking soda. This common kitchen ingredient works wonders in cutting through grime And eliminating odors. To make the solution, Combine A quarter cup of bicarb soda with one cup of warm water. Stir the mixture until the bicarb soda is completely dissolved, Forming A slightly cloudy solution. This gentle yet powerful cleanser is ready to tackle the tough stains and residual cafe oils that may have settled within your machine, Paving the way for fresher, Better-tasting coffee.
Soak The Coffee Pot In The Solution
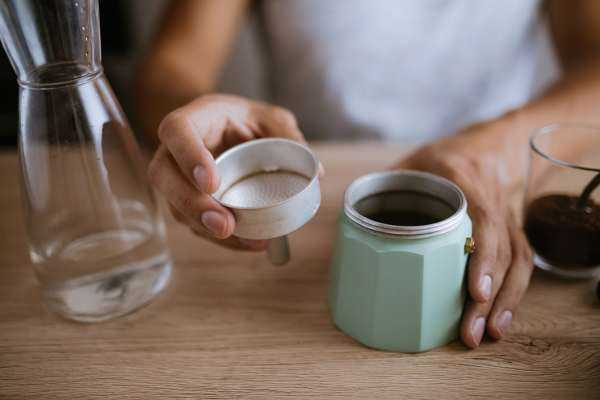
To efficiently clean your coffee maker pot, A soak in the baking soda solution is crucial. Empty the contents of the pot, Then fill it with your bicarb soda solution. Make sure the solution covers the entire interior surface of the pot. This soaking process helps to break down stubborn coffee stains and residue, Which are common in frequently used pots. Baking soda’s natural cleaning and deodorizing properties will work to dissolve grime and neutralize odors, leaving your coffee pot clean and fresh. This step is a testament to the incredible cleaning power of a simple household ingredient like bicarb soda.
Allow The Solution To Sit For A Few Minutes
Once you’ve created the baking soda solution And applied It to your cafe maker, It’s time to be patient. Giving the solution time to sit is an essential step. This waiting period allows the natural abrasive and cleaning properties of bicarb soda to penetrate grime and mineral build-up effectively. It’s recommend to let the solution sit in your cafe maker for about 15-30 minutes, although tougher stains might require longer. Don’t be tempted to rush this process – patience pays off when you’re aiming for a deeply cleaned, fresh cafe maker. During this time, the bicarb soda will be hard at work, loosening up residues and making them easier to scrub away. Allowing the solution to sit helps ensure you’ll have a spotless and great-performing cafe machine afterward.
Scrub The Pot And Filter Basket

After allowing the bicarb soda solution to sit, Your next step is to thoroughly scrub the pot and the filter basket. Use A non-abrasive sponge or A soft brush to clean these components. The gentle abrasive nature of bicarb soda makes It perfect for scrubbing without scratching the surfaces. Pay special attention to stained areas and ensure you scrub every nook and cranny. Don’t forget to clean the lid and the area around it, as it’s often overlooked. A soft toothbrush can be useful for reaching these difficult spots. Once you’ve scrubbed all parts of your cafe maker, rinse them under warm running water to remove any remaining bicarb soda solution. Make sure everything is rinsed thoroughly, ensuring a fresh, clean start for your next pot of coffee.
Flush The Reservoir With Clean Water
Following the thorough scrubbing of your coffee maker’s pot and filter basket, it’s crucial to flush the reservoir with clean water. This step is significant as it helps to rinse away any residual Bicarb soda solution that might still be in the machine. To do this, fill up the reservoir with fresh water and run a complete brew cycle. No cafe is needed, just water. Once finished, discard this water. Repeat the process at least twice to ensure all remnants of Bicarb soda are removed. It’s necessary to ensure that your next pot of cafe is not affected by any residual bicarb soda, offering a taste as pure and clean as possible. Always remember, a thorough rinse makes for a successful clean.
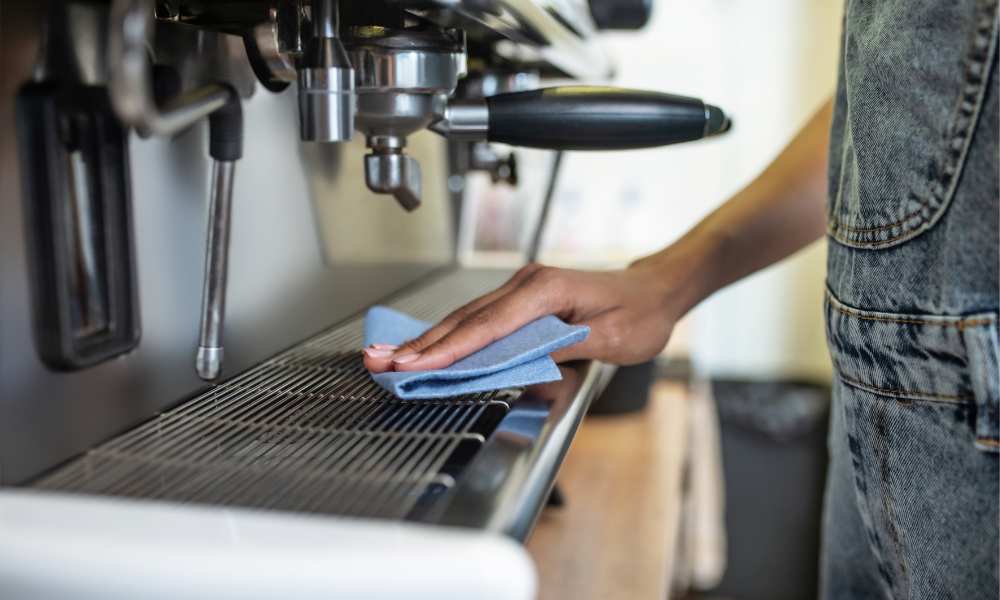
Wipe Down The Exterior Surfaces

The final touch in cleaning your cafe maker with bicarb soda involves wiping down the exterior surfaces. After rinsing the interior parts, it’s equally important to maintain the outer aesthetics of your cafe maker. A clean, damp cloth is perfect for this task. Wipe down all exterior surfaces, paying attention to areas where coffee might have dripped or splattered. For stubborn stains, a bit of Bicarb soda on a damp cloth can serve as a gentle scrub. Remember to clean under the machine and the cord too. Dry all surfaces with a soft towel to prevent water spots. This meticulous cleaning will not only enhance your cafe maker’s appearance but also help prolong its lifespan, resulting in excellent performance and consistently great-tasting coffee.
Rinse Thoroughly

The penultimate step to clean your coffee maker with baking soda is a comprehensive rinse. This cannot be stressed enough: thoroughly rinsing your machine is critical for optimal cleanliness and performance. Fill the reservoir again with fresh water and run a complete brew cycle to remove any residual baking soda or debris. Make sure to rinse the pot and filter basket under warm running water, ensuring they are entirely free of baking soda solution. An in-depth rinse protects your machine from potential damage and guarantees that your next cup of coffee will not have an aftertaste of cleaning solution. A thoroughly rinsed cafe maker ensures that the only flavor in your morning brew is the delicious aroma of your chosen coffee.
Drying And Polishing The Coffee Maker

Once rinsing is complete, The next stage involves drying and polishing your cafe maker. Carefully dry the interior and exterior of the machine with A soft, Clean towel. Ensure the pot and filter basket are thoroughly dry as well to prevent any water stains or build-up of mineral deposits. For a touch of extra shine, buff the exterior surfaces with a microfiber cloth. This will give your cafe maker a polished, brand-new look. A sparkling clean bunn coffee maker not only enhances your kitchen aesthetics but can also enhance your mood every morning. Remember, taking time to dry and polish your coffee machine is not just about maintaining its look, but it’s also about ensuring its optimal performance and longevity.
The Final Thought
Using baking soda to clean your coffee maker isn’t just A practical and affordable choice, it’s an eco-friendly solution too. By following the outlined steps in this guide, You’re not only preserving your coffee maker’s lifespan but also ensuring A consistent, High-quality taste in each cup of coffee you brew. Remember that this process isn’t A one-time thing. Regular maintenance is crucial to prevent build-up and keep your machine performing at its best. This routine might seem A bit labor-intensive at first, but the results of A gleaming, efficient machine, and a flavorful, untainted coffee are worth It. After all, a clean cafe maker is the secret to an ideal coffee experience. So, ensure you clean regularly, savor every sip, and keep brewing with joy!