
Cuisinart coffee makers are popular among coffee lovers for their sleek design, Quality performance, And ease of use. One feature that sets these machines apart from others is their programmability. The Ability to program your Cuisinart coffee maker ahead of time can save you precious minutes in the morning And ensure that you have A fresh cup of coffee waiting for you as soon as you wake up. However, Programming A Cuisinart cafe creator may seem daunting to those who are not familiar with Its features and functions. In This Article, We will provide Step-by-step instructions on how to Program your Cuisinart Coffee Maker so that You can enjoy the perfect cup of Java anytime without any hassle.
How Do You Set A Coffee Maker Timer?
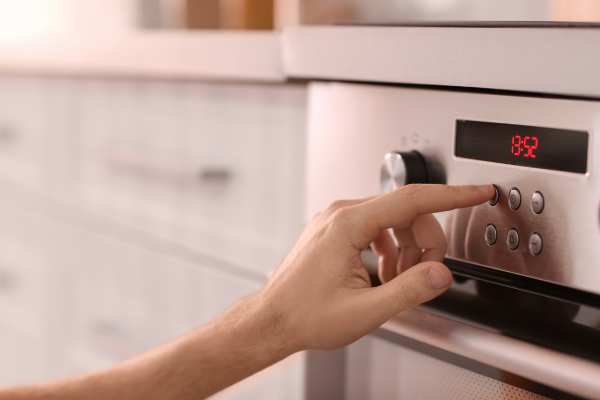
Setting A cafe creator timer varies slightly by brand and model, But the general process is straightforward. First, plug in your cafe maker and ensure it’s in ‘Time Set’ or ‘Clock’ mode. You’ll usually see flashing numbers indicating the time needs to be set. Use the ‘Hour’ And ‘Minute’ Duttons to set the current time. To set the timer for automatic brewing, Switch to ‘Program’ Or ‘Timer’ mode, and repeat the process to set your desired brew start time. Press ‘Program’ or ‘Auto Start’ to activate the timer. Now, your cafe creator is set to start brewing at the specified time, providing fresh coffee exactly when you want it.
How Do You Program A 14-Cup Cuisinart Coffee Maker?
Programming a 14-cup Cuisinart coffee creator involves several steps. Firstly, Ensure your cafe creator is clean and plugged in. Set the current time using the ‘Hour’ And ‘Minute’ Buttons. To program the auto-start feature, Press the ‘Prog’ Button, Set your desired brew time using the ‘Hour’ And ‘Minute’ Buttons, And press ‘Prog’ Again to confirm. Choose your preferred brew strength by pressing the ‘Strength Control’ button And select between ‘Regular’ or ‘Bold’. Lastly, Set the brew size to 14 cups using the ‘Size’ button. By following these steps, Your Cuisinart Cafe maker is now programmed to brew A full pot of Java at your desired time and strength.
Cleaning And Priming The Coffee Maker Before Programming

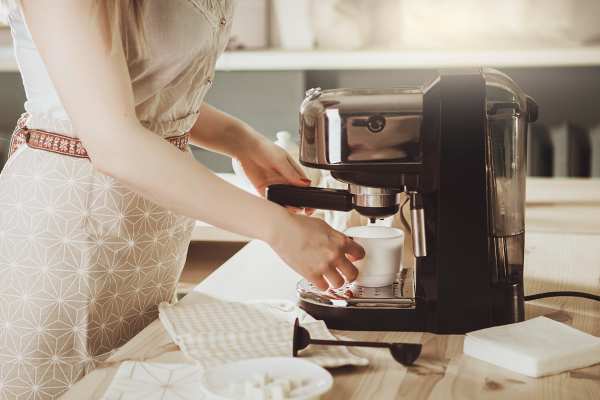
Before we delve into programming your Cuisinart Cafe Maker, it’s essential to give it a good clean and prime it first. Priming ensures your cafe creator functions optimally and can significantly impact the taste of your brew. Start by washing the carafe and coffee filter in warm, soapy water. Rinse thoroughly and dry these components before reassembly. For the cafe creator itself, run a brewing cycle with water only – this step is known as ‘priming’. This initial clean removes any residue or dust that may have settled during manufacturing or storage, ensuring that your first cup of Java is as fresh and delicious as possible.
Locate The Clock And Programming Buttons
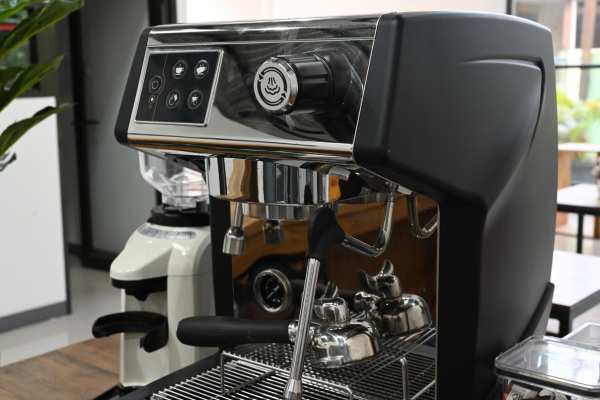
Now, Let’s move on to the actual programming. First, You need to find the clock And programming buttons on your Cuisinart Cafe maker. These buttons are usually found on the front panel of the machine, Typically labeled with icons or terms like “Clock,” “Program,” or “Auto On.” The layout And labels can vary depending on the model, So refer to your manual if you’re unsure. You should see buttons for setting the hours and minutes, Adjusting the strength of your coffee, And, An some models, an option for choosing between brewing A full or half carafe.
Adjust The Time And Date Settings
Once you’ve located the clock and programming buttons, it’s time to adjust the settings. To set the time, Press And hold the ‘Hour’ button until the current hour is displayed, Then use the ‘Minute’ Button to Adjust the minutes. If your model has A date set, You’ll do the same with the ‘Day’ And ‘Month’ Buttons. Remember, Setting the correct time And date is not just about accuracy. It enables the auto-brew feature, Which can be set to prepare your cafe at A designated time – A convenient feature for those busy mornings when every minute counts.
Stay tuned for further blogs where we’ll discuss more advanced features of your Cuisinart Cafe Maker, Such as setting the Auto-On and Auto-Off times. Using the brew-pause feature, and adjusting the Java strength settings. In the meantime, Enjoy exploring the primary features and brewing your perfect cup of coffee.
Select The Desired Brewing Time

After you have successfully set the time And date. The next step in programming your Cuisinart Cafe Maker is to select your desired brewing time. This feature allows you to wake up to the aroma of fresh Java by timing the brewing to begin just before you wake up or reach home after work. To do this, Press the ‘Program’ or ‘Auto On’ button. The display will start to blink, indicating it’s ready for you to set the brewing time. Use the ‘Hour’ And ‘Minute’ Buttons to select the time you want the Java brewing to start. Press ‘Program’ Or ‘Auto On’ Once again to confirm the setting. Now, Your cafe creator knows exactly when to start brewing your coffee.
Configure The Auto On/Off Feature
Another powerful feature of your Cuisinart Cafe Maker is the ability to automatically turn itself on and off. This is an energy-saving feature that’s also great for peace of mind, especially if you’re prone to rushing out the door in the morning. To set the Auto On feature, Follow the same process as setting the brew time. As for the Auto Off feature, Press the ‘Auto Off’ button And then use the ‘Hour’ And ‘Minute’ Buttons to set the time you want the cafe creator to turn off after brewing. Once you’re satisfied with the settings, Press ‘Auto Off’ again to save them. Now, Your cafe creator is fully programmed to not only brew the cafe at your preferred time but also to shut It off automatically, providing convenience, Energy efficiency, And safety.
Adjust The Grinder Settings For Desired Coffee Texture
If you’re using A Cuisinart Cafe Maker with A built-in grinder. Another key step in programming is Adjusting the grinder settings to achieve your desired coffee texture. This feature allows you to customize your cafe to the perfect consistency. To adjust the settings, Locate the grinder select dial, usually found on the top or side of the machine. There will typically be several options ranging from fine to coarse. If you prefer A stronger coffee, Select A finer grind. For A milder coffee, Select a coarser grind. By experimenting with these settings, you can discover the grind size that delivers your perfect cup of coffee.
Make Any Necessary Adjustments Or Corrections

After programming your cafe maker, It’s important to review all your settings to ensure they’re correct. If you need to make any adjustments or corrections, Don’t worry – You can easily do so by following the same steps as before. Just remember to always confirm your changes by pressing the corresponding setting button one more time. You can also reset all the settings to the factory defaults. Usually by pressing And holding A specific button – consult your manual for instructions. Continually checking and adjusting your settings is the key to ensuring you always get the perfect brew.
The Final Thought
Mastering how to program your Cuisinart Coffee Maker is truly worth the effort. While It might seem complicated initially, You’ll quickly realize that these settings are designed to make your life easier And your coffee better. Whether you’re adjusting the time, Choosing the strength of your brew, or setting the auto On/Off feature, Each step empowers you to customize your coffee to your personal taste and schedule. So be patient, keep experimenting, and soon enough, you’ll find the perfect settings for your ideal coffee experience. After all, There’s nothing quite like A well-Crafted, Self-made cup of coffee to start your day right. Enjoy Your brewing journey!