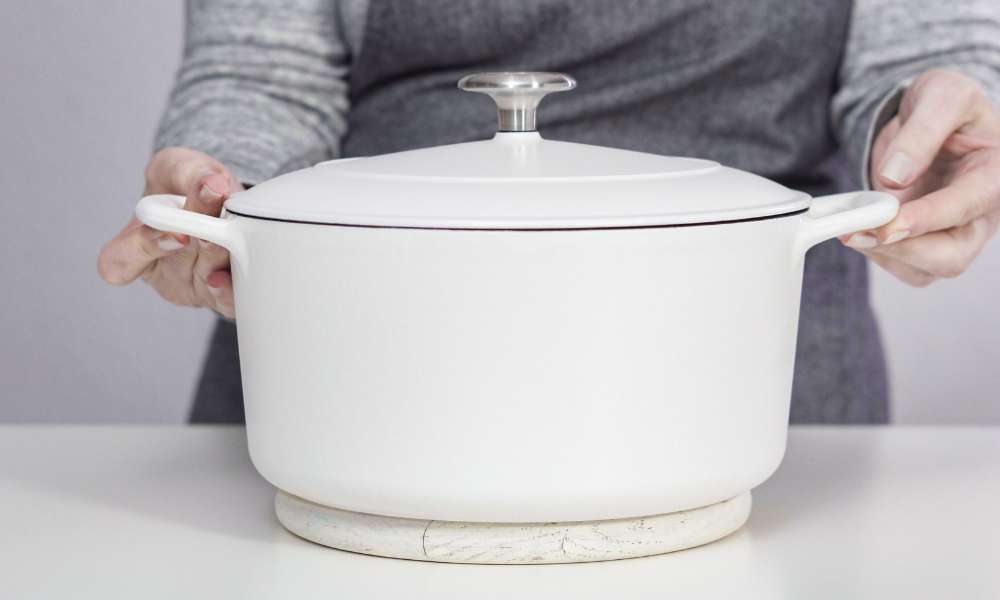
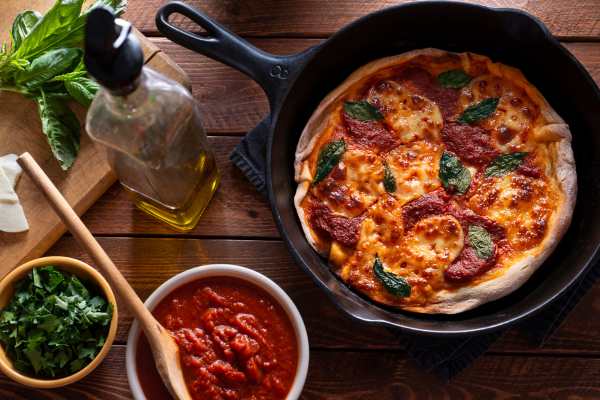
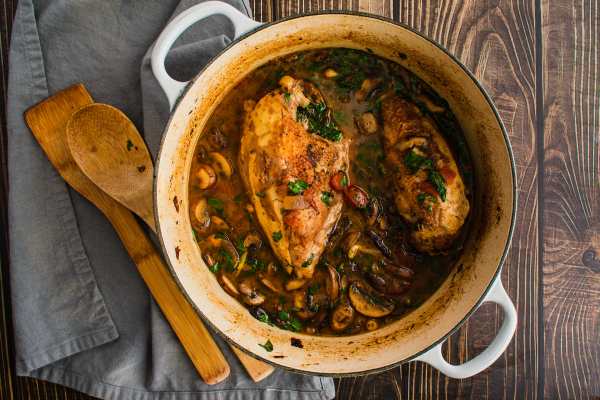
Seasoning your cast iron Dutch oven is essential to enhance its performance and extend its lifespan. In this guide on how to season a cast iron Dutch oven, we’ll walk you through the simple yet crucial steps to create a non-stick surface and protect it from rust. Whether you’re a seasoned cook or new to cast iron cookware, proper seasoning ensures your Dutch stove is ready for everything from slow-cooked stews to perfectly baked bread. By choosing the right oil, following correct heating techniques, and maintaining the seasoning over time, you can enjoy the durability and versatility of your cast iron Dutch stove for years. Start today and elevate your cooking experience!
Tools and Materials You’ll Need to Season Your Dutch Oven
To successfully season your cast iron Dutch oven, having the right tools and materials is essential. You’ll need a high-smoke-point oil, such as flaxseed, canola, or vegetable oil, for creating a durable seasoning layer. A soft cloth or paper towels will help evenly coat the surface with oil. Use a stiff brush or gentle scrubber to clean the stove before seasoning, ensuring no residue remains. An stove or heat source is required to bake the seasoning into the cast iron. Additionally, aluminum foil or a baking sheet can catch drips during the process. With these tools, you can achieve a well-seasoned Dutch stove that lasts for years.
Preparing Your Cast Iron Dutch Oven for the Seasoning Process
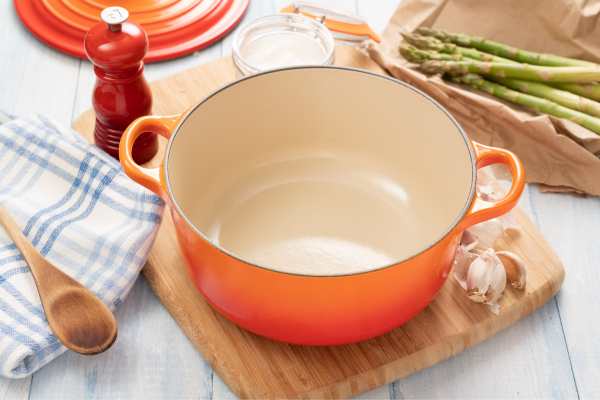
Before seasoning your cast iron Dutch oven, proper preparation is essential to ensure the best results. Start by washing the Dutch stove with warm water and a mild dish soap to remove any factory residue, dust, or leftover food particles. Use a soft sponge or brush, avoiding anything abrasive that could damage the surface. Thoroughly dry the This oven with a clean towel, as moisture can interfere with the seasoning process. For extra precaution, place it in a low-temperature stove for a few minutes to eliminate any remaining moisture. Once the This stove is completely dry, it’s ready for the seasoning process, ensuring a smooth and durable non-stick coating.
Choosing the Right Oil for Seasoning Your Cast Iron Dutch Oven
Selecting the right oil is crucial for effectively seasoning your cast iron This oven. Opt for oils with a high smoke point, such as flaxseed oil, grapeseed oil, or canola oil, as they create a durable, non-stick surface. Avoid using butter or low smoke-point oils, as they can leave a sticky residue or fail to form a proper seasonin layer. A thin, even coat of oil applied to the surface ensures consistent results during the heating process. Using the right oil not only enhances the performance of your This oven but also protects it from rust and wear, ensuring long-lasting durability and optimal cooking results.
Step-by-Step Guide to Seasoning a Cast Iron Dutch Oven
To season a cast iron Dutch oven, begin by thoroughly washing and drying it to remove any residue or moisture. Preheat your oven to 375°F (190°C) while applying a thin, even layer of high-smoke-point oil, such as flaxseed or vegetable oil, to the entire surface, including handles and lid. Place the This oven upside down on the oven rack with a baking sheet underneath to catch drips. Bake it for an hour, then allow it to cool completely inside the stove . Repeat the process two to three times for a durable, non-stick coating. Regular seasoning maintains your This oven’s performance and prevents rust, ensuring long-lasting use and excellent cooking results.
How to Properly Heat the Oven for Effective Seasoning
Properly heating your cast iron Dutch oven is crucial for effective seasoning. After applying a thin, even layer of oil, place the This stove upside down in a preheated stove set to 450-500°F. Position a baking sheet or aluminum foil on the lower rack to catch any drips. Allow the This oven to heat for about an hour, as this process bonds the oil to the cast iron, creating a durable, non-stick surface. Once the time is up, turn off the stove and let the This oven cool completely inside. This method ensures even seasonin, protecting your cookware and enhancing its performance for long-term use. Repeat for stronger results.
Signs That Your Cast Iron Dutch Oven is Properly Seasoned
A properly seasoned cast iron Dutch oven has a smooth, dark, and slightly shiny surface, free from any sticky or greasy residue. The non-stick quality becomes evident as food releases easily during cooking without leaving stubborn residues. Water droplets bead and roll off the surface, indicating the presence of a protective layer. A well-seasoned This oven resists rust and retains heat evenly, enhancing your cooking experience. If the surface feels dry or rough, it may need additional seasoning. Consistent maintenance ensures the seasoning remains intact, keeping your This oven durable and reliable for years. These signs guarantee your This oven is ready for culinary perfection.
Maintaining the Seasoning: Dos and Don’ts
Proper maintenance is key to preserving the seasoning on your cast iron Dutch oven. Always clean it gently using warm water and a soft brush; avoid harsh detergents that can strip the seasoning. After cleaning, dry the stove thoroughly to prevent rust. Reapply a thin layer of oil regularly to maintain the non-stick surface. Never soak your This oven in water for extended periods, as this can damage the seasoning. Avoid cooking acidic foods like tomatoes frequently, as they can wear down the protective layer. By following these dos and don’ts, you’ll keep your cast iron This oven in excellent condition, ready for all your favorite recipes.
Common Mistakes to Avoid When Seasoning a Cast Iron Dutch Oven
Avoiding common mistakes during seasoning is crucial for maintaining your cast iron Dutch oven’s performance. Using the wrong type of oil, such as those with low smoke points, can result in uneven seasoning or sticky residue. Applying too much oil is another frequent error, as it can create a sticky surface rather than a smooth, non-stick finish. Failing to clean the This oven thoroughly before seasoning may trap food particles or moisture, leading to rust or an uneven coating. Skipping proper heating techniques can cause incomplete bonding of the oil to the iron. By avoiding these mistakes, you’ll achieve a well-seasoned, long-lasting This oven that enhances your cooking experience.
Restoring an Old or Rusted Cast Iron Dutch Oven Through Seasoning
Restoring an old or rusted cast iron Dutch oven is easier than it seems and can bring it back to life. Start by removing any rust using fine steel wool or a scrub brush, ensuring the surface is smooth and clean. Wash the Dutch stove with warm, soapy water, then dry it thoroughly to prevent further rusting. Apply a thin layer of oil over the entire surface, inside and out, to create a protective barrier. Bake the This oven upside down in an oven at high heat to allow the oil to bond and form a new seasoning layer. With proper care, your restored This oven will be as good as new.
Benefits of Regularly Seasoning Your Cast Iron Dutch Oven
Regularly seasoning your cast iron Dutch oven offers numerous benefits that enhance its performance and longevity. A well-seasoned This oven creates a natural non-stick surface, making cooking and cleaning easier while reducing the need for excess oil. Seasoning also protects the cast iron from rust and corrosion, ensuring it stays in excellent condition over time. Regular maintenance enhances the stove heat retention and even cooking capabilities, perfect for preparing a variety of dishes. Additionally, seasoning improves the flavor of food by building up a smooth, seasoned layer that enhances each cooking experience. Prioritizing regular seasoning keeps your This oven functional, durable, and ready for your favorite recipes.
Conclusion
Mastering how to season a cast iron Dutch oven is key to unlocking its full potential in your kitchen. By creating a natural non-stick surface, preventing rust, and enhancing heat retention, proper seasoning ensures your This oven performs at its best for years. Whether you’re restoring an old piece or maintaining a new one, the process is simple and yields lasting benefits. Regular seasoning protects your investment and elevates your cooking experience, allowing you to enjoy evenly cooked, flavorful meals every time. With consistent care and the right techniques, your cast iron This oven will remain a durable and versatile tool, ready for all your culinary adventures.