Insulate Pipes Under Sink is a straightforward yet crucial home improvement task that can save you from significant plumbing headaches and unnecessary expenses. Often overlooked, these pipes are particularly vulnerable to temperature fluctuations, condensation, and energy loss. Proper insulation not only helps prevent these issues but also improves the efficiency and longevity of your plumbing system. Whether you’re a seasoned DIY enthusiast or just starting out, learning how to insulate pipe under your sink is a practical skill that pays off in comfort and cost savings.
Understanding Pipe Insulation

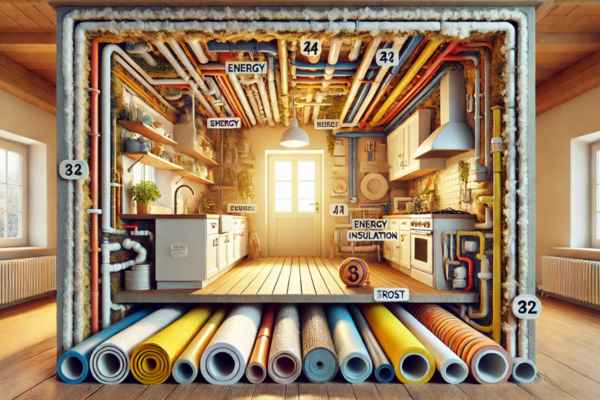
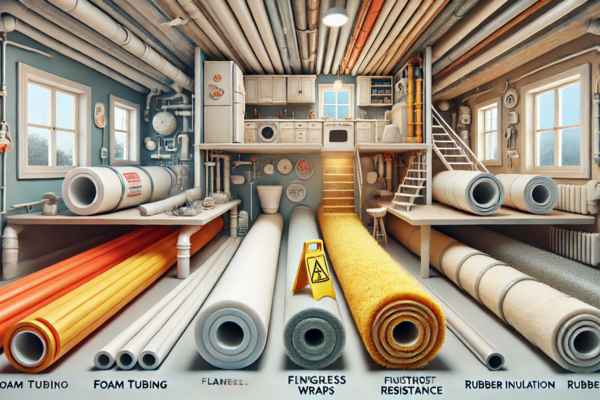
Pipe insulation involves covering the pipes with materials designed to regulate temperature, prevent freezing, and minimize energy loss. This simple addition acts as a protective barrier, shielding pipe from external elements and maintaining their functionality. Insulation materials come in various forms, such as foam tubing, fiberglass wraps, and rubber covers, each suited to different needs. By insulating pipes under your sink, you not only safeguard your plumbing but also create a more energy-efficient and sustainable home environment.
Common Problems with Uninsulated Pipes

Uninsulated pipes are a common source of trouble in many households. During cold weather, water inside these pipe can freeze and expand, leading to potential bursts and costly repairs. In contrast, warm and humid conditions can cause condensation to form on cold water pipes, encouraging mold growth and damaging the surrounding cabinetry. Additionally, uninsulated hot water pipes lose heat quickly, causing your water heater to work harder, which increases energy consumption and utility bills. Addressing these problems through proper is an effective way to enhance your home’s safety and efficiency.
Tools and Materials You’ll Need
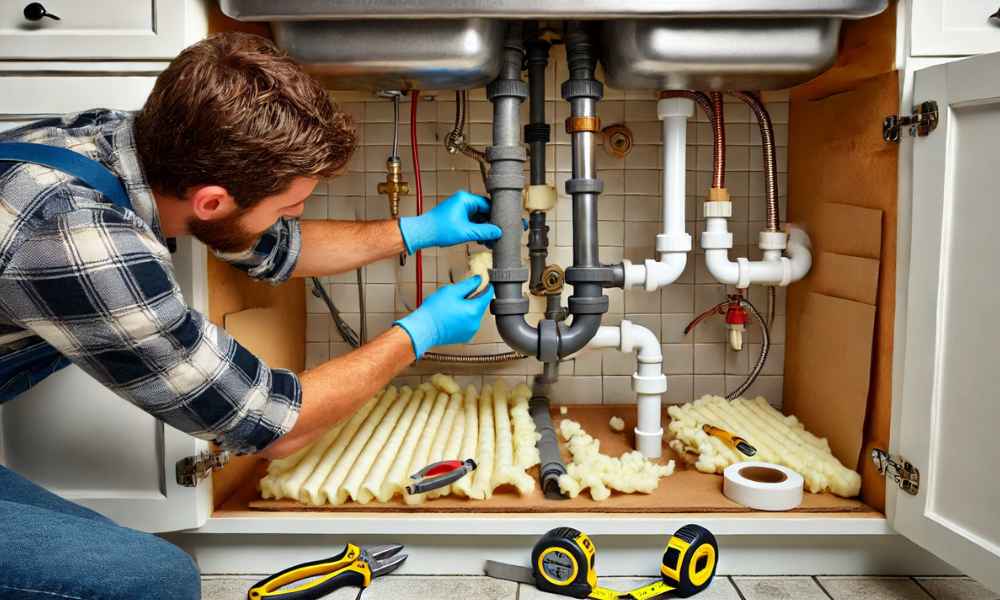
Before diving into the task of insulating your pipes, it’s essential to gather the necessary tools and materials to ensure a seamless process. The primary materials include foam tubing, fiberglass wraps, or rubber insulation, depending on the type of pipe and your specific needs. Essential tools such as a measuring tape, utility knife, duct tape, and zip ties will help you cut, secure, and adjust the insulation materials. Safety equipment like gloves and safety glasses is also recommended to protect against sharp edges and irritants. Having the right tools and materials on hand will make the job easier, safer, and more efficient.
Selecting the Best Insulation Material

Choosing the right material is key to ensuring long-lasting protection and efficiency for your pipes. Foam tubing is a popular choice for its simplicity and ease of installation, making it ideal for straight and easily accessible pipe. Fiberglass wraps provide excellent thermal resistance, making them suitable for pipes exposed to higher temperatures, though they require careful handling due to their fibrous nature. Rubber insulation offers flexibility and resistance to moisture, making it a great option for areas prone to dampness. By assessing your specific needs and environment, you can select the material that delivers optimal performance and durability.
Prepping for the Job
Preparation is a vital step that sets the foundation for successful pipe insulation. Start by thoroughly inspecting the pipes under your sink for any leaks or signs of damage; these issues must be repaired before insulation is applied. Clean the pipe to remove dirt, grease, or debris that might prevent proper adhesion of the insulation material. Use a measuring tape to determine the length and diameter of the pipes to ensure you purchase the right amount and size of insulation. A well-prepared workspace and accurate measurements can make the process smoother and more efficient.
Step-by-Step Guide to Insulating Pipes Under Your Sink

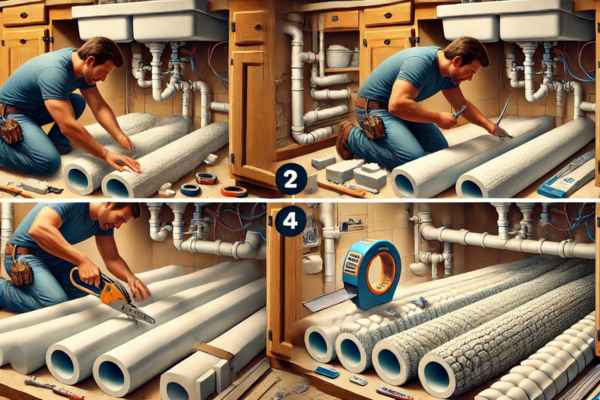
- Cut the Insulation Material: Measure the pipe segments under the sink and cut the insulation to the appropriate lengths using a utility knife. For foam tubing, ensure the slit aligns with the opening for easy installation.
- Apply the Insulation: Wrap the snugly around each pipe, ensuring there are no gaps. Foam tubing should be placed with the slit facing outward for easier adjustments.
- Secure the Insulation: Use duct tape, zip ties, or adhesive strips to hold the insulation firmly in place, preventing it from shifting over time.
- Check for Coverage: Inspect your work to confirm that all pipe surfaces are fully covered, especially near joints or bends, as these areas are more susceptible to temperature changes.
Tips for Insulating Hot Water Pipes
Hot water pipes require special attention to maximize heat retention and improve energy efficiency. Use insulation materials that are specifically rated for high-temperature applications, such as rubber or fiberglass. When installing, make sure the insulation is tightly fitted to minimize heat loss. Avoid compressing the material, as this can reduce its effectiveness. Overlapping the seams slightly ensures a more secure and efficient barrier against heat escape, helping to keep your water warmer for longer durations.
Insulating Cold Water Pipes: What You Need to Know
Insulating cold water pipes is crucial for preventing condensation and the resulting moisture-related problems. Use materials with a built-in vapor barrier to block humidity from reaching the pipe surface. Ensure that the insulation is applied tightly with no gaps, as even small exposed areas can lead to condensation. In areas with high humidity, consider adding a second layer of vapor-resistant insulation for extra protection. Properly insulated cold water pipes not only prevent water damage but also contribute to a healthier, mold-free environment under your sink.
Troubleshooting Common Challenges
Insulating pipes under the sink can sometimes present unexpected hurdles. Tight spaces or oddly shaped pipe can make it difficult to fit insulation materials securely. Flexible options, like rubber insulation, are ideal for such scenarios as they conform easily to bends and curves. For pipes with limited accessibility, consider using pre-slit foam tubing, which can be snapped onto the pipe effortlessly. If insulation slips or becomes loose over time, reinforcing it with additional zip ties or adhesive tape can help. Addressing these challenges promptly ensures a smooth installation process and long-term effectiveness.
Safety Precautions to Keep in Mind
When working on insulating pipes under your sink, safety should always be a priority. Sharp tools like utility knives can pose a risk, so wear gloves to protect your hands. If you’re using materials like fiberglass, wear a mask and safety glasses to prevent irritation from fine fibers. Ensure your workspace is well-lit and ventilated, especially if adhesives or vapor barrier tapes are involved. Finally, turn off the water supply if you’re handling pipe connected to your plumbing system, reducing the risk of leaks or accidents during the process.
Maintenance and Upkeep of Insulated Pipes
To keep your insulated pipes functioning optimally, regular maintenance is essential. Inspect the insulation periodically for signs of wear, such as tears, compression, or water damage. Replace any damaged sections promptly to maintain the insulation’s protective properties. Clean the area under your sink to prevent dirt or debris from accumulating on the insulation, which could degrade its performance over time. Keeping the insulation in good condition ensures long-term energy efficiency and prevents future plumbing problems.
Additional Ways to Protect Pipes in Your Home
Beyond insulating pipes under your sink, there are several additional measures you can take to protect your plumbing system. Sealing gaps around pipe entry points with caulk or foam can prevent drafts from reaching your pipe. In colder climates, installing heat cables or tape provides an extra layer of freeze protection. For pipes exposed to the elements, like those in basements or exterior walls, consider insulating the surrounding areas to create a buffer against temperature extremes. These extra precautions enhance the durability and efficiency of your home’s plumbing system, giving you peace of mind year-round.
Can I Insulate Pipes Without Professional Help?
Yes, you can insulate pipes under your sink without the help of a professional. With the right materials and a basic understanding of the process, this task is accessible to most homeowners. Pre-slit foam tubing and self-sealing insulation wraps make the job straightforward, even for beginners. By following a step-by-step guide and adhering to safety precautions, you can achieve professional-level results on your own. However, if you encounter damaged pipes or complex plumbing configurations, it’s wise to consult a professional to ensure the problem is addressed correctly before proceeding with insulation.
What’s the Best Insulation for Pipes Under the Kitchen Sink?
The best insulation for pipes under your kitchen sink depends on your specific needs and the environment. Foam tubing is a versatile and cost-effective choice for most applications, offering ease of installation and excellent thermal resistance. If moisture resistance is a priority, rubber insulation is an ideal option, as it is both flexible and impermeable to water. For pipes that carry hot water, fiberglass insulation provides superior heat retention. Consider factors such as pipe size, temperature exposure, and humidity levels to choose the most effective material for your situation.
How Often Should Pipe Insulation Be Replaced?
The lifespan of pipe insulation varies depending on the material used and the conditions it’s exposed to. Foam and rubber insulation can last several years if installed and maintained properly, while fiberglass may degrade faster in damp or high-humidity environments. Regular inspections are essential to identify signs of wear, such as cracks, tears, or compression. As a general rule, pipe insulation should be replaced when it no longer provides adequate coverage or if it shows visible damage. Proactive maintenance extends its lifespan and ensures your pipes remain protected.
Conclusion
Insulating pipes under your sink is a simple yet impactful way to protect your plumbing system, conserve energy, and prevent costly repairs. With a range of materials and straightforward techniques available, this task is well within the reach of most homeowners. From understanding the basics of pipe insulation to selecting the right materials and following a step-by-step guide, you can ensure your pipes remain efficient and damage-free. Regular maintenance and additional protective measures further enhance your plumbing’s resilience, giving you peace of mind and long-term savings. Start today and enjoy the benefits of a well-insulated home.
