Transforming your sink area with a stylish and functional skirt is easier than you think! Learning how to sew a sink skirt allows you to add charm and practicality to your space. Sink skirts are perfect for hiding under-sink storage while enhancing your room’s décor. Whether you’re a beginner or an experienced crafter, this guide will walk you through each step, from choosing the right fabric to installing your finished piece. With just a few tools and a touch of creativity, you can achieve a custom look that elevates your sink area. Ready to start your DIY project? Let’s dive into the details and get sewing!
Choosing the Right Fabric for Your Sink Skirt
Selecting the right fabric is crucial for creating a sink skirt that combines style and functionality. Look for durable materials like cotton, polyester blends, or canvas that can withstand regular wear and tear. Fabrics with stain-resistant properties or washable options are ideal for areas prone to spills and splashes. When choosing a design, consider patterns and colors that complement your kitchen or bathroom décor, ensuring a cohesive look. Lightweight fabrics work well for pleated or ruffled styles, while heavier options provide a structured appearance. Always measure your sink area and test fabric samples to ensure the perfect match for both practicality and aesthetics in your sink skirt project.
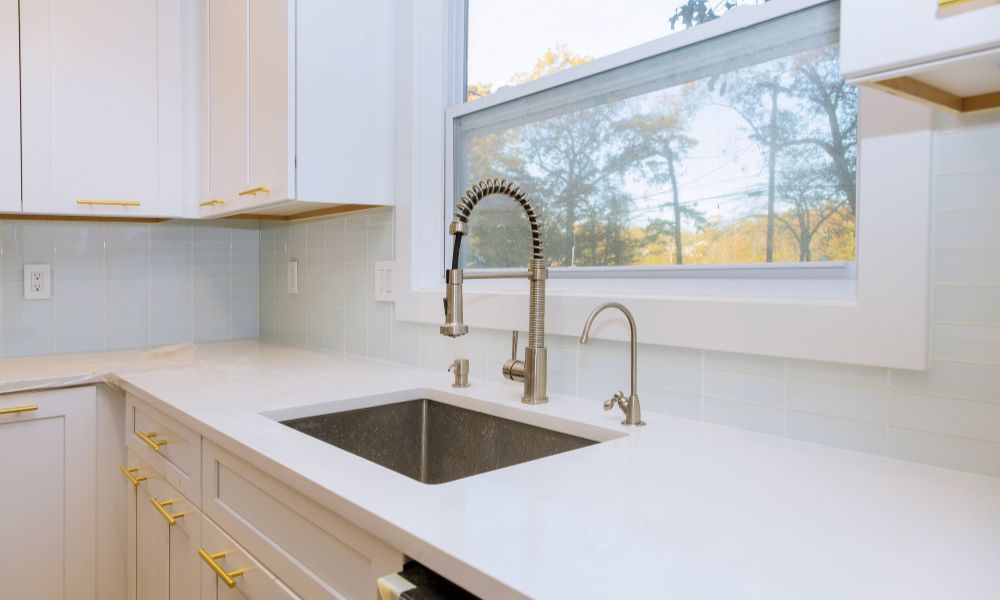
Measuring Your Sink for a Perfect Fit

Accurate measurements are essential for creating a sink skirt that fits perfectly and enhances your space. Start by measuring the width of the sink from edge to edge, ensuring you include any surrounding fixtures or countertops. Next, measure the height from the sink’s base to the floor or desired length. If your sink has curved or irregular edges, use flexible measuring tape for precision. Add a few extra inches to your measurements for hemming and creating pleats or ruffles. Double-check your numbers to avoid errors before cutting the fabric. Proper measurements ensure a professional look, making your sink skirt both functional and visually appealing while avoiding unnecessary adjustments later.
Gathering Tools and Materials for Sewing
Before starting your sink skirt project, ensure you have all the necessary tools and materials for a smooth sewing experience. Begin with a measuring tape to capture accurate sink dimensions and fabric requirements. Choose a fabric that complements your décor and is easy to maintain. You’ll need a sharp pair of scissors for cutting, straight pins for securing edges, and a sewing machine or needle and thread for stitching. Don’t forget fabric glue or Velcro if you prefer a no-drill attachment. Iron the fabric beforehand to ensure smooth and professional results. Gathering these essentials will set you up for success and make your project hassle-free and enjoyable.
Cutting the Fabric to Match Your Measurements
Accurate fabric cutting is essential for creating a sink skirt that fits perfectly and looks professional. Start by laying your chosen fabric on a flat surface, ensuring it is smooth and free of wrinkles. Use a measuring tape to mark the required dimensions based on your sink measurements, adding extra inches for hems and pleats. Mark these measurements clearly with fabric chalk or a washable marker. Double-check your markings before cutting to avoid mistakes. Use sharp fabric scissors to make clean, precise cuts along the lines. If your design includes patterns or pleats, account for the extra fabric needed. Proper cutting ensures your Basin skirt is both functional and visually appealing.
Creating a Hem for a Polished Look
Hemming your fabric is an essential step to ensure a clean and polished look for your Basin skirt while preventing fraying over time. Start by folding the fabric edge over about half an inch, then press it with an iron to create a crisp crease. Fold it over again to enclose the raw edge, pressing once more for a double-fold hem. Secure the fold with straight pins, keeping the hemline even throughout. Use a sewing machine or hand-stitching to sew along the inner edge of the fold for a durable finish. This technique not only enhances the aesthetic appeal but also prolongs the lifespan of your Basin skirt, ensuring it remains neat and tidy.
Adding Pleats or Ruffles for a Stylish Finish

Incorporating pleats or ruffles into your sink skirt design adds a touch of elegance and personality to your space. To create pleats, fold the fabric at regular intervals, pinning them in place for even spacing before sewing. For ruffles, use a gathering stitch along the edge of the fabric and pull gently to achieve the desired fullness. Both techniques can be customized to match your style, whether you prefer a subtle, modern look or a more dramatic, vintage vibe. Ensure the pleats or ruffles are evenly distributed for a polished finish. Adding these design elements enhances the charm of your Basin skirt while elevating the overall décor of your room.
Sewing the Skirt: Step-by-Step Instructions
To create a beautiful sink skirt, begin by cutting your chosen fabric to the required dimensions, allowing extra inches for seams and hems. Fold and iron the edges of the fabric to create clean hems, then sew them securely using a straight stitch. If adding pleats or ruffles, measure and pin them evenly along the top edge of the fabric before sewing. Attach Velcro strips, curtain rings, or fabric ties to the top for easy installation. Take care to align patterns or designs for a polished look. Once complete, attach the skirt securely to the sink, ensuring it hangs evenly. This step-by-step approach guarantees a professionally finished sink skirt.
Attaching the Skirt to the Sink Securely
Attaching a sink skirt securely is a crucial step to ensure a polished and long-lasting result. Start by selecting a reliable installation method that suits your needs, such as adhesive strips, Velcro, or tension rods. Adhesive strips provide a firm hold and are ideal for smooth surfaces, while Velcro offers flexibility, allowing you to easily remove and clean the skirt when needed. For a more adjustable option, tension rods can support the fabric without damaging the Basin area. Ensure the skirt is evenly aligned and draped to achieve a neat, tailored appearance. Taking these steps guarantees a secure fit and enhances the aesthetic appeal of your sink setup.
Customizing Your Sink Skirt with Accessories

Customizing your sink skirt with accessories adds a unique touch that elevates the overall design. Consider sewing decorative trims along the edges for a polished, professional look, or adding lace for a vintage vibe. Buttons can be arranged in patterns or used as functional details for detachable panels. Tassels at the corners or along the bottom hem create a playful, boho style. For a modern aesthetic, use metallic or geometric embellishments. Fabric paints or stencils offer endless opportunities to personalize the design with patterns or motifs. By incorporating these creative elements, your Basin skirt becomes a standout feature, blending functionality with style and enhancing the appeal of your space.
Caring for and Maintaining Your Sink Skirt
Proper care and maintenance of your Basin skirt ensure it remains attractive and functional for years. Regularly dust the fabric to prevent dirt buildup, and vacuum gently if the material allows. For spills or stains, spot-clean with a mild detergent and water, avoiding harsh chemicals that could damage the fabric. If the skirt is machine washable, follow the care instructions on the label, using a gentle cycle and air drying to maintain its shape. Periodically check for loose attachments and resecure as needed. Rotating seasonal fabrics can also help preserve the skirt’s quality while refreshing your décor. These simple tips will keep your sink brink looking clean and stylish effortlessly.
Conclusion
Learning how to sew a sink skirt is a rewarding DIY project that combines creativity and practicality. By following simple steps like choosing the right fabric, measuring accurately, and sewing with care, you can transform your Basin area into a stylish focal point. Basin skirts not only enhance your décor but also provide a clever way to conceal storage or plumbing. With proper maintenance and occasional updates, your brink can stay fresh and functional for years to come. Whether you’re a beginner or a seasoned crafter, this project is a fun and cost-effective way to elevate your home. Start today and enjoy the charm of a custom sink skirt!