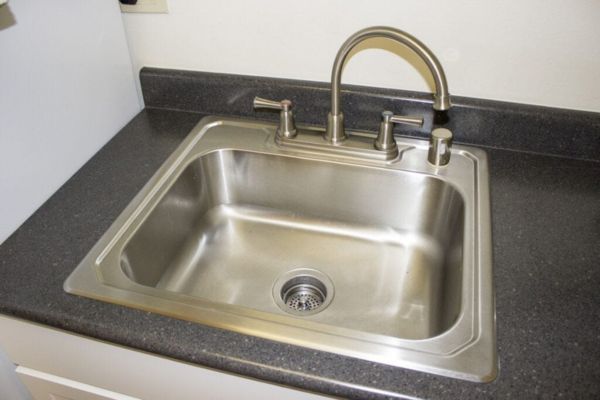
Refinishing a cast iron sink can breathe new life into your kitchen or bathroom, transforming a worn and outdated fixture into a gleaming centerpiece. Over time, even the most durable cast iron sinks can show signs of wear, such as rust, chips, and discoloration. Instead of replacing your basin, refinishing offers a cost-effective and rewarding alternative that restores its original charm. In this comprehensive guide, we’ll walk you through the essential steps to refinish your cast iron sink, from thorough cleaning and rust removal to applying a fresh coat of paint. Gather Materials and Tools
Prepare the Area
Start by preparing your workspace. Ensure the area is well-ventilated and cover nearby surfaces with drop cloths or plastic sheeting to protect them from dust and debris. Removing any fixtures or hardware from the basin will make the refinishing process easier and more effective. Proper preparation of the area helps in maintaining cleanliness and avoiding damage to surrounding fixtures. This initial step is essential to setting the stage for a smooth refinishing process.
Clean the Sink Thoroughly

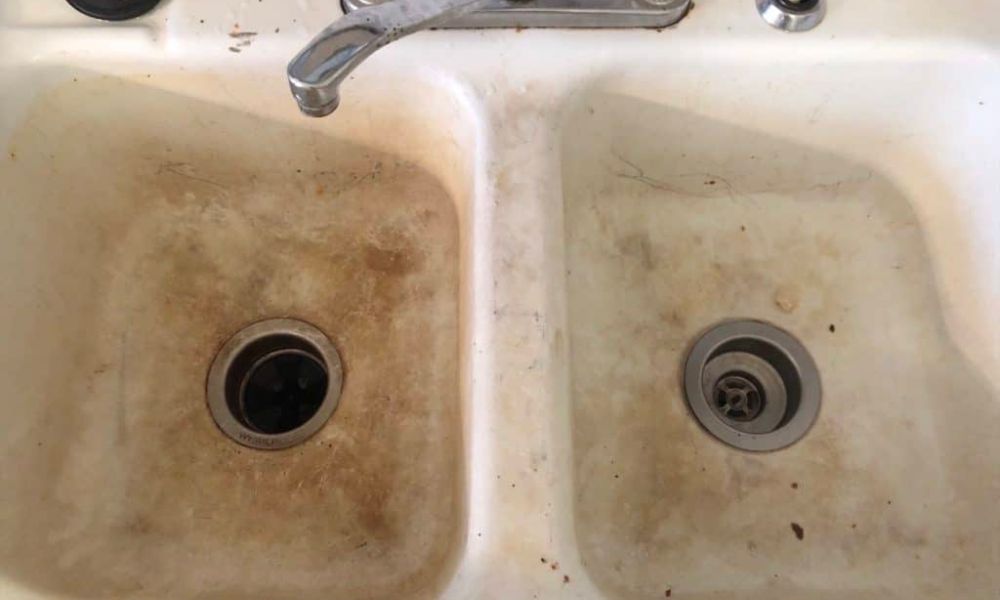
Cleaning is crucial for a successful refinish. Use a heavy-duty cleaner and a scrub brush to remove dirt, grime, and any old finish. Rinse thoroughly with water and let it dry completely. This step ensures that the new finish will adhere properly. A meticulously cleaned basin provides a pristine base for the refinishing materials, ensuring better adhesion and a longer-lasting finish. Don’t rush this step; thorough cleaning can make a significant difference in the final result.
Remove Rust
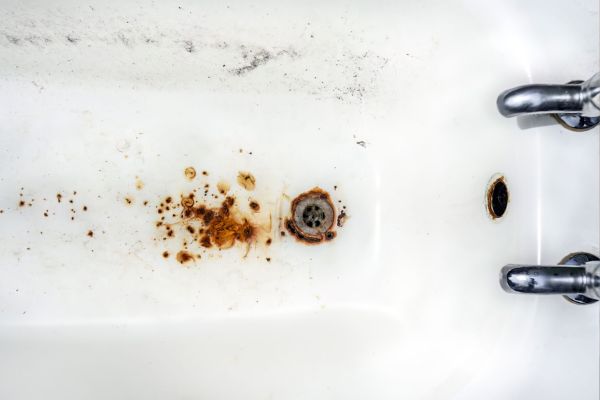
Rust can be a common issue with cast iron sinks. Use a wire brush or steel wool to scrub away any rust spots. For stubborn rust, apply a rust remover according to the product’s instructions. Make sure all rust is removed to prevent it from resurfacing under the new finish. Addressing rust promptly ensures the structural integrity of the basin is maintained, preventing further corrosion. Rust removal not only improves the appearance but also extends the life of the sink.
Sand the Surface
Sanding the sink creates a smooth surface for the new finish to adhere to. Use medium-grit sandpaper to sand the entire sink, paying extra attention to rough areas. After sanding, wipe the basin with a damp cloth to remove any dust. This step is vital for removing any residual old finish and creating a slightly roughened surface, which helps the new finish bond more effectively. A well-sanded sink ensures an even and professional look once refinished.
Apply Filler to Chips and Cracks
Inspect the sink for any chips or cracks. Use a filler suitable for cast iron to repair these imperfections. Apply the filler with a putty knife, smoothing it out to be flush with the sink surface. Once the filler is dry, sand it smooth to ensure an even surface. Filling chips and cracks is crucial for a flawless finish. This step ensures that the sink’s surface is uniform and free of blemishes, providing a perfect canvas for the final coat.
Prime the Surface
Applying a primer is essential for a durable finish. Use a primer specifically designed for metal surfaces. Apply a thin, even coat using a spray gun or brush, making sure to cover the entire sink. Allow the primer to dry according to the manufacturer’s instructions. Priming helps the paint adhere better and provides an additional layer of protection against rust and wear.
Apply the Paint
Once the primer is dry, it’s time to apply the paint. Choose a paint designed for high-use surfaces and suitable for metal. Apply the paint in thin, even layers, allowing each coat to dry completely before applying the next. Multiple thin coats provide a more durable and smooth finish than one thick coat. Be patient and thorough to achieve the best results.
Cure the Paint
After the final coat of paint, allow the sink to cure. Curing times can vary depending on the type of paint used, so refer to the paint manufacturer’s instructions. This step is crucial as it ensures the paint hardens properly and provides a long-lasting finish. Avoid using the sink until the paint is fully cured to prevent any damage to the new surface.
How Do I Get My Cast Iron Sink White Again?
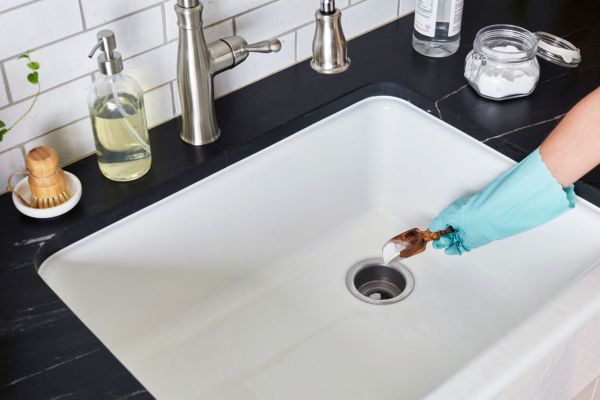
To restore the white appearance of your Basin, thorough cleaning and refinishing are key. Start by scrubbing the sink with a heavy-duty cleaner and a non-abrasive brush to remove stains and grime. If stains persist, use a mixture of baking soda and water or a specialized sink cleaner. For a long-lasting white finish, follow the refinishing steps outlined above, ensuring you choose a high-quality, white paint designed for cast iron.
How Much Does It Cost To Refinish A Cast Iron Sink?
The cost to refinish a cast iron sink can vary widely based on the materials used and whether you hire a professional. On average, DIY refinishing can cost between $50 to $100, including the cost of cleaners, sandpaper, fillers, primer, and paint. Hiring a professional can increase the cost to between $300 and $600, depending on the condition of the sink and local labor rates. While more expensive, professional refinishing can provide a higher-quality and longer-lasting finish.
The Final Thought
Refinishing a cast iron Basin is a rewarding DIY project that can transform the look and feel of your kitchen or bathroom. By carefully following each step—from preparing the area to curing the paint—you can achieve a durable and aesthetically pleasing finish. This process not only revitalizes an old, worn-out sink but also saves money compared to purchasing a new one. Whether you opt for a classic white or another color, taking the time to properly refinish your cast iron Basin ensures it remains a functional and beautiful centerpiece in your home for years to come.