Kasher a sink is an essential step in maintaining a kosher kitchen. Ensuring that your food preparation environment aligns with Jewish dietary laws. Whether you’re preparing your kitchen for Passover or creating a kosher environment year-round, understanding how to kasher a sinks is crucial. The process involves thorough cleaning, boiling water, and careful attention to detail to remove any residual traces of non-kosher substances. By following the proper steps, you can transform your sinks into a vessel that upholds the integrity of your kosher kitchen.
Preparing to Kasher Your Sink

Before starting the kashering process, preparation is key. Begin by assembling the tools and materials you’ll need, including cleaning supplies. A kettle or pot for boiling water, and gloves for safety. Choose a time when the sinks won’t be in use for several hours. As the process requires focus and uninterrupted access to the area. Additionally, it’s important to abstain from using the sink for hot food or utensils for at least 24 hours prior to kashering. This waiting period ensures that any adsorbed particles in the sinks are neutralized, making the kashering process effective.
Types of Sinks and Their Impact on Kashering
The material of your sinks plays a significant role in determining the kashering method. Stainless steel sinks are ideal, as they are durable, easy to clean, and can withstand the high temperatures required for kashering. Porcelain and enamel sinks, however, are more challenging due to their porous surfaces, which can absorb non-kosher residues. For such sinks, alternative methods, such as using an insert or liner, may be necessary to maintain kosher standards. Composite and other sinks materials require special consideration, as they may not be suitable for traditional kashering methods. Understanding your sinks type will help you choose the best approach.
Steps to Clean Your Sink Before Kashering
Properly cleaning your sinks before kashering is the first and most important step in ensuring the process is effective. The goal is to remove all food particles, dirt, grease, and residue that might interfere with kashering. Here’s how to do it:
Remove All Items from the Sink

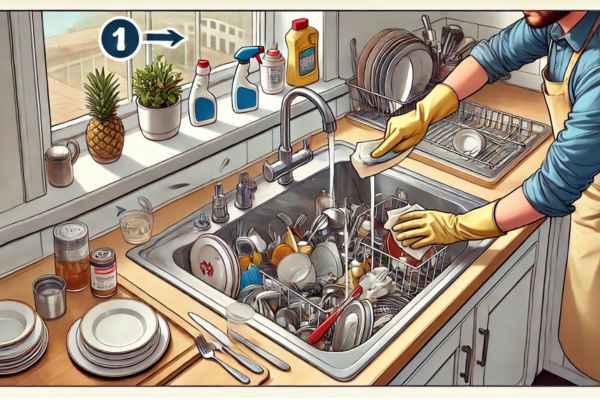
Start by removing any dishes, utensils, or items from the sink. This will give you clear access to all surfaces that need to be cleaned. Make sure the sinks is empty of any food debris before proceeding.
Scrub the Sink Thoroughly

Use a non-abrasive cleaner and a scrub brush or sponge to thoroughly clean the sinks. Focus on areas where food particles are most likely to get trapped, such as around the edges, seams, and around the drain. You may need to use a stronger cleaner for built-up grease or grime. Avoid using harsh chemicals that could leave residues behind, which could compromise the kashering process.
Tackle Hard-to-Reach Areas

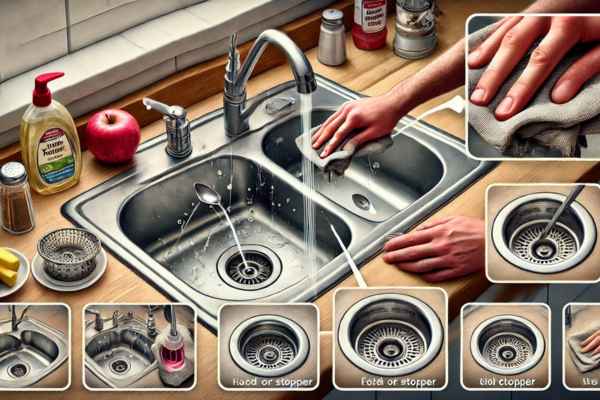
Don’t forget about the faucet, handles, and any other parts of the sinks that may have come into contact with non-kosher foods. Clean the faucet handles and knobs with a soft cloth. Making sure to get into any crevices where food might have collected. If your sink has a strainer or stopper, remove it, clean it thoroughly. And ensure there are no food particles trapped underneath.
Remove Rust or Mineral Deposits

Your sink has any rust stains or mineral deposits, now is the time to address them. Use a safe rust remover or a vinegar-based solution to break down these deposits. Allow the solution to sit for a few minutes, and then scrub away the stains gently. Rinse the sinks thoroughly with hot water after the stains are gone.
Rinse the Sink Well

After cleaning, rinse the sinks thoroughly with hot water to ensure all cleaning agents, dirt, and debris are completely washed away. This step is crucial, as any remaining residue could interfere with the kashering process, making it less effective.
Dry the Sink

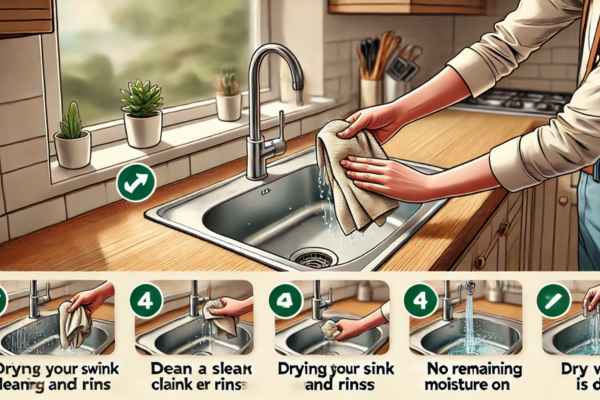
Once the sink is clean and rinsed, dry it with a clean, dry towel. This helps remove any leftover water and prepares the surface for kashering. It’s important that the sink is dry before proceeding. As wet surfaces can affect the way boiling water interacts with the sinks material during kashering.
Boiling Water: The Key to Kashering
Boiling water is one of the most crucial elements in kashering a sink. It plays a central role in purging any residual non-kosher particles from the sink’s surface. The heat from the boiling water effectively removes absorbed food and makes the sinks kosher. To kasher with boiling water, bring a large pot or kettle of water to a rolling boil. Once the water reaches a high temperature, carefully pour it over the entire sinks, ensuring every surface. Including the corners and seams, receives heat. For safety, wear gloves when handling boiling water, and take precautions to avoid splashing. This step should be done in one smooth motion to ensure uniform exposure to heat.
Addressing the Sink Basin
The sink basin is the central area that requires the most attention during kashering. Begin by pouring the boiling water over the surface of the basin, ensuring it covers every inch. Focus on the edges and corners where food residue can often hide. It’s important that the water touches all areas of the sinks, including the sides of the basin, as these surfaces can absorb non-kosher particles. If your sinks has multiple compartments, repeat the process for each section, being sure to cover all surfaces thoroughly. This step ensures that the entire basin is purified.
Dealing With the Faucet and Handles
Kashering the faucet and handles is just as important as kashering the sinks basin itself. Since these parts of the sink are regularly exposed to food and liquids, they may have absorbed non-kosher particles over time. To kasher the faucet and handles, start by removing any removable parts, such as the aerator or filter. Clean these parts thoroughly before kashering. Once cleaned, pour boiling water over the faucet and handles. Be sure to direct the water to all the moving parts. Paying attention to crevices where food particles might have collected. For areas that cannot be directly exposed to boiling water, consider using a blowtorch to apply heat, but be cautious to avoid damaging the faucet.
Kashering the Sink Strainer and Drain
The sink strainer and drain are often overlooked during the kashering process, but they are essential to clean and kasher as well. First, remove the strainer and clean it thoroughly, scrubbing away any food particles or residue. After cleaning, kasher the strainer by either pouring boiling water over it or applying a blowtorch for a more intense heat. For the drain, you can kasher by pouring boiling water down it to ensure that any absorbed residue is removed. If your sinks has a garbage disposal, ensure that it is cleaned and kashered properly as well. It may be a good idea to run hot water through the disposal to clear any food particles before kashering.
Drying and Finalizing the Kashering Process
Once the kashering steps are completed, it’s important to dry the sinks thoroughly. This ensures that no leftover water remains, which could potentially affect the purity of the kashering. Use a clean towel or cloth to dry the sinks and all its components, including the basin, faucet, handles, and strainer. After drying, inspect the sink carefully to ensure that all areas have been fully kashered. If you notice any spots you missed, repeat the process in those areas. Once the sinks is completely dry and clean, your kashering is complete, and the sink is now ready for use in a kosher kitchen.
Maintaining a Kosher Sink
Maintaining a kosher sink involves regular cleaning and care to prevent the buildup of non-kosher residues. Always make sure to clean the sinks thoroughly after each use, and avoid placing non-kosher food or utensils in the sink. To keep your sinks kosher, it’s recommended to perform periodic checks and quick cleanings, especially before important Jewish holidays or events. If you notice any signs of residue buildup or if the sinks becomes heavily soiled, a quick kashering process can help restore it to kosher status. By maintaining your sink with care, you ensure that your kitchen remains in compliance with kosher laws year-round.
Common Mistakes and How to Avoid Them
There are several common mistakes that can hinder the process or make it less effective. One mistake is failing to properly clean the sink before kashering. Any residue or food particles left behind can interfere with the kashering process, leaving non-kosher particles behind. To avoid this, ensure you clean every surface of the sinks thoroughly with the right cleaning products before applying boiling water. Another mistake is not using enough boiling water to cover all surfaces. Ensure that you pour the boiling water over the sink in a continuous stream, covering all areas, especially corners and crevices. Finally, skipping the faucet, handles, or strainer can result in parts of the sink remaining non-kosher. Remember, every part of the sinks that has come into contact with food must be kashered.
Can I Kasher a Sink Alone, or Do I Need Help?
Kashering a sink can be done alone, but it is often easier and safer with help. The process involves handling boiling water and requires you to cover every inch of the sink, which can be tricky if you’re doing it by yourself. Having a second person can help with tasks like pouring the water while you focus on other areas, or assisting with moving or removing sinks parts such as the strainer. Additionally, having someone to help makes it easier to ensure that all parts of the sink are kashered evenly and thoroughly. If you are working alone, take your time and follow the steps carefully to avoid accidents.
How Often Should a Sink Be Kashered in a Kosher Kitchen?
In a kosher kitchen, a sink should typically be kashered before each Jewish holiday, especially Passover, as this is when special attention is given to removing chametz (leavened products) from the kitchen. Additionally, a sink should be kashered if it has been used to prepare non-kosher food or if it has absorbed non-kosher substances. If you frequently use the sinks for kosher food preparation, it may not need kashering as often unless it comes into contact with non-kosher items. In general, periodic checks and routine cleaning can help maintain the sink’s kosher status throughout the year.
Troubleshooting Issues During Kashering
While kashering your sink, you may encounter some challenges. One common issue is spills or splashes of boiling water, which can be dangerous. Always take extra care when pouring boiling water, and consider using a kettle with a spout or a large pot to ensure precise pouring. If you accidentally miss a spot while kashering, simply reapply boiling water to that area. In the case of rusted or damaged sinks, kashering can be more difficult. If your sink has severe damage, you may need to use a different method or consult a rabbi for guidance on the best course of action. Lastly, if you’re unsure whether your sinks has been fully kashered, it’s better to repeat the process to ensure thoroughness.
Conclusion
Kashering a sink is an important process for maintaining a kosher kitchen. By carefully following the steps—from cleaning the sink to using boiling water—any sinks can be transformed into a kosher vessel for food preparation. Taking the time to avoid common mistakes, seeking help when needed, and ensuring regular kashering will help preserve the kosher status of your kitchen. Remember that the effort you put into kashering is not only a way to adhere to dietary laws but also a way to create a kitchen that is clean, pure, and aligned with Jewish traditions.
