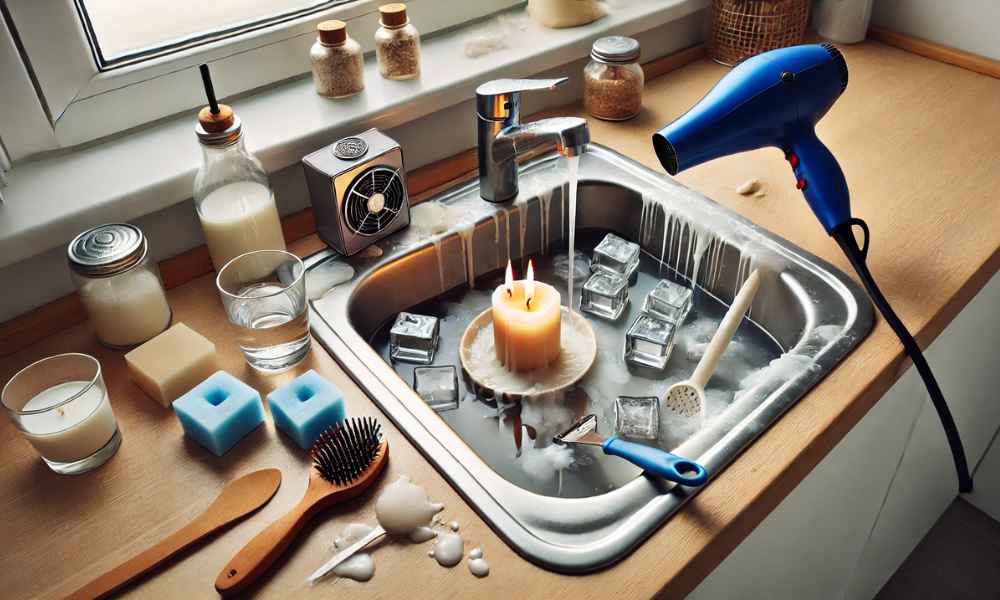
There’s nothing quite like the soft glow of a candle, creating warmth and ambiance in your home. But when that soothing light drips into your sink, the relaxation quickly turns to frustration. Candle wax hardens fast, clinging to your sink’s surface, leaving you with a stubborn mess that’s tricky to clean. Whether it’s the residue from scented candles or colored wax leaving behind stains, removing from a sinks can feel like an impossible task. But don’t worry—with the right methods, from using heat and cold to natural cleaners, you can quickly restore your sink to its former shine. Let’s explore how to get candle wax out of your sinks without stress.
Understanding the Problem: Why Candle Wax Can Be Tricky to Remove from a Sink

At first glance, candle may seem harmless—just a liquid that solidifies as it cools. Yet, once it transforms into a stubborn, hardened mass, it grips onto your sink’s surface with tenacity. What was once a cozy candle’s glow now becomes a frustrating task. And it’s not just the wax itself; it’s the dyes, the fragrances, the oily residues that leave marks, sometimes unseen, until it’s too late. Left unattended, the can seep into the very surface of your sinks, especially if it’s porous, leaving behind discoloration and grime that seem immovable. The challenge? Removing it without harming your sinks.
What Happens When Wax Solidifies in Your Sink
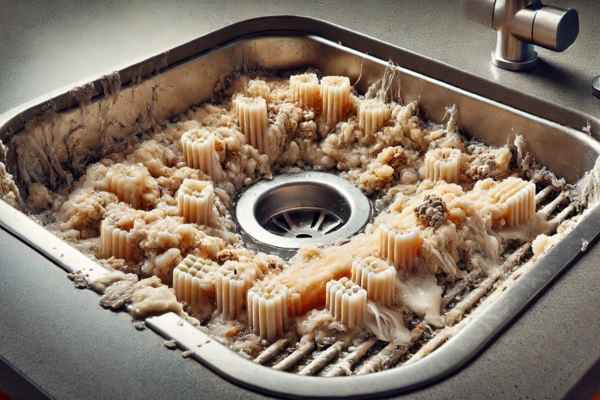
As wax cools, it crystallizes into a rigid mass, latching onto every groove, every dip in your sink’s texture. Whether your sink is smooth or slightly porous, wax is relentless. Solidified not only forms a physical layer but also clings to dirt and dust particles. Over time, this -dirt concoction solidifies, hardening like a protective shell—against you. The longer it sits, the more ingrained it becomes, making the removal process a herculean task. Moreover, once hardened, wax can create tiny blockages or unsightly patches, leading to frustration every time you glance at your sinks.
Common Mistakes People Make When Trying to Remove Candle Wax from a Sink
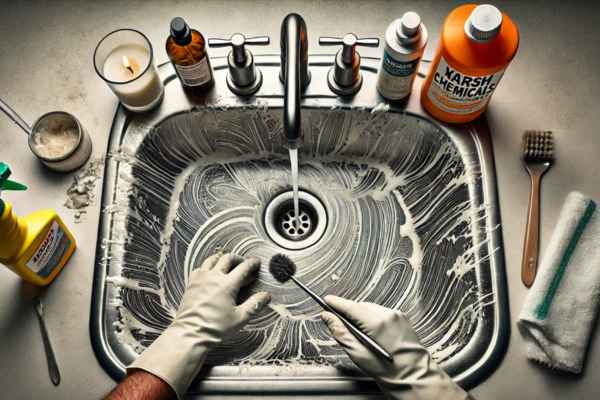
The impulse to grab the nearest sharp object and start scraping away is powerful, but this often results in disaster. Scratching delicate surfaces—porcelain, composite, even stainless steel—is an all-too-common consequence. Harsh chemicals? A tempting solution, yet they may erode or discolor the finish of your sinks. And ignoring the basics—like heat and cold—often leaves people struggling longer than necessary. Plus, once the is gone, many overlook the thin layer of residue that clings on, almost invisible, only to collect more dirt over time. A minor mistake, but one that can make a world of difference.
Gathering Your Tools and Materials for Wax Removal
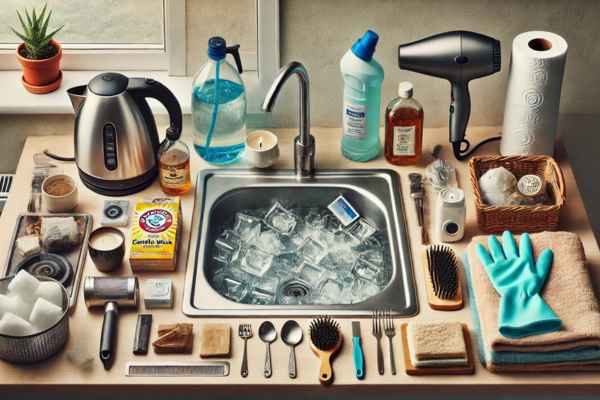
Preparation is the first step toward victory. Before jumping into removal, gather the essentials. You’ll need hot water—boiling, ideally—or a hairdryer to soften the wax. Ice cubes or a freezer pack will prove handy for hardening wax that refuses to budge. A plastic scraper, an old credit card, or even a flexible spatula will let you lift the without leaving scratches. And don’t forget vinegar, baking soda, and possibly a mild commercial cleaner for that stubborn residue. A soft cloth or some paper towels will help you finish the job, restoring your sink’s shine.
Using Hot Water to Soften the Wax
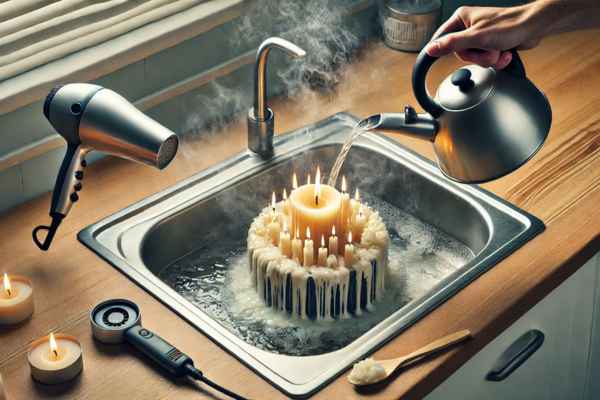
Heat—your ally in this battle. Boiling water poured directly onto the wax helps to melt and soften its grip, making removal far easier. Alternatively, the warm, focused blast of a hairdryer can gradually loosen even the most rigid patches of. Once softened, you’ll find it easier to scrape the away with your plastic tool. Metal sinks, especially stainless steel, handle heat well, so feel free to go full steam ahead. However, exercise caution with porcelain—extreme temperature changes may cause cracks, a repair far more troublesome than the wax you’re currently facing.
The Freezer Method: How Cold Can Help Break Down Wax
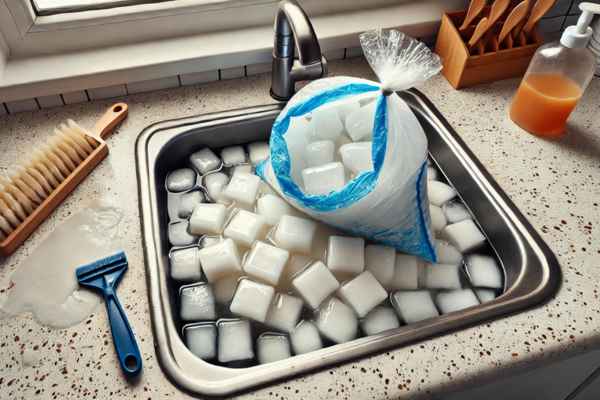
When heat fails, cold conquers. Wax, when subjected to freezing temperatures, becomes brittle, breaking apart like thin glass. Place a bag of ice cubes or a freezer pack over them for several minutes. The cold will shrink the wax, pulling it away from the surface slightly and making it far more susceptible to removal. This method excels on textured surfaces or in those tricky, hard-to-reach spots where scraping alone just isn’t enough. It’s the subtle magic of nature: what heat can’t melt, cold will shatter.
Scraping Away the Wax Safely Without Damaging Your Sink
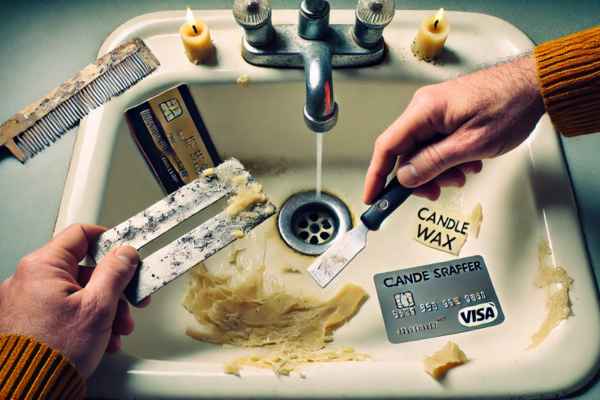
Once the wax has been softened by heat or hardened by cold, it’s time to scrape. But be cautious—this is where damage can easily occur. Reach for a plastic scraper, an old credit card, or even a spatula with a soft edge. These tools will lift the without scratching or damaging the sink’s surface. Patience is key here. Gently work around the edges of the wax, slowly peeling it away. If small remnants cling stubbornly, repeat the heating or freezing process until every last bit is gone. Slow and steady wins the race.
Natural Solutions: Using Vinegar and Baking Soda to Dissolve Candle Wax
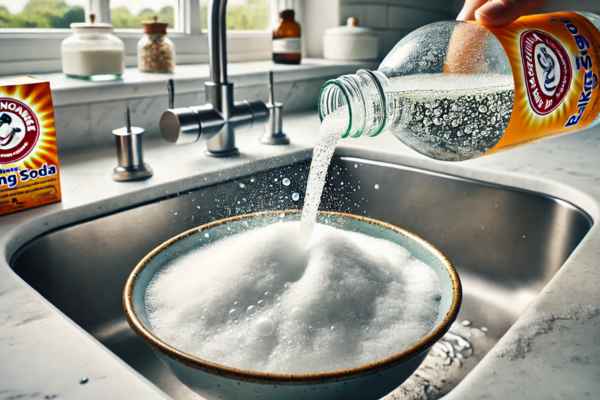
Once you’ve removed the bulk of the wax, there’s often a thin, greasy residue left behind. That’s where natural cleaners come in. A combination of baking soda and vinegar creates an effervescent, bubbly reaction that helps lift residual particles. Sprinkle baking soda generously over the waxy area, then slowly pour vinegar onto it. Let the fizzing action work its magic. This gentle yet effective solution not only removes leftover but also cleans the sink, leaving it fresh and shining, free from harsh chemicals that could damage the surface.
Commercial Cleaners for Stubborn Candle Wax Stains
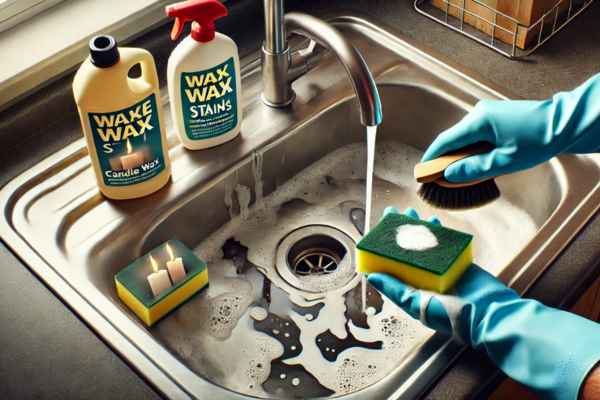
Natural solutions fall short, it’s time to bring in the big guns—commercial cleaners. Seek out products specifically designed to dissolve oils and waxes. Apply the cleaner as directed, making sure to use a non-abrasive sponge for scrubbing. The goal is to dissolve the without harming the sink’s finish. Be thorough, and always rinse the area well afterward. Some cleaners leave residues that could attract dirt later, so ensure every trace is washed away. For especially persistent stains, you may need to repeat the process or try a cleaner suited to your sink’s material.
Dealing with Candle Wax in Different Sink Materials: Porcelain, Stainless Steel, and Composite
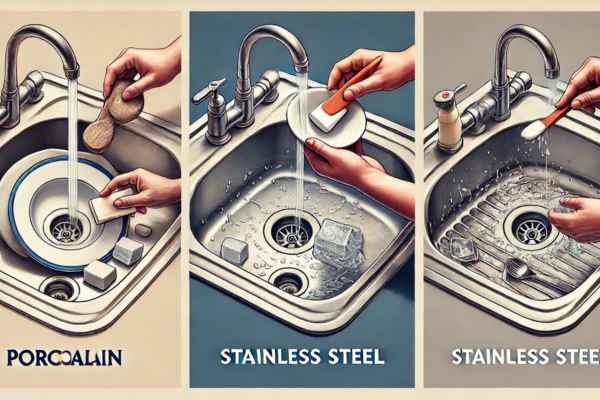
Porcelain, stainless steel, composite—each material requires its own strategy. Porcelain is delicate and prone to scratches and stains, so go gentle with heat and soft tools. Stainless steel, on the other hand, can withstand more—both heat and cold methods work wonders here. It’s durable, but that doesn’t mean you should be reckless. Composite sinks, though sleek and stylish, demand careful handling. They can scratch easily, and some cleaning solutions might dull their finish. Tailor your removal approach to the specific needs of your sink, always erring on the side of caution.
Preventing Future Candle Wax Spills in the Sink
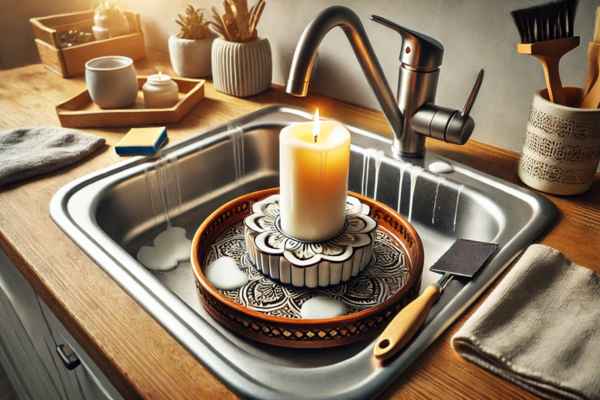
Clean when you can prevent it? The key to a wax-free sink is simple awareness. Avoid placing candles near your sinks or use dripless versions that won’t leave a mess behind. Consider setting up a protective tray or dish to catch any accidental spills. And if a spill does occur, tackle it immediately—wax is far easier to remove when it’s still warm and pliable. A little foresight goes a long way in preventing a time-consuming clean-up job later.
How to Clean and Restore Your Sink After Removing Wax
After the is gone, your sink may still look a bit worse for wear. To restore its original luster, give it a thorough cleaning. Warm water, mild dish soap, and a soft cloth will wipe away any remaining residue. For stubborn stains, a gentle abrasive cleaner or a paste of baking soda and water will help. Stainless steel can be polished to a mirror-like finish with a soft cloth, while porcelain and composite sinks may benefit from a light buff to remove any lingering imperfections. Finish by rinsing thoroughly and drying with a towel to prevent water spots.
Maintaining Your Sink for Long-Term Protection Against Residue
Regular upkeep is your best defense against future problems. Wipe down your sink daily to prevent the buildup of soap scum, food particles, and, of course, wax. Consider applying a protective sealant to create a barrier against stains and residue. With consistent care, your sinks will stay clean and beautiful, repelling future spills like a charm. A well-maintained sink not only looks better but lasts longer, serving as a shining centerpiece in your kitchen or bathroom for years to come.
Conclusion
Tackling candle wax in your sink doesn’t have to be an overwhelming chore. Armed with the right methods—heat, cold, natural cleaners, and a bit of patience—you can rid your sink of even the most stubborn deposits. Whether you’re dealing with porcelain, stainless steel, or composite, there’s a solution for every surface. Prevent future messes, keep your sinks maintained, and it will gleam for years to come, free from wax, grime, and frustration. All it takes is a little care and the right tools.
