
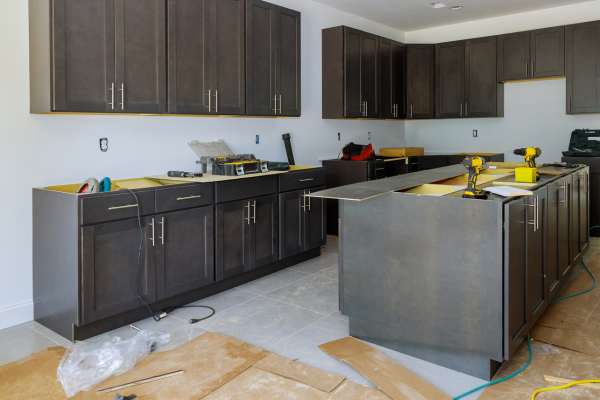
Changing the color of your kitchen cabinets is A simple, Yet transformative way to update your space. With the right tools and techniques, Changing the color of your kitchen container can be an inexpensive and easy project. In this article, We are going to discuss how to change your kitchen cabinet color, Including what materials you will need, Important steps to take during the process, And some helpful tips for getting the best results.
Gathering Necessary Tools And Materials
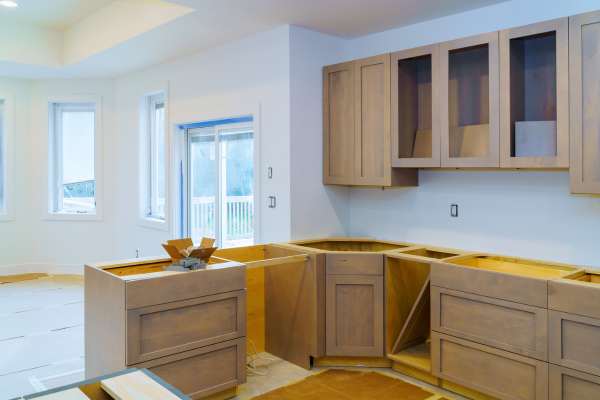
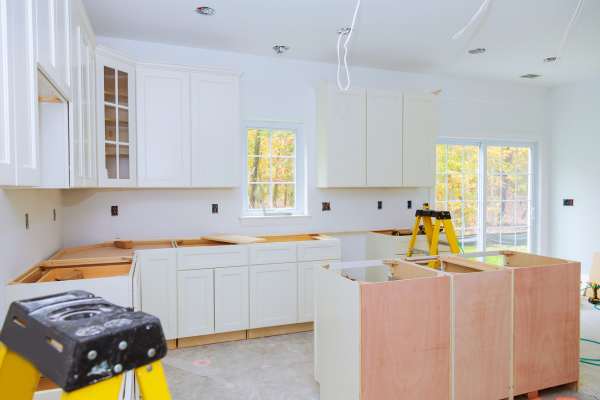
Changing the color of your kitchen cabinets can be A great way to refresh your space and give it A new look without breaking the bank. But before you dive into this DIY project, It’s important to gather all the necessary tools and materials.
You’ll need sandpaper in various grits to roughen up the surface of your cabinets so that the paint adheres better. You’ll also need cleaning supplies like soap, Water, And A degreaser to remove any dirt or grease buildup on the container. Next, You’ll want to invest in high-quality paint brushes and rollers for the smooth application of your chosen paint color.
consider investing in drop cloths Or plastic sheeting to protect countertops and floors from paint splatters. Painter’s tape will also come in handy for precise edges along cabinet frames.
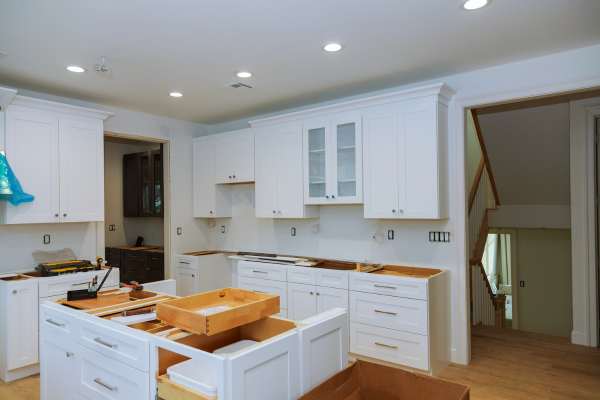
Remove Cabinet Doors And Hardware
Gather all the necessary tools such as screwdrivers and pliers. Once you have these tools ready, Remove all of the cabinet doors by unscrewing them from their hinges. Make sure to label each door with its corresponding location so that it’s easy to put them back when you’re done painting.
Next, Remove all of the hardware such as knobs Or handles from each cabinet door using pliers Or a screwdriver. Cleaning up any dirt or grime on both sides of the door before painting is essential in ensuring smooth paint application.
Clean The Cabinets Thoroughly
One way to give your kitchen a fresh and updated look is by changing the color of your cabinets. However, Before you can apply A new coat of paint or stain, It is essential to clean the cabinets thoroughly. This step ensures that any dirt, Grime, Or grease that has built up over time is removed, Allowing for A smooth application of your chosen color.
The first step in cleaning your container is to remove all items from them. This task will allow you to access every nook and cranny without any hindrance. Next, Use warm water mixed with mild soap Or detergent and A soft cloth Or sponge to wipe down the surface of each cabinet door and drawer front. Be sure to pay close attention to areas around handles and knobs where dirt tends to accumulate more quickly.
Sand The Cabinets To Remove The Old Finish
One way to achieve this is by sanding the cabinets to remove the old finish. Sanding will not only prepare the surface for A new coat of paint Or stain, But it will also help smooth out any imperfections and give a fresh start to your container.
Make sure you have all the necessary tools such as sandpaper, A sander, Cleaning supplies, And protective gear. Start with removing all cabinet hardware and drawers so that you have easy access to all areas that need sanding. Then use coarse-grit sandpaper to strip off as much of the old finish as possible before switching to finer grits for A smoother finish.
Roughen The Surface For Better Paint Adhesion

This process involves creating small scratches on the cabinet surface, Allowing the paint to grip onto it more securely.
First, Remove all hardware and clean the cabinets thoroughly with soap and water. Once they’re dry, use sandpaper Or A sanding sponge to create small scratches on the surface. Be sure not to sand too hard Or unevenly as this may cause damage.
After sanding, Wipe down the surface with A tack cloth Or damp rag to remove any dust Or debris. Then prime your cabinets with A high-quality primer that’s specifically designed for wood surfaces. This will help seal in any remaining dust And give your new paint a smooth base to adhere to.
Choose The Right Primer For The Project

This holds true especially if you are planning to change the color of your kitchen cabinet. A good primer can make all the difference when it comes to achieving A professional-looking finish that will last for years.
When choosing a primer, Consider the type of surface that you will be painting on. For wooden surfaces like kitchen cabinets, An oil-based primer would be ideal as it sticks well and prevents stains from bleeding through. If you’re going for A light-colored finish, Choose A grey-tinted primer instead of white to reduce the number of coats needed.
Another factor to consider is whether Or not your chosen paint requires A specific type of primer. Some paints come with their own recommended primers and using them together can ensure better adhesion and durability.
Apply Primer To The Cabinets And Doors
Primer is essential because it helps the paint adhere better to the surface and provides A consistent base color. Before starting, Make sure that all of your cabinets and doors are clean and dry. Then, Lightly sand them with fine-grit sandpaper to create A texture for the primer to stick to.
When selecting a primer, Choose one specifically designed for wood surfaces. Apply it evenly with A brush Or roller, Making sure not to leave any streaks or blobs. Once the first coat has dried completely (usually overnight), Lightly sand again before applying A second coat.
Choose The Right Paint For The Project
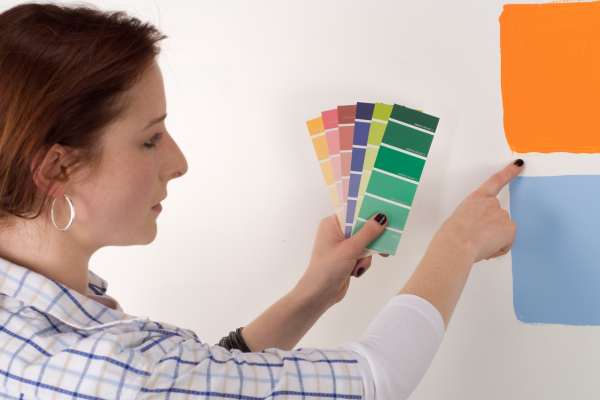
If you are looking to change the color of your kitchen cabinet, There are several factors to consider before picking up a brush. With the right preparation And proper selection of paint, You can transform your kitchen into a space that looks brand new.
It’s essential to change the right type of color for your kitchen cabinet. Cabinets tend to experience wear and tear due to frequent use, So it’s best to choose durable paints that can withstand heavy use. A semi-gloss Or high-gloss finish is ideal as they are easy to clean and maintain. Additionally, Choosing water-resistant paint will help protect your cabinets from moisture damage caused by cooking steam and spills.
Secondly, Selecting the appropriate color for your cabinet transformation is equally important.
Apply Paint To The Cabinets And Doors
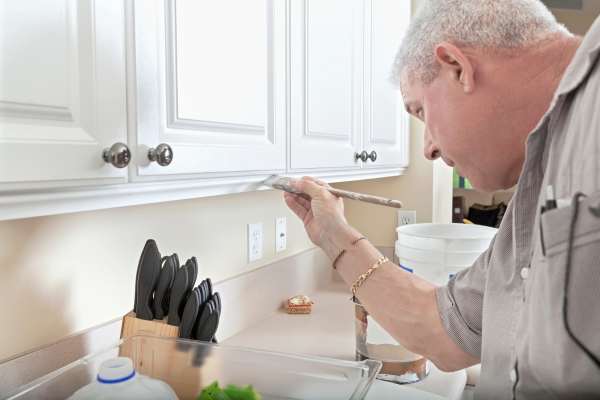
Want to add a pop of color or give your cabinets A fresh new look without breaking the bank? Consider painting them! It’s an easy and affordable way to update your kitchen and give it A whole new vibe.
First, Remove all hardware from your cabinets and doors. This includes knobs, Handles, Hinges, And any other metal pieces. Then clean your cabinets thoroughly with soap and water to remove any grease or grime that may have built up over time. Once they’re dry, Sand them down lightly with fine-grit sandpaper to create a smooth surface for the paint to adhere to.
Next, Apply primer to your cabinet using a brush Or roller. This will help ensure that the paint adheres properly and lasts longer.
Allow The Paint To Dry

It can seem like a daunting task if you’ve never done it before. One of the most important steps in change the color of your kitchen cabinet is allowing the paint to dry properly. Rushing this step can lead to a botched job that detracts from the overall effect you’re trying to achieve.
Before painting your cabinets, Make sure you have all the necessary tools and supplies on hand, Including primer and high-quality paint specifically designed for cabinetry. Remove all cabinet doors, Hardware, And drawers before beginning work. Sand down any rough spots Or imperfections in the wood with sandpaper so that your primer will adhere better.
Once you’ve applied a coat of primer to all surfaces of each cabinet piece, Allow it to dry completely according to the manufacturer’s instructions.
Apply A Second Coat if Necessary
Whether you want to add some personality Or simply update the style, Painting your cabinets is a great DIY project. However, Achieving the perfect finish requires patience, Preparation, And attention to detail. One of the most important steps in this process is applying A second coat if necessary.
After sanding and priming your cabinets , It’s time to apply the first coat of paint. Using A high-quality brush or roller, Start by painting the edges and corners before moving on to larger surfaces. Allow at least 24 hours for drying time before deciding if you need a second coat.
To determine if you need another coat, Take note of any unevenness Or streaks in the finish.
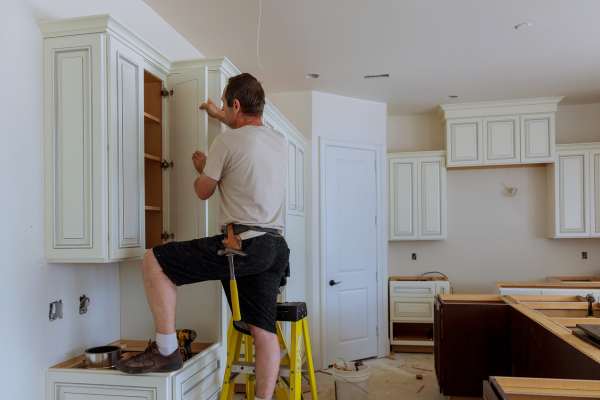
Reattach Doors And Hardware To The Cabinets
Gather all necessary tools and materials: screwdriver, Drill, Screws, Hinges, Knobs Or handles, And adhesive if needed. Take off all cabinet doors using the screwdriver Or drill. Then remove any old hardware with care so that it doesn’t damage the door Or cabinet.
Comes prepping for painting Or staining. Sand down all surfaces that will be painted Or stained. This will help ensure proper adhesion of paint or stain later on. After sanding is complete and dust has been removed from surfaces with A tack cloth Or similar tool, Start painting Or staining as desired. Once dry, Carefully reattach all doors using new screws if necessary and add new hardware such as knobs and handles as preferred.
Ensure All Hardware Is Properly Aligned And Tightened
Before you dive into painting or staining your cabinets, It’s essential to ensure that all hardware is properly aligned and tightened. This step will help prevent any accidental damage during the painting process and ensure that the cabinets are secure.
Start by removing all cabinet doors and drawers carefully. Next, Inspect each piece of hardware for signs of wear Or damage. Replace any worn Or broken pieces with new ones so that everything matches perfectly once you’ve finished painting Or staining. After replacing any damaged hardware, Clean all surfaces thoroughly with A soft cloth and water mixed with mild soap to remove grease, Dirt, And grime buildup.
Once everything is clean and dry, Take time to align each hinge correctly on both the door and frame sides.
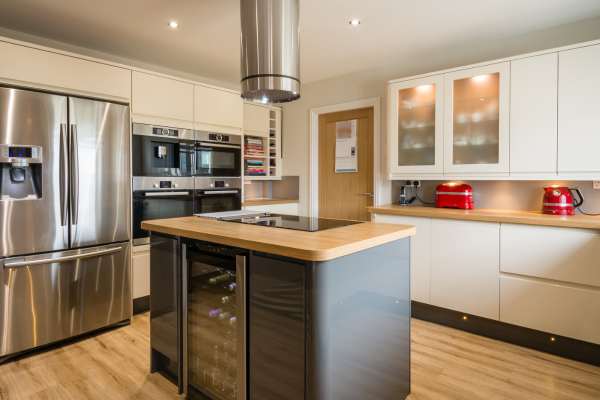
Consider Adding New Hardware Or Accessories
There are many other accessories that can enhance the look of your kitchen cabinets. Consider adding glass inserts to some of your cabinet doors for an elegant touch. You could also add under-cabinet lighting for A modern and functional upgrade. Adding crown molding Or trim to the top of your cabinets is another way to give them a more custom and high-end look.
When choosing new hardware or accessories for your kitchen cabinets, Be sure to consider the overall style and color scheme of your kitchen.
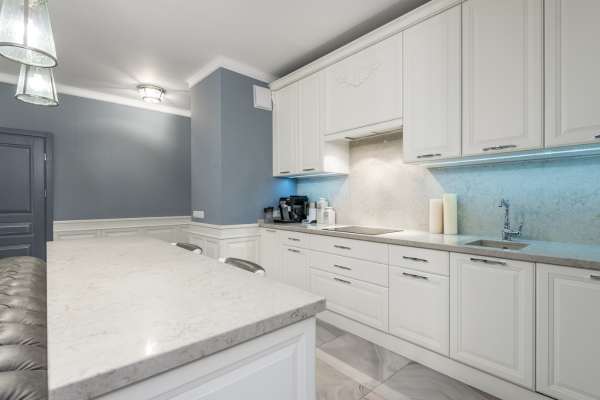
The Final Thought
Changing the color of kitchen cabinets is an exciting and rewarding home improvement project. It requires careful planning, But with enough research and the right tools, It is possible to do the job yourself. Once you have chosen a new color, You can either paint Or refinish your cabinets to give them a fresh look. If you choose to paint your cabinets, Be sure to use primer and A high-quality finish for the best results.