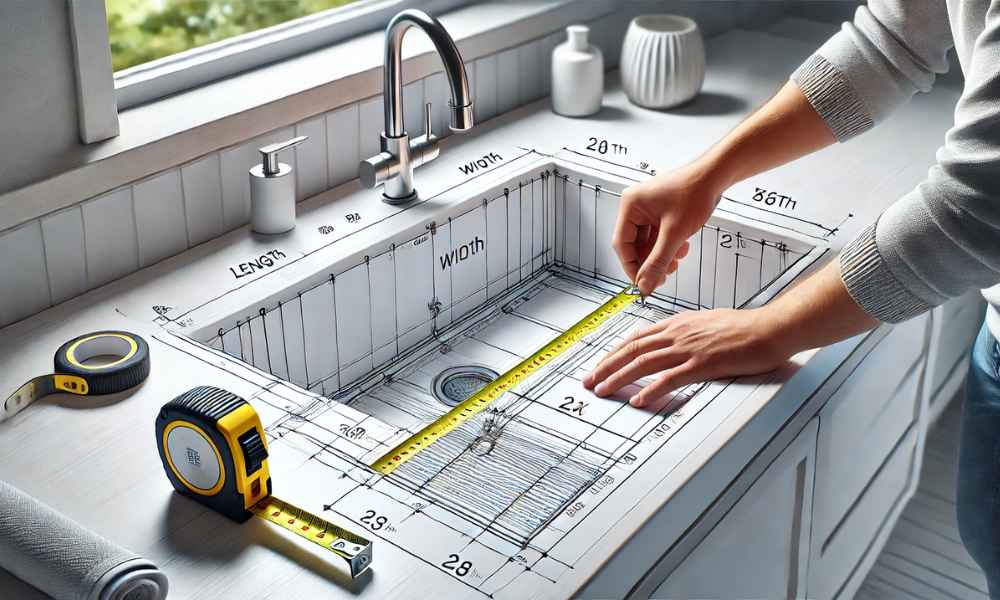
Measure Undermount Bathroom Sink Size is no trivial feat—get it right, and you’ll have a smooth, frustration-free installation. Get it wrong, though, and you may be staring at a that just won’t fit or worse, an installation nightmare that could drain your time, patience, and budget. Undermount sinks, with their sleek, minimalist appearance, are the hallmark of modern bathroom design, providing a smooth, uninterrupted surface that’s easy to clean and looks fantastic. But as sleek as they are, these sinks require precise measurements for a flawless fit. A little understanding of sinks dimensions and some careful measuring can save you from costly mistakes and ensure your bathroom remodel goes off without a hitch.
Tools You’ll Need to Measure Your Undermount Sink

Before embarking on the great sinks measurement journey, you’ll need to gather your tools. These aren’t just ordinary tools; they’re your ticket to accuracy. A retractable tape measure is your first and most important companion—nothing else will do when it comes to precise measurements. You’ll also need a level—an indispensable tool to ensure your countertop is as even as your measurements. A pencil and paper are essential for keeping track of the numbers, and a calculator can come in handy if you’re navigating the sometimes tricky math of conversions. If your sinks is larger than a breadbox (which, let’s face it, many undermounts are), a second set of hands will be crucial to help you with measurements. With the right gear in hand, you’ll be able to measure like a pro.
Understanding Sink Dimensions – The Basics You Need to Know

Measuring an undermount sinks is not about simply taking one or two measurements; it’s about understanding the core elements that contribute to the sink’s fit and function. There are four main dimensions to focus on: length, width, depth, and rim thickness. The length and width of the sink will dictate how much countertop space the sinks will occupy. The depth—essentially the sink’s vertical measurement—tells you how far down the sinks extends from the countertop, crucial for both installation and functionality. Rim thickness refers to the lip that supports the sink under the counter, and it’s vital to the mounting process. The shape—oval, rectangular, round—will also affect how you measure and how the sinks fits within the space. Understanding these terms and measurements is key to ensuring your functions as intended, without any hiccups during installation.
Measuring the Sink’s Overall Length and Width
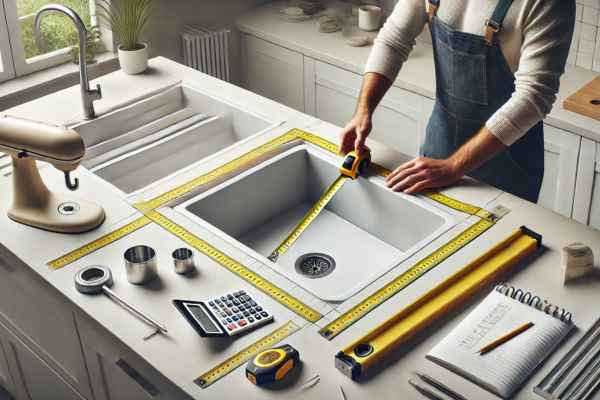
Let’s dive into the specifics. To measure the length of your undermount sinks, place the tape measure at the outermost point on one side of the and stretch it all the way across to the other side. This is your sink’s length, and it’s critical to get an accurate reading from edge to edge, ensuring the sinks fits comfortably into the designated counter space. Similarly, for the width, you’ll measure across the sinks from one side to the other, once again using the outermost points. The top of the is where these measurements need to be taken for accuracy, providing the most reliable numbers for installation. Getting these measurements right ensures that the sink will be both aesthetically pleasing and functional, with ample space for use.
Measuring the Sink’s Depth and Bowl Dimensions
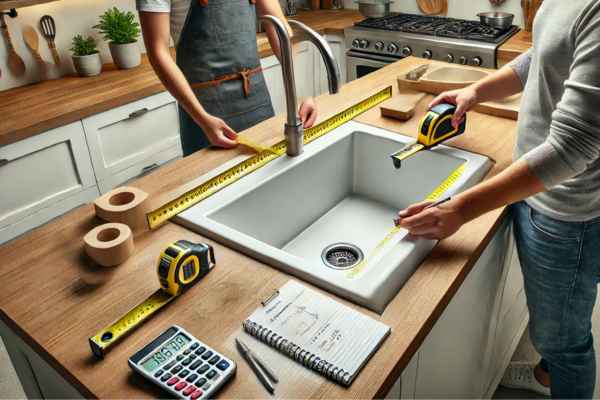
Moving on to the sink’s depth and internal dimensions, where things get a bit more complex. Depth refers to how far the sinks extends downward from the counter to the deepest part of the bowl. To get this right, measure from the top edge of the sink’s rim all the way to the bottom of the bowl. Be sure to take measurements from both the front and back of the sinks to account for any variations. Next, you’ll want to measure the internal bowl dimensions—both length and width—because these will determine the amount of usable space inside the sinks. These measurements are crucial, especially if you’re working with limited space underneath the sink for plumbing or storage. A deeper bowl means more space for everyday tasks, while a shallower bowl may offer easier access to under-sinks storage.
Measuring the Sink’s Thickness and Rim Overhang
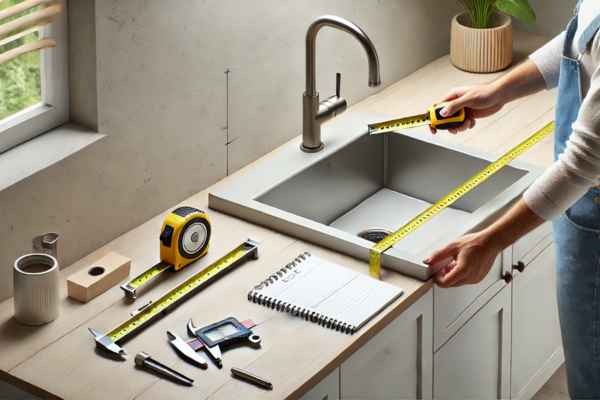
The sink’s rim is often overlooked but is absolutely essential for proper installation. The rim’s thickness determines the strength and durability of the mounting system. Using your tape measure, measure the width of the rim from the outermost point to where it connects to the countertop. This is the measurement that will influence how securely the sinks will sit beneath your counter. Rim overhang, on the other hand, is the portion of the that extends beyond the vanity or cabinet. This can have a subtle yet noticeable impact on the overall aesthetics of the installation, so take extra care to measure this part for an even, balanced look.
Checking for Clearance Under the Sink
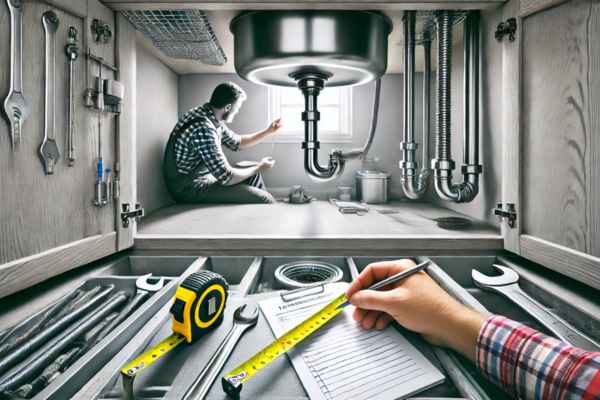
Now, let’s talk about clearance—something that can often be neglected, but can cause a world of trouble. Measure from the underside of your sinks to any pipes, water lines, or other plumbing fixtures beneath the counter. If your sink’s clearance is too tight, it could result in installation issues or even interfere with plumbing. If the sink is being placed in a vanity, make sure there’s sufficient space beneath the sinks for plumbing and, ideally, for storage. Without proper clearance, you could be looking at a sinks that’s either hard to install or, worse, prone to plumbing malfunctions.
Understanding the Sink’s Drain Size and Placement
Another critical measurement to nail down is the drain size and placement. Most undermount sinks will have a drain hole that typically measures between 1.5 to 2 inches in diameter. But here’s the thing: accuracy is key. You must measure the drain hole in your sinks to ensure it lines up perfectly with your bathroom’s plumbing system. And don’t forget about the hole’s position—sometimes, the drain hole is offset, meaning it’s not directly in the center of the sink. This could affect how the plumbing fits, so be sure to measure and take note of its location. Precision here is non-negotiable if you want your sinks to drain properly.
Accounting for Vanity or Cabinet Dimensions
Your vanity or cabinet will play a huge role in determining whether your undermount fits as it should. The length and width of your vanity should allow for your sink’s dimensions with a little room to spare, but don’t forget to measure the height of the vanity as well. This ensures there’s enough space underneath the countertop to properly mount the sinks without crowding the cabinet or interfering with plumbing. If you’re swapping out an old sinks for a new one, ensure the new sink’s dimensions won’t require major changes to the cabinet. After all, modifying your vanity could involve more work (and cost) than anticipated.
Considering Faucet Placement and Compatibility
Faucet placement is often dictated by the sink’s dimensions, so understanding where your faucet will go is critical when measuring. Generally, faucets are installed directly above the sink, but if you have a unique setup, such as a backsplash or an unusually shaped countertop, this may change the dynamics. Measure carefully, not just for the faucet’s space but also for the size of the faucet itself. A larger faucet may need extra room around the sinks, which could affect your overall measurements. Ensure your faucet, sinks, and vanity all work harmoniously together before proceeding.
Double-Check Your Measurements for Accuracy
Let’s face it: even the best of us make mistakes. After measuring, take the extra step to double-check each and every dimension. The slightest miscalculation can lead to headaches later on. Recheck the length, width, depth, and rim thickness to ensure they match the original specifications. This small extra effort will save you from costly mistakes and installation delays down the road.
How to Choose the Right Size Sink for Your Bathroom
The size of your undermount is not just about fitting into the space but also about balancing style with practicality. In smaller bathrooms, a more compact sinks can save precious counter space while still providing all the utility you need. Larger bathrooms may benefit from a more expansive sink, but be careful—too large sinks in a small space can overwhelm the room, while too small sinks in a large space might look out of place. Consider the overall design and functionality, ensuring your sinks complement your bathroom’s aesthetic while providing plenty of usable space for daily tasks.
Professional Installation: When to Call the Experts
While DIY installations can be satisfying, there are times when professional help is a must. If you’re working with a complex setup or if you simply don’t feel confident in your measuring skills, calling in a professional can save you both time and frustration. A skilled plumber or contractor will ensure your is installed securely, and they’ll know how to handle any surprises that crop up during installation. Sometimes, the cost of professional help is worth it, especially for intricate or expensive sinks.
Common Pitfalls to Avoid When Measuring Undermount Sinks
The most common mistake when measuring undermount sinks? Forgetting to account for countertop thickness. It’s easy to overlook, but without this measurement, the sinks may not sit flush against the countertop, leading to a poor fit. Another pitfall is neglecting clearance under the sink. Plumbing can get tricky if there’s insufficient space. Be thorough—measure everything twice and then some.
Additional Considerations for Undermount Sink Installation
Beyond the basics, there are a few additional things to consider. The type of countertop material can significantly impact your installation. Granite, marble, and quartz all require different adhesives and mounting techniques, and some materials may require extra reinforcement. Additionally, the sink’s design can play a role—sinks with rounded edges or integrated drains might require unique installation methods. Be aware of these variables before proceeding.
What is the best way to measure for an undermount sink in a small bathroom?
measuring for an undermount sinks in a small bathroom, the goal is to maximize space without sacrificing functionality. In compact bathrooms, every inch matters. Start by measuring the available counter space—this will help determine the size of the sink that will fit comfortably without overcrowding the vanity. A smaller undermount sink, typically between 18 to 20 inches in length, works best in tight spaces, as it provides ample functionality without overwhelming the room. It’s also important to consider the sink’s bowl depth. While a deeper bowl offers more usability, it might require adjustments in plumbing or cabinet dimensions. Always take precise measurements of both the and vanity to ensure that they complement each other, and ensure there’s enough clearance for plumbing beneath the sinks.
Can I install a larger undermount sink in an existing vanity?
You’re considering installing a larger undermount in an existing vanity, it’s possible, but it requires careful consideration of the vanity’s dimensions. First, measure the length and width of your vanity to confirm that it can accommodate the new sink’s footprint. You’ll also need to check the depth of the cabinet to ensure there’s enough space to hang the beneath the countertop without interfering with plumbing fixtures or reducing storage space below. Keep in mind that replacing a sink with a larger one may necessitate modifications to the vanity or counter to ensure a snug, secure fit. If you’re replacing an old sink, carefully compare the new sink’s dimensions to those of the existing one before proceeding.
How accurate do my measurements need to be for a perfect fit?
Accurate measurements are crucial for a perfect fit when installing an undermount sink. Ideally, your measurements should be precise to within an eighth of an inch to avoid potential fitting issues during installation. Even the smallest discrepancies can lead to leaks, gaps, or improper alignment with your plumbing system. For example, if the sink’s length or width is slightly off, it could cause an improper seal against the countertop, leading to water damage over time. It’s essential to measure multiple times—length, width, depth, and rim thickness—taking extra care with each dimension. Ensuring these measurements align with your countertop and vanity dimensions will ensure the installation process goes smoothly.
What if my measurements are slightly off?
Your measurements are slightly off, you might still be able to make adjustments during installation, but major errors can create serious issues. A small mistake, like an incorrect length or depth, might affect the overall alignment and could result in the sink sitting too high or low. In extreme cases, it may require you to trim the counter or modify the cabinet. While minor discrepancies can sometimes be remedied with slight repositioning or adjustments, it’s always best to double-check your measurements before purchasing the to prevent future headaches. Double-checking ensures that any small errors are caught early, allowing you to make corrections and avoid complications later in the installation process.
Conclusion
While measuring for an undermount bathroom may seem like a complicated task at first glance, the right tools, attention to detail, and patience will ensure a smooth installation. With accurate measurements and a little preparation, you can guarantee your new sink will fit perfectly, both in terms of function and style. So take your time, double-check your work, and your bathroom will shine with a sleek, perfectly installed undermount sink.
