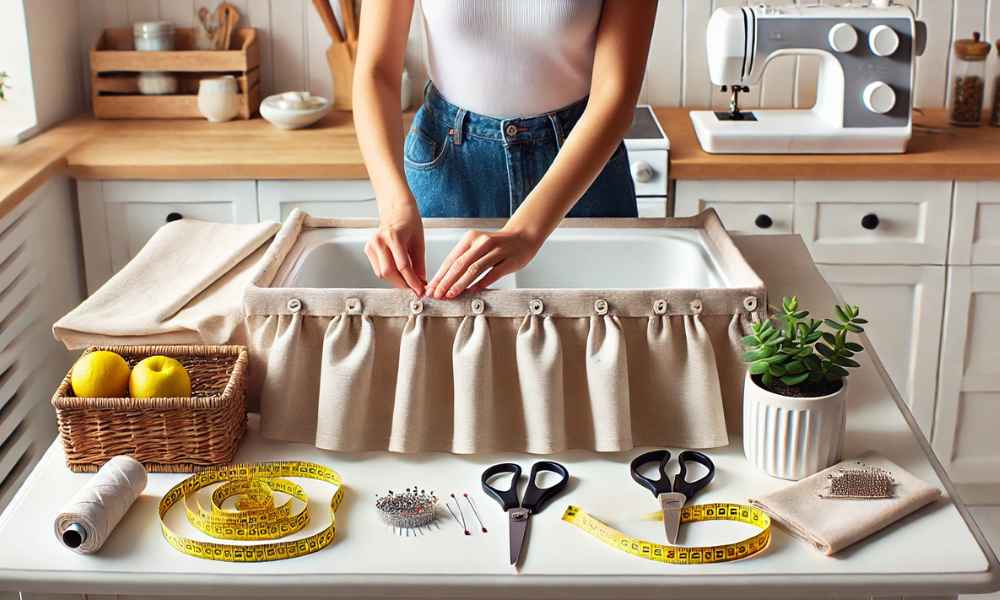
A sink skirt isn’t just a charming decorative piece — it’s an easy DIY solution to transform the base of your sink area, hiding unsightly plumbing, storage, and dust while adding a functional flair to your home. Whether you’re sprucing up a cozy kitchen or injecting a soft touch into your bathroom, a sinks skirt can be both an affordable upgrade and a practical way to keep your space neat and tidy. You don’t need to be a pro to make one either. With just a bit of fabric, a sewing kit, and some creativity, you’ll soon have a stylish sinks skirt that hides clutter and reflects your personal style.
Understanding the Purpose of a Sink Skirt
The primary function of a sinks skirt is to cover the base of your sink, obscuring plumbing pipes, cleaning supplies, or anything else that’s typically tucked away. While this might seem like a simple task, a sink skirt can also prevent dust buildup under the sinks, making cleaning easier. Moreover, it offers a way to introduce a bit of personal flair and color to your space, whether you’re tackling a rental or simply looking for an easy DIY fix. From bathroom vanity skirts to kitchen sinks covers, they’re an effortless way to upgrade any space.
Benefits of Adding a Sink Skirt to Your Kitchen or Bathroom
Sink skirts are a stylish and practical solution for both kitchens and bathrooms. These simple additions can instantly elevate the look of a room without the need for expensive renovations. In a kitchen, a sink skirts can hide the clutter of cleaning products or store extra kitchen tools. In a bathroom, it conceals plumbing pipes, often transforming a drab, utilitarian space into something cozy and inviting. Additionally, sinks skirts offer a perfect option for renters who need a temporary yet chic solution that doesn’t require any permanent alterations. The fabric choices alone can tie the skirt into any style, from rustic farmhouse vibes to sleek minimalist designs.
Essential Materials for Making a Sink Skirt
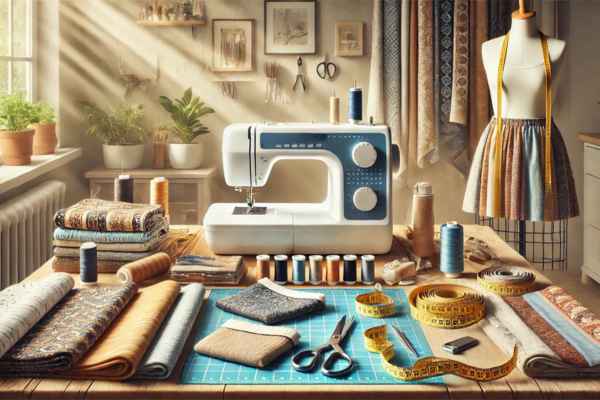
Before you embark on your DIY journey, having the right materials is crucial to success. Choosing the right fabric and tools will set the foundation for your sink skirt’s look and durability. With the right preparation, you’ll make a piece that lasts and looks great, too.
Fabric Choices: Picking the Right Material for Durability and Style
The fabric you select will define not only the aesthetics of your sinks skirt but also how well it stands up to wear and tear. If you’re after something low-maintenance and durable, cotton, linen, or polyester blends are your best bets. These materials are practical, easy to clean, and widely available. For a more luxurious or formal look, fabrics like velvet or brocade can add a sophisticated touch. However, if your sink is exposed to water or spills often, opt for water-resistant or washable fabrics like treated canvas or polyester. Keep in mind the needs of your space: a machine-washable fabric is ideal for kitchens, while a more delicate fabric may be appropriate for bathrooms where there’s less risk of heavy use.
Tools You’ll Need: From Measuring Tape to Sewing Kit
The beauty of making a sink skirt is that it’s an easy project for beginners. However, having the right tools will make the task more enjoyable. Start with a measuring tape to get the correct dimensions for your sinks. Scissors are necessary for cutting your fabric, and a sewing kit (or sewing machine if you have one) will help you complete the stitching. Don’t forget fabric clips or pins to hold the fabric while you work, and a fabric marker or chalk for marking cuts. If you’re hand-sewing, choose a needle that’s appropriate for your fabric type. With these basic tools, you’ll be able to make a neat and professional-looking skirt.
Optional Accessories: Adding Extra Flare with Ribbons, Tassels, or Trim
Making a sink skirt is your opportunity to get creative. You can add embellishments such as tassels, fringe, or decorative trim to give the skirts a personal touch. Perhaps you’d like to add some ruffles or pleats for a more traditional or cottage-style look. Experimenting with patterns and accessories can turn a simple skirts into a statement piece. Whether you add a subtle lace trim for a bathroom skirts or go bold with a patterned fabric in the kitchen, this is the fun part of making your sinks skirt.
Step-by-Step Guide on How to Make a Sink Skirt
Once you’ve gathered your materials, it’s time to jump into the process. Follow these steps for a smooth and successful DIY project.
Preparing the Sink Area: Cleaning and Measuring Your Space

Before you start working on your skirt, clean the area around your sink to make sure you have a tidy workspace. Remove any items stored beneath the sink. With a clean slate, use your measuring tape to take accurate measurements of the sink area. Measure the width from one side to the other and the height from the counter to the floor. It’s important to measure at multiple points if your sinks or cabinet is uneven. By taking these precise measurements, you’ll avoid fabric shortages and ensure a snug fit.
Taking Accurate Measurements: How to Measure Your Sink and Cabinet
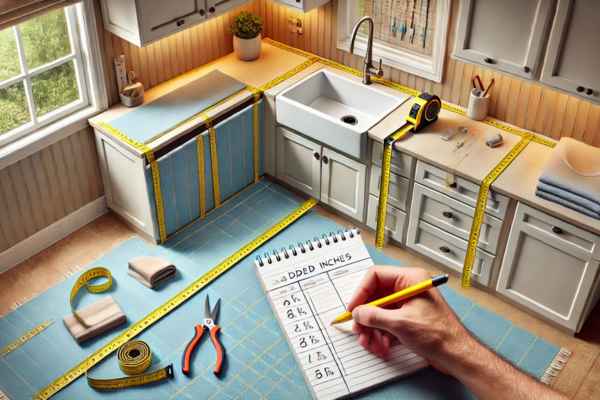
Once you’ve decided on the overall size of your sinks skirts, add a few extra inches to each measurement for the hems. This ensures you have enough fabric to tuck or hem under the cabinet or sink base. If you want your skirts to drape longer, remember to account for extra fabric length as well. Measure both the width and length accurately to avoid mistakes when cutting your fabric.
Cutting the Fabric to Fit: Tips for Smooth, Even Cuts
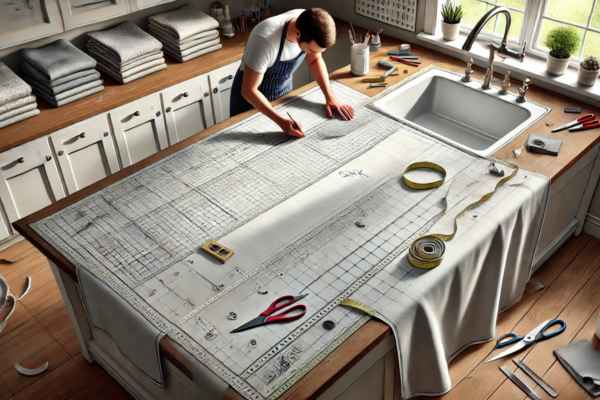
When it comes to cutting the fabric, it’s important to keep things as neat and precise as possible. Start by using a fabric ruler to ensure straight lines, and don’t forget to leave a little extra fabric around the edges for hemming. Use sharp fabric scissors to make clean cuts, as dull scissors can fray the edges of your material. If you’re worried about cutting unevenly, take your time and double-check your measurements before cutting.
Creating the Hem: How to Get Clean, Professional-Looking Edges
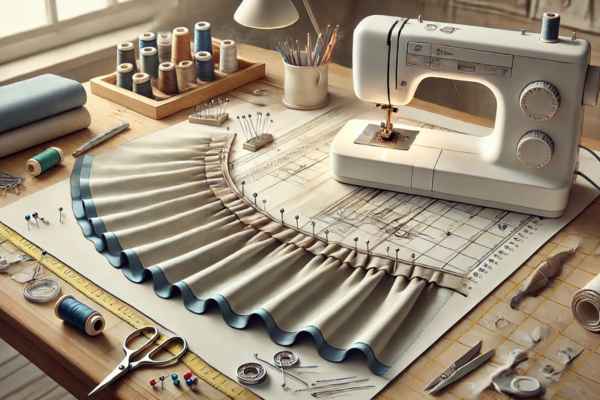
Creating a clean hem is crucial for a polished look. Fold the edges of the fabric over by approximately 1/4 inch, pin them in place, and then sew along the edges. For a more professional finish, you might choose to use a double-fold hem, which is stronger and creates a cleaner edge. To make sure your hem is even, iron the fabric before you sew it to ensure it stays in place. This step is essential for both the longevity and appearance of your sink skirt.
Attaching Your Sink Skirt to the Cabinet
Once your skirt is ready, it’s time to secure it under the sinks. The way you attach the skirts depends on the look you’re going for and how permanent you want the solution to be.
Choosing the Right Attachment Method: Velcro, Hooks, or Adhesive
The attachment method will depend on whether you want a temporary or permanent solution. Velcro strips are a great option if you need something easy to install and remove. For a more permanent fix, you might use adhesive strips or small hooks. If you’re up for sewing, you can sew the skirts directly onto the cabinet. Regardless of the method, ensure it can handle the weight of your fabric and the occasional pull.
How to Sew the Skirt for a Secure and Stylish Finish
You’re sewing your skirt to the cabinet, you’ll need to fold the top edge of the fabric over to create a pocket for your tension rod or hooks. Be sure to leave enough space so the rod can fit through. Once you’ve sewn the top seam, you can either use a tension rod for an easy, non-permanent attachment or opt for hooks for a more secure installation. If you’re hand-sewing, take your time and make sure the stitches are neat and aligned for a professional finish.
Using a Tension Rod: A Quick and Easy Option for Renters
A tension rod is a great solution for renters who want a non-permanent way to install their sinks skirts. Simply measure the width of your sink area and buy a rod that fits. Slide it through the top hem of the fabric and place it beneath the sinks. The rod will hold the skirts securely in place without any need for adhesives or nails, making it perfect for temporary installations.
Personalizing Your Sink Skirt: Creative Touches to Enhance the Look
Your sink skirts doesn’t have to be plain. One of the best parts of making your own is the chance to add personal flair and make it unique. Let your creativity run wild as you explore different embellishments and design options!
Adding Pleats or Ruffles for a Classic Touch
Want to add some texture and dimension to your sink skirts? Pleats or ruffles are an easy and effective way to do just that. Pleats give your skirts a tailored, sophisticated look, while ruffles add a fun, whimsical touch. Both options work well with various décor styles — pleats for a more formal, classic feel and ruffles for something more playful and relaxed.
You can choose from a variety of pleat styles: box pleats, knife pleats, or even accordion pleats. If you’re going for ruffles, consider the type of fabric you’re using. Lighter fabrics tend to work best for ruffles, as they flow nicely and create a soft, romantic look.
Experimenting with Patterns and Colors to Match Your Decor
Your fabric choice can completely change the vibe of your space. If you want something simple and neutral, opt for solid colors like beige, white, or navy. For a bolder statement, consider using patterns such as stripes, florals, or even geometric shapes.
Mixing and matching fabrics is another fun way to get creative with your sink skirts. Combine different textures or patterns to create an eclectic look, or go for complementary hues for a more harmonious style. If you’re unsure about mixing patterns, start with a neutral base fabric and add pops of color or texture with small accents.
Using Stencils or Embellishments to Make Your Sink Skirt Unique
Feeling artsy? Take your sinks skirts to the next level with stencils, fabric paint, or even embroidery. Custom designs, like flowers, geometric patterns, or abstract art, can add a personal touch that makes your skirts stand out. Stencils are an easy way to achieve a professional-looking design without needing advanced skills.
For a more delicate, hand-crafted look, try some simple embroidery along the edges of your skirts or on the corners. If you’re feeling bold, iron-on patches or fabric beads can give your sink skirts a truly unique and modern twist.
Maintaining Your Sink Skirt: Tips for Longevity and Cleanliness
Creating a beautiful sink skirt is only half the battle — you’ll need to maintain it to keep it looking fresh and neat. Here’s how to care for your new DIY project so it lasts for years.
Regular Cleaning and Care: Keeping Your Sink Skirt Fresh and Clean
Since your sink skirts will likely be exposed to spills, dust, and grime, regular cleaning is a must. Check the care instructions on your fabric to determine the best washing method. Most sinks skirts are made from washable fabrics like cotton or linen, making them easy to care for.
Wash your skirt regularly, especially in high-traffic areas like kitchens and bathrooms, where dirt and spills are common. For stubborn stains, use a fabric-safe stain remover before washing. Once it’s clean, iron the skirts to remove any wrinkles and restore its smooth, crisp look.
How to Fix Wear and Tear: Easy Repairs to Extend the Life of Your Skirt
Like all fabrics, sinks skirts will experience some wear and tear over time. Whether it’s a loose seam or fraying edges, you can easily make small repairs yourself. Just re-sew any loose threads, or reinforce weak areas by adding additional stitching. Keep some extra fabric on hand for quick fixes — this will make repairs faster and help you maintain the skirt’s original look.
Seasonal Swaps: Changing Your Sink Skirt for Different Holidays or Events
One of the best ways to keep your space fresh is by switching out your sink skirts seasonally. Whether it’s Christmas, Halloween, or just a change of seasons, swapping out your skirts for one that suits the time of year adds a festive touch. For example, you might choose a cozy, plaid fabric for the winter or a bright, floral design for spring and summer.
Conclusion
Making your own sink skirt is a rewarding DIY project that’s both fun and practical. Whether you’re hiding unsightly plumbing, adding a personal touch to your décor, or simply organizing the space under your sinks, a custom-made sink skirts offers endless possibilities for both style and function. With the right materials and a bit of creativity, you can make a skirts that’s the perfect fit for your home.
