Winter’s icy grip is creeping in, and while you’re wrapping up your cozy indoor spaces, don’t forget about the humble outdoor sink. That once-charming and oh-so-handy fixture, often overlooked during the warmer months, faces a serious threat as temperatures plummet. With outdoor plumbing systems exposed to harsh winter conditions, the risk of frozen pipes, burst water lines, and costly repairs looms large. Yet, with a little planning and proactive care, you can Keep Outdoor Sink From Freezing fully operational throughout the chill of winter. The following steps will help ensure your outdoor plumbing is ready to brave the freeze, all while saving your wallet from pricey damage.
The Early Warning Signs Your Outdoor Sink is at Risk of Freezing
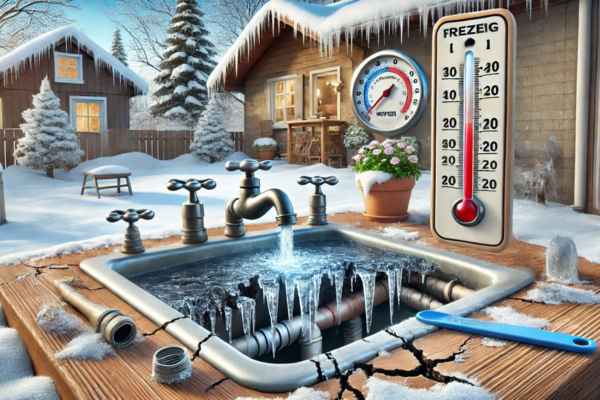
The first line of defense against a frozen sink is spotting the signs early. When the thermometer dips below freezing, the pressure’s on—literally. The most noticeable clue that your pipes are freezing is a drop in water pressure. Is the water flow suddenly weaker or non-existent? This isn’t just an inconvenience—it’s a clear sign that ice may be forming inside the pipes, causing a blockage. Along with this, listen for odd gurgling sounds that signal water is struggling to make its way through frozen passages.
Tiny leaks or cracks around the faucet or pipes can also appear, caused by the expansion of water as it freezes. It’s a red flag that water is already solidifying inside. By catching these indicators early, you’ll have time to prevent a full freeze from taking hold, sparing your plumbing from further damage and your budget from expensive repairs.
How to Prevent Your Outdoor Sink From Freezing: Simple Steps
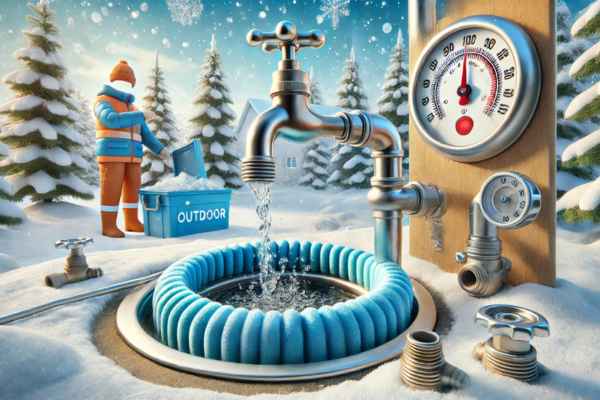
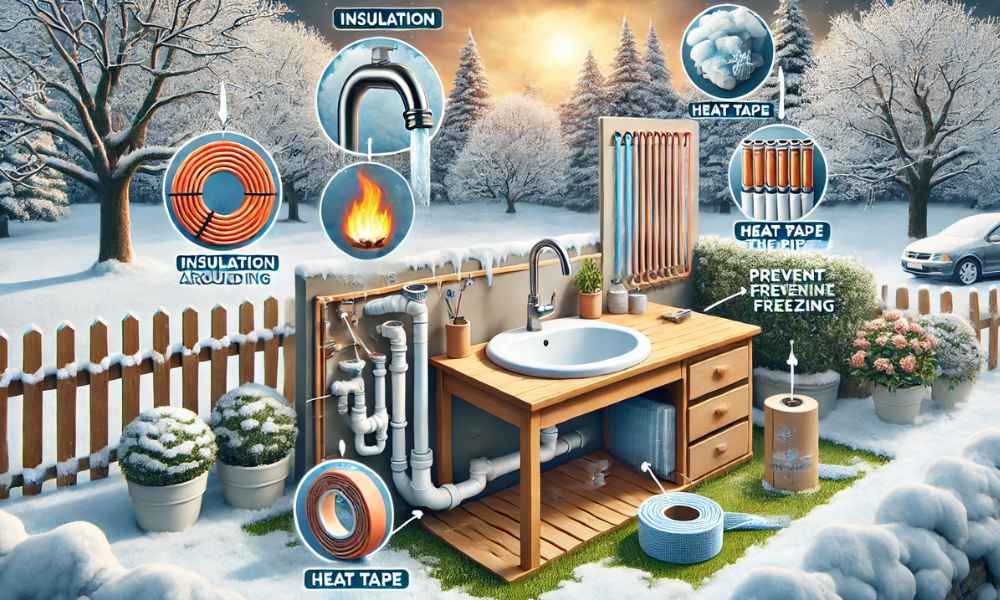
Keeping your outdoor sink from freezing doesn’t require a complete overhaul of your plumbing system—it’s mostly about simple, effective preventative measures. One of the easiest and most cost-effective ways to shield your sink is by insulating your outdoor faucet. Specially designed insulated faucet covers, often made from foam or rubber, fit snugly over the faucet, blocking cold air from coming into contact with your plumbing.
Another straightforward approach is to leave a trickle of water running from the faucet. While you might think this is a waste, a small, steady drip keeps the water moving through the pipes, preventing the stagnation that often leads to freezing. If temperatures are plummeting into the extreme, consider turning off the water supply to the outdoor faucet entirely. Once done, open the faucet to let any lingering water drain out. This ensures that no liquid remains in the pipes to turn into ice and cause trouble.
Step-by-Step Guide to Winterizing Your Outdoor Sink
Winter comes knocking, it’s crucial to prep your outdoor sink before it’s too late. Not taking action can result in frozen pipes, burst lines, and potentially catastrophic plumbing failure. Fortunately, a little bit of elbow grease and a few simple tools can winterize your sink, so it’s ready for whatever frost the season brings. Follow this step-by-step guide to safeguard your plumbing.
Step 1: Turn Off the Water Supply
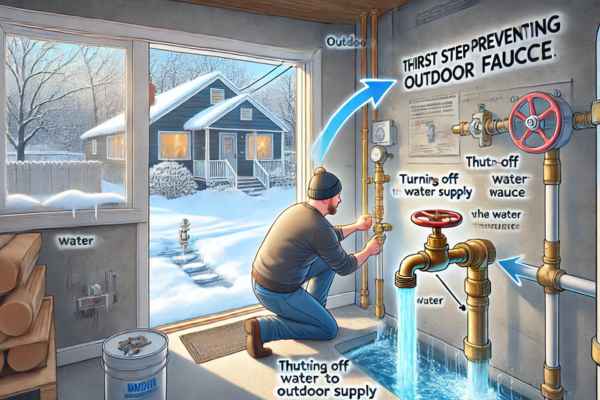
Your first priority is turning off the water supply to the outdoor faucet. Without shutting it off, water remains in the pipes, making them vulnerable to freezing. Find the shut-off valve for your outdoor faucet, usually located inside your home where the outdoor pipes exit, and turn it completely off. This critical action ensures that no more water flows to the outdoor plumbing during the cold months.
Step 2: Drain the Pipes
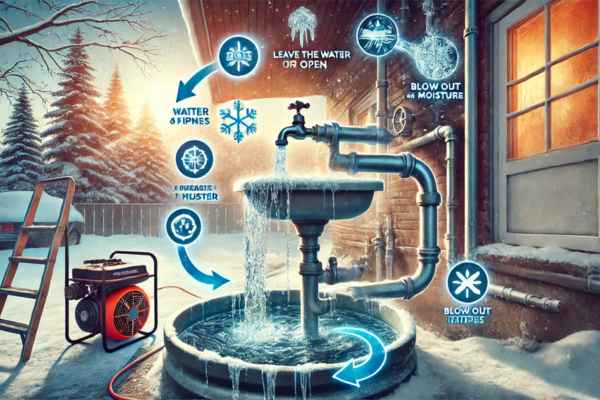
With the water turned off, it’s time to drain any remaining water in the pipes. Open the faucet fully to let the water escape. If you’re equipped with an air compressor, you can use it to blow out any lingering moisture from the lines. Leave the faucet open until you’re sure all the water is gone, reducing the chance of ice forming inside.
Step 3: Insulate Your Faucet
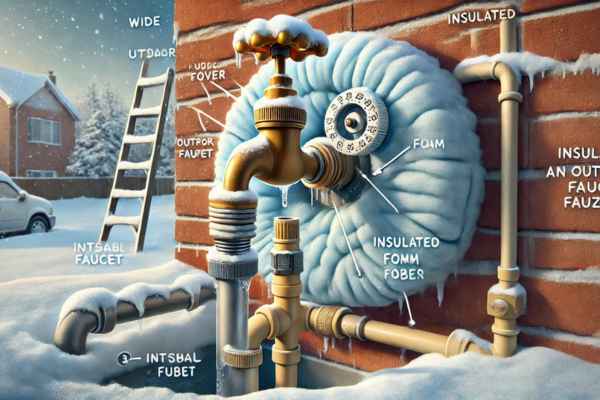
With the pipes drained, the next step is to protect your faucet from freezing. Insulated faucet covers are your best friend here. They are designed to insulate the faucet and the pipes nearby, keeping the cold at bay. Choose covers made from durable materials like thick foam or rubber, and make sure they fit snugly around the faucet to prevent any cold air from sneaking in.
Step 4: Insulate the Pipes
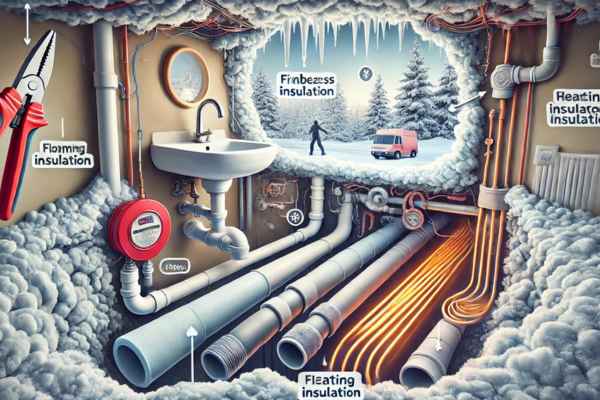
Your outdoor sink has exposed pipes, it’s essential to insulate them as well. Exposed pipes are highly susceptible to freezing, but foam pipe insulation can be easily wrapped around the pipes to create a protective barrier. If your area experiences particularly harsh winters, fiberglass insulation or heating cables can provide additional protection.
Step 5: Seal Gaps and Cracks
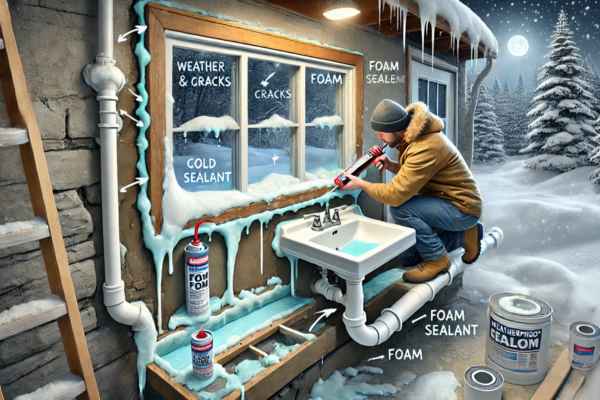
Cold air can infiltrate your outdoor sink area through gaps and cracks in walls, around windows, or at the base of the sink. Take the time to seal any holes with weatherproof caulk or foam sealant to ensure your plumbing stays well-insulated. This will help maintain a consistent temperature around your sink and pipes.
Step 6: Use Heat Tape or Heated Mats

In areas where extreme cold is a recurring issue, using heat tape or heating mats can be the extra layer of protection you need. Heat tape wraps around pipes, emitting a steady low heat that keeps the water inside from freezing. Alternatively, heated mats can be placed around the faucet area to keep things toasty. These solutions are particularly helpful in regions where temperatures are consistently below freezing.
Step 7: Install Proper Drainage Solutions
Drainage isn’t just a matter of convenience—it’s a critical defense against freezing pipes. Ensure that your outdoor sink is properly pitched, so water drains away from the plumbing. Installing a small drainage system to redirect any leftover water can help. If snow or water accumulation is a concern, consider adding a drainage pan or a gutter system to keep the area dry.
Choosing the Right Materials to Prevent Freezing
Selecting insulation or protection for your outdoor sink, it’s important to choose materials designed specifically for the outdoor elements. Opt for foam pipe insulation that’s both durable and capable of withstanding freezing temperatures. For faucets, thick rubber or foam covers are ideal as they resist wind and freezing rain. For a more reliable solution in severe conditions, heat cables or heat tape can offer additional safety.
Alternative Methods to Keep Your Sink Safe
You’re not keen on the standard insulation and heat tape methods, there are alternatives. You can completely disconnect your outdoor faucet during the winter. By draining the lines and removing the faucet, you eliminate the chance of frozen pipes entirely. Alternatively, you can pour non-toxic antifreeze into the plumbing, which will prevent the water inside from freezing. Always follow the manufacturer’s instructions when using antifreeze to avoid damage.
Common Mistakes to Avoid
Some mistakes can make your winterization efforts futile. First, ensure you’ve completely drained the pipes; even a small amount of water left behind can freeze and cause havoc. Also, don’t skimp on insulation—be sure all exposed pipes and faucets are properly covered. Lastly, don’t forget to check your heat sources (like heat tape) for functionality throughout the winter months. A little vigilance goes a long way!
When to Call a Professional
Though most winterization tasks are DIY-friendly, there are instances when you’ll need to call in a professional. If your pipes are already frozen or have burst, don’t attempt to fix them yourself—seek a plumber’s help immediately to avoid further damage. If you’re unsure about how to insulate or winterize your system, a professional can guide you through the process to ensure everything is done correctly.
Conclusion
Protecting your outdoor sink from freezing is essential if you want to avoid costly plumbing repairs and keep your sink functional through the winter. By following these simple steps—shutting off the water, draining the pipes, insulating the faucet and pipes, and installing heat sources—you can ensure that your outdoor sink stays safe and operational all winter long. And if you’re ever unsure, don’t hesitate to call in a professional to help with the job. After all, the right precautions today can save you a headache tomorrow.